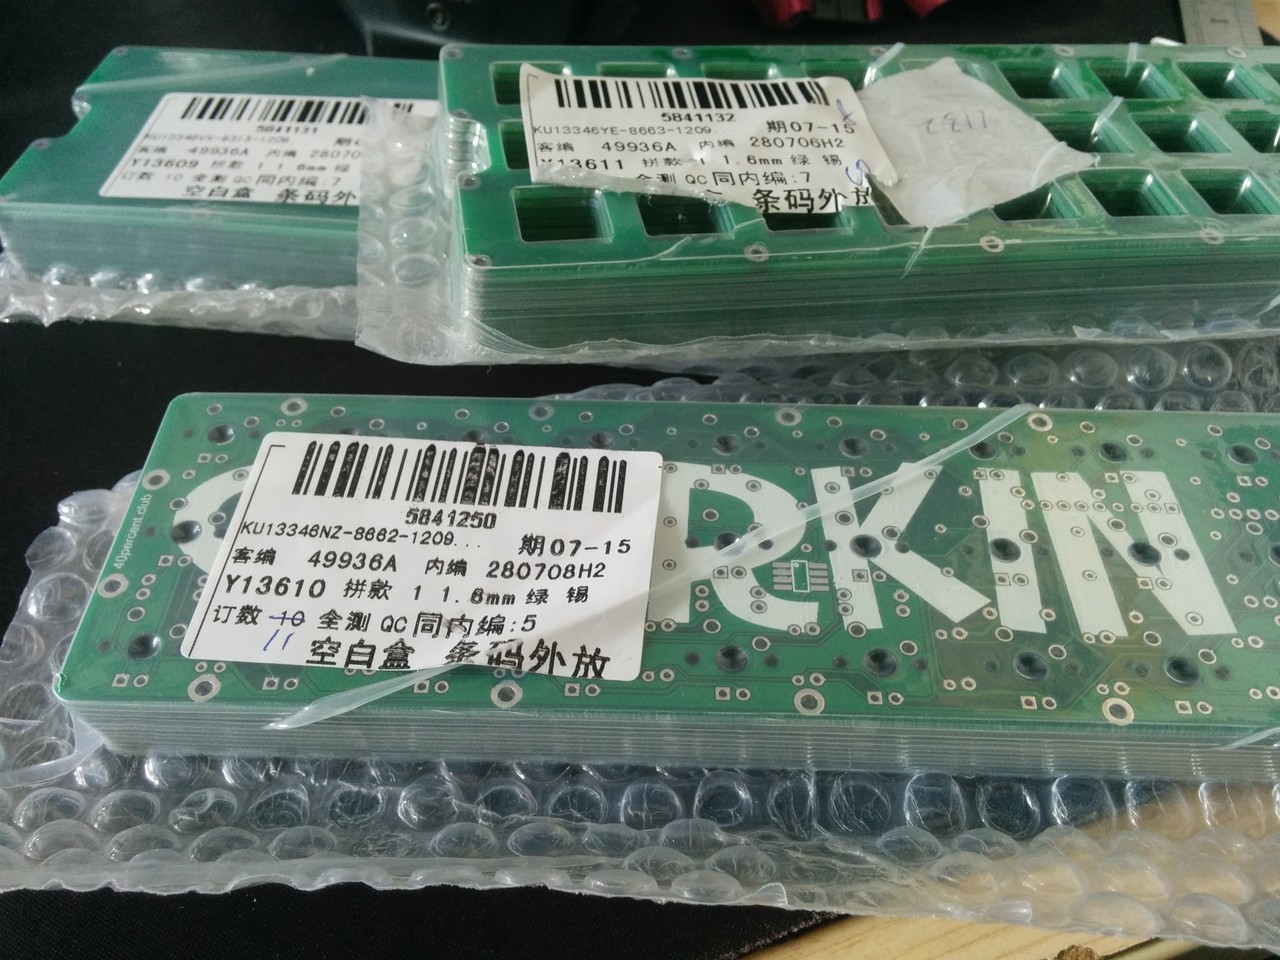
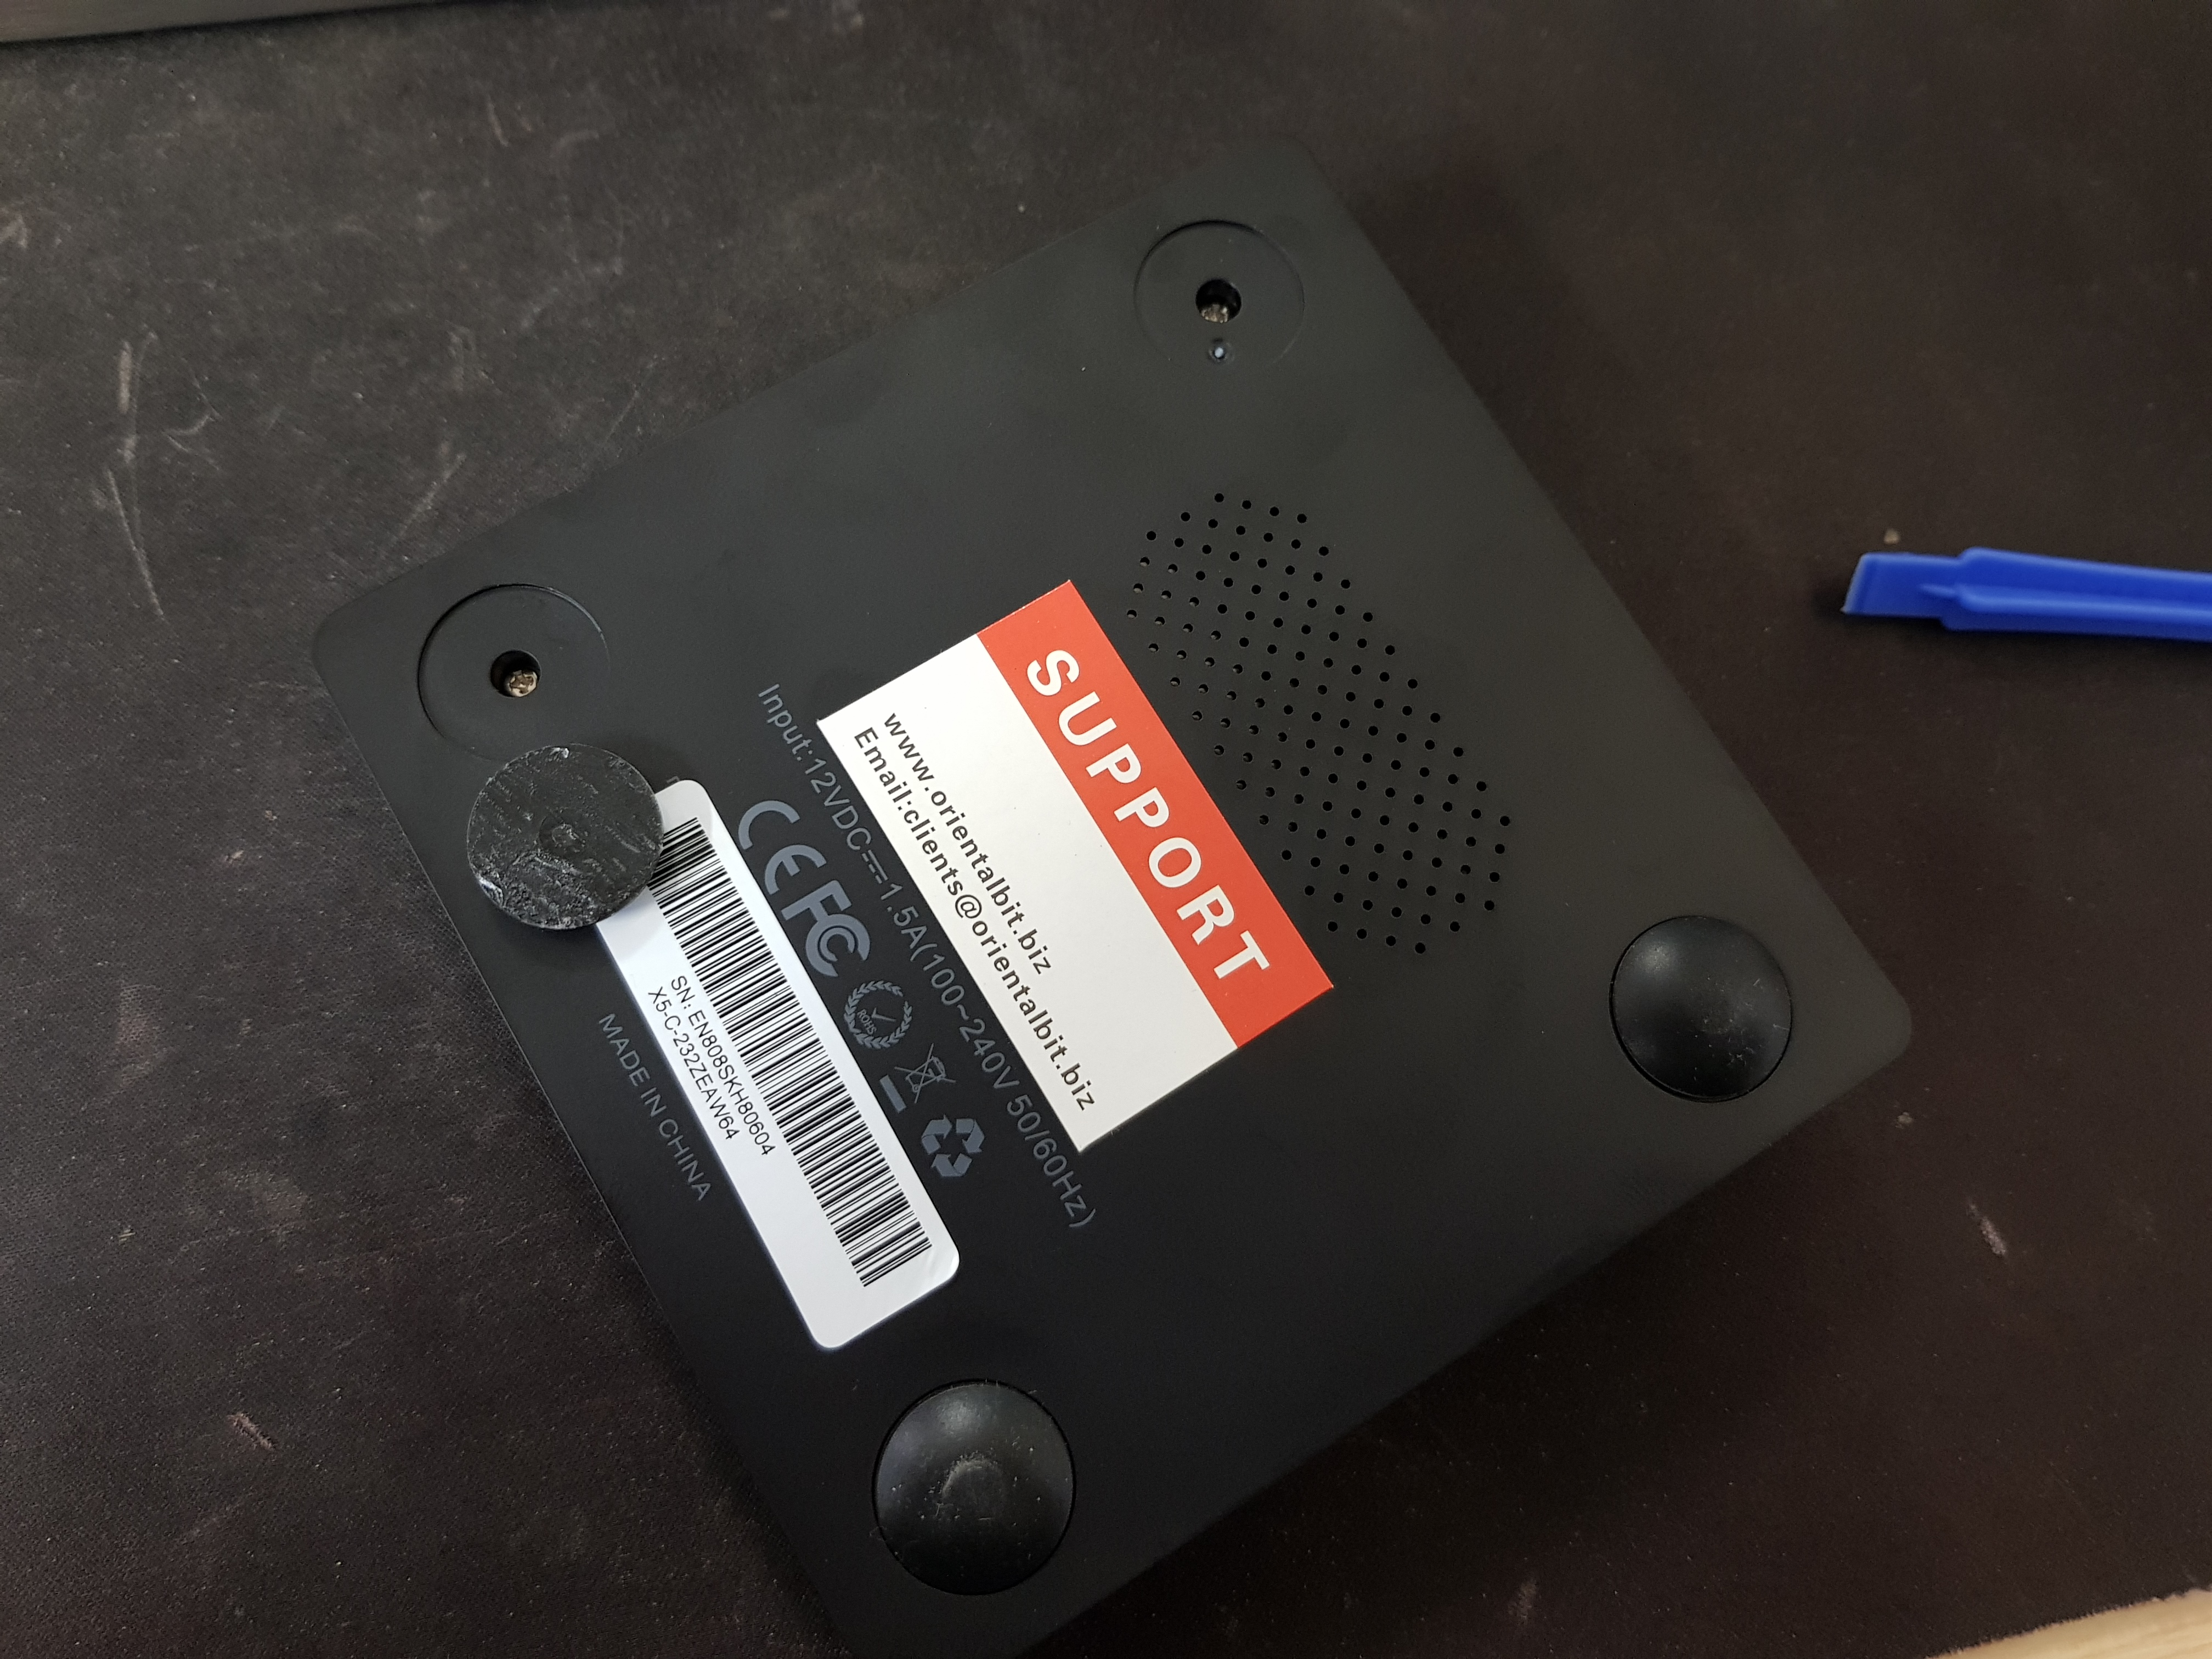
FreeBSD on an Intel x5-z8350 tv box
There are a load of sort of generic tv boxes on ebay with an Intel x5-z8350 processor.
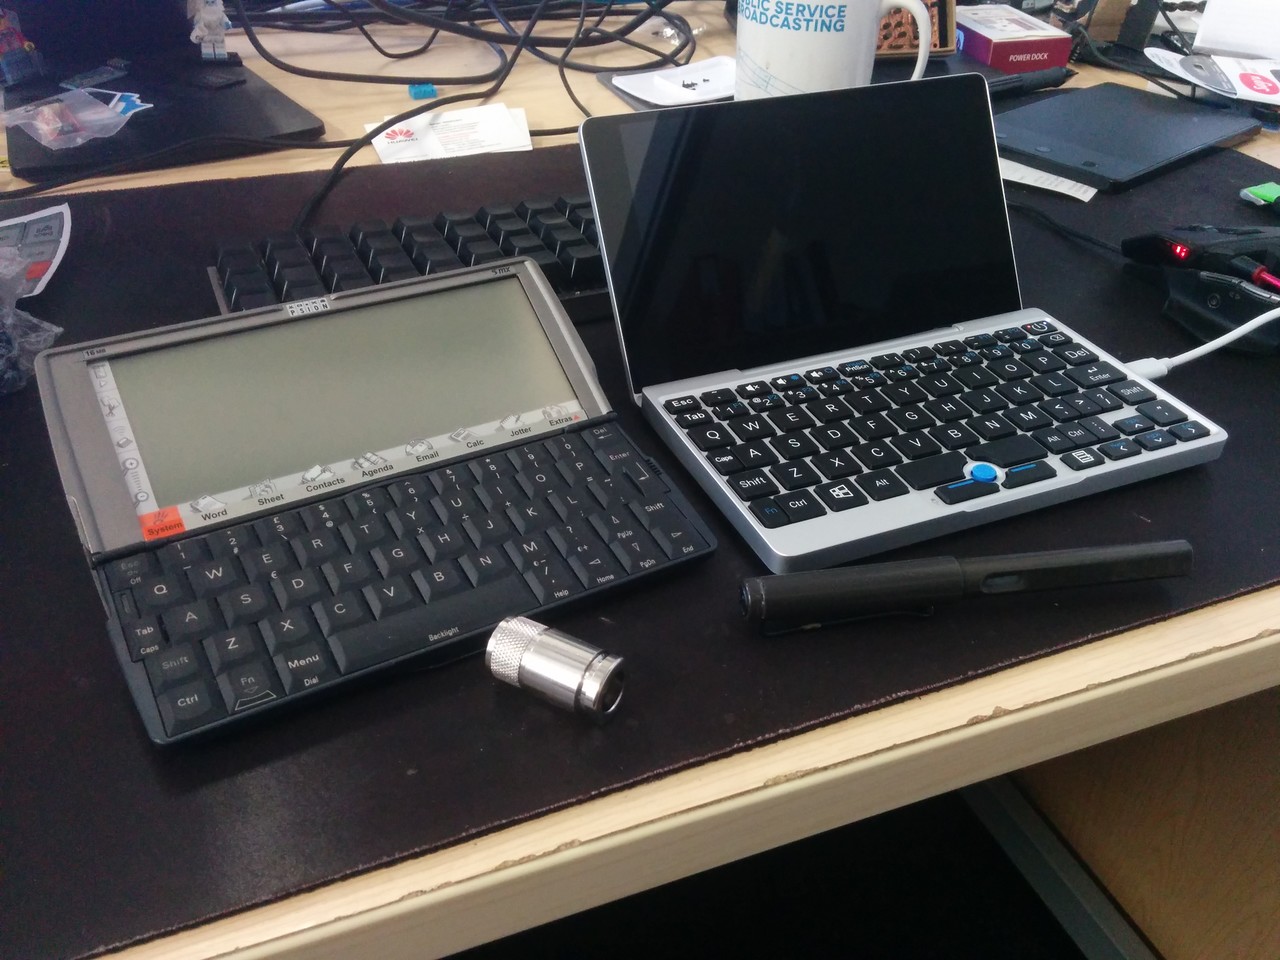
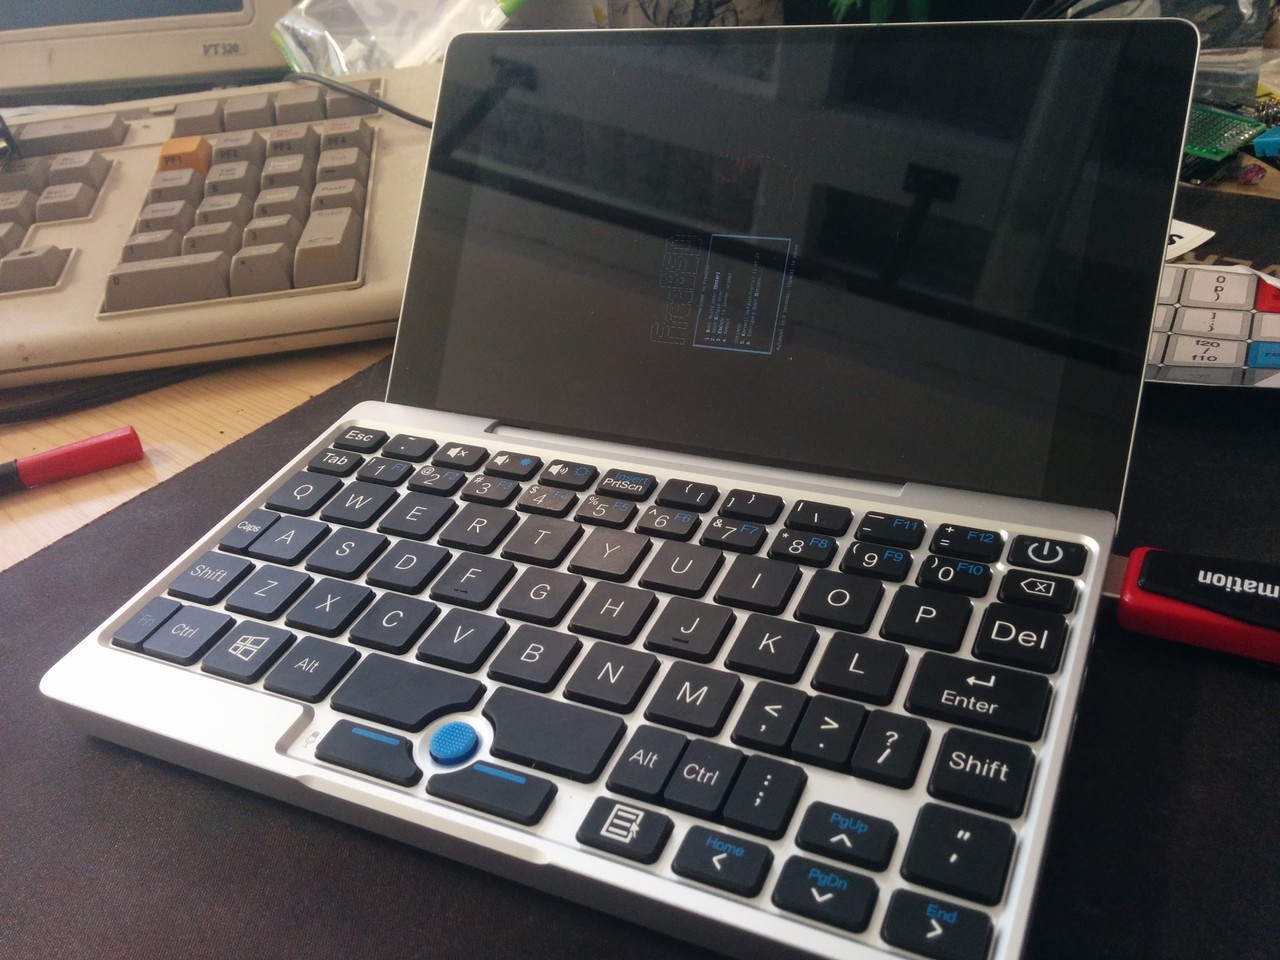
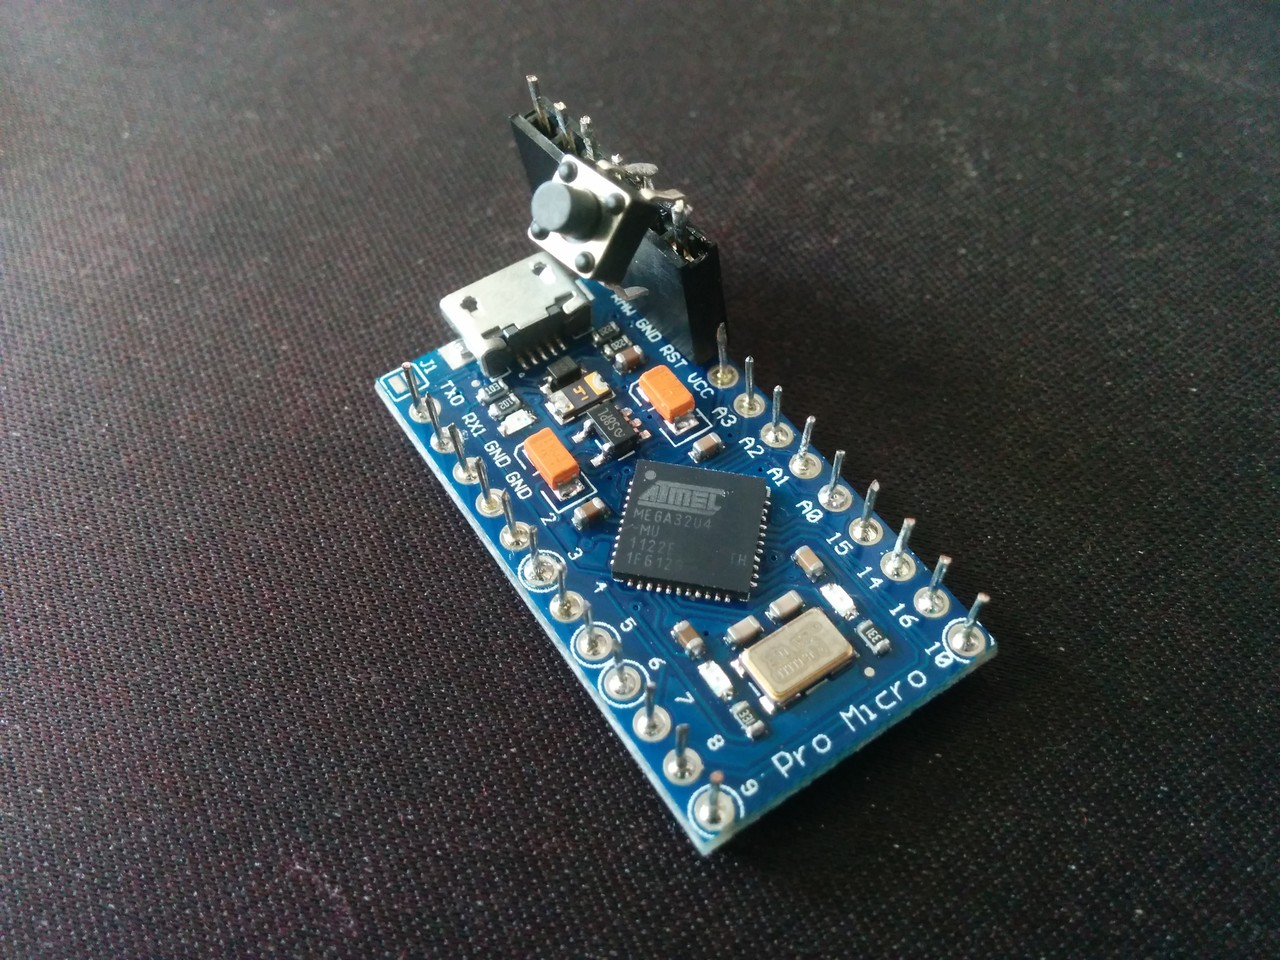
The x5 SOC (formerly Cherry Tree, formerly Cherry View) is the same family as the SOC in my beloved GPD Pocket . I was really having trouble with the i2c hardware in the GPD Pocket and wanted something I could take apart and poke with an oscilloscope. I looked first at the UP Board , an x5-z8350 in a raspberry pi form factor, but not only was it much more expensive than this tv box, but it has a CPLD between the SOC io and the pin header.
Installing FreeBSD
First I needed to get the board to boot from USB, the listing I bought came with both android and windows 10 (I guess that is what dual os means). In both android and windows 10 there was a handy reboot to other os application.
From installing on the GPD Pocket I suspected that the bios boot menu key would be F7 so I used that. Windows 10 also includes a handy reboot to uefi config option which makes it easy to get into a bios menu. I used it to disable quiet boot and set the boot delay to a more sensible number.
With those changes I rebooted and got a familiar AMI bios boot screen hit F7
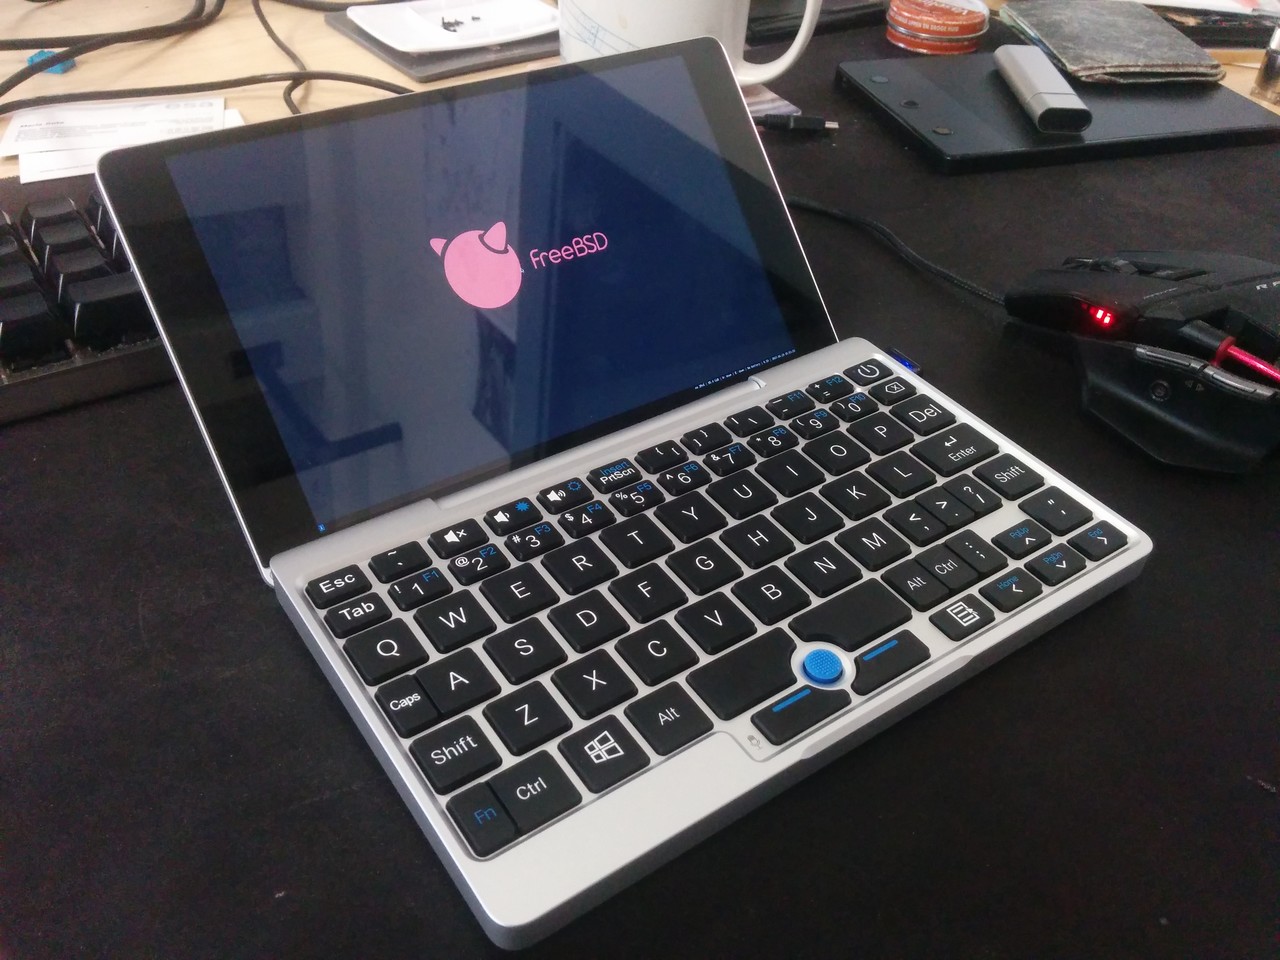
and choose your usb stick from the menu. The FreeBSD loader menu came up and
continued into a boot from the usb stick, but it hung probing
ppc0
.
I found a solution on the freebsd forum post about the upboard which suggested running:
OK unset hint.uart.1.at
at the loader prompt. With that you I could boot and do an install.
Before you reboot make sure to make that change permanent, by removing this
line in
/boot/device.hints
...
hint.sc.0.flags="0x100"
#hint.uart.0.at="isa"       # comment this line out
hint.uart.0.port="0x3F8
hint.uart.0.flags="0x10
...
now reboot.
Setup
I setup the the
drm-next-kmod
driver, but the machine froze during boot.
Next I tried using a frame buffer driver, which required the collowing config
in /usr/local/etc/X11/xorg.conf.d/driver-scfb.conf :
Section "Device"
    Identifier "Generic FB"
    Driver "scfb"
EndSection

 Section "Device"
     Identifier    "Card0"
     Driver        "scfb"
 EndSection
Hardware
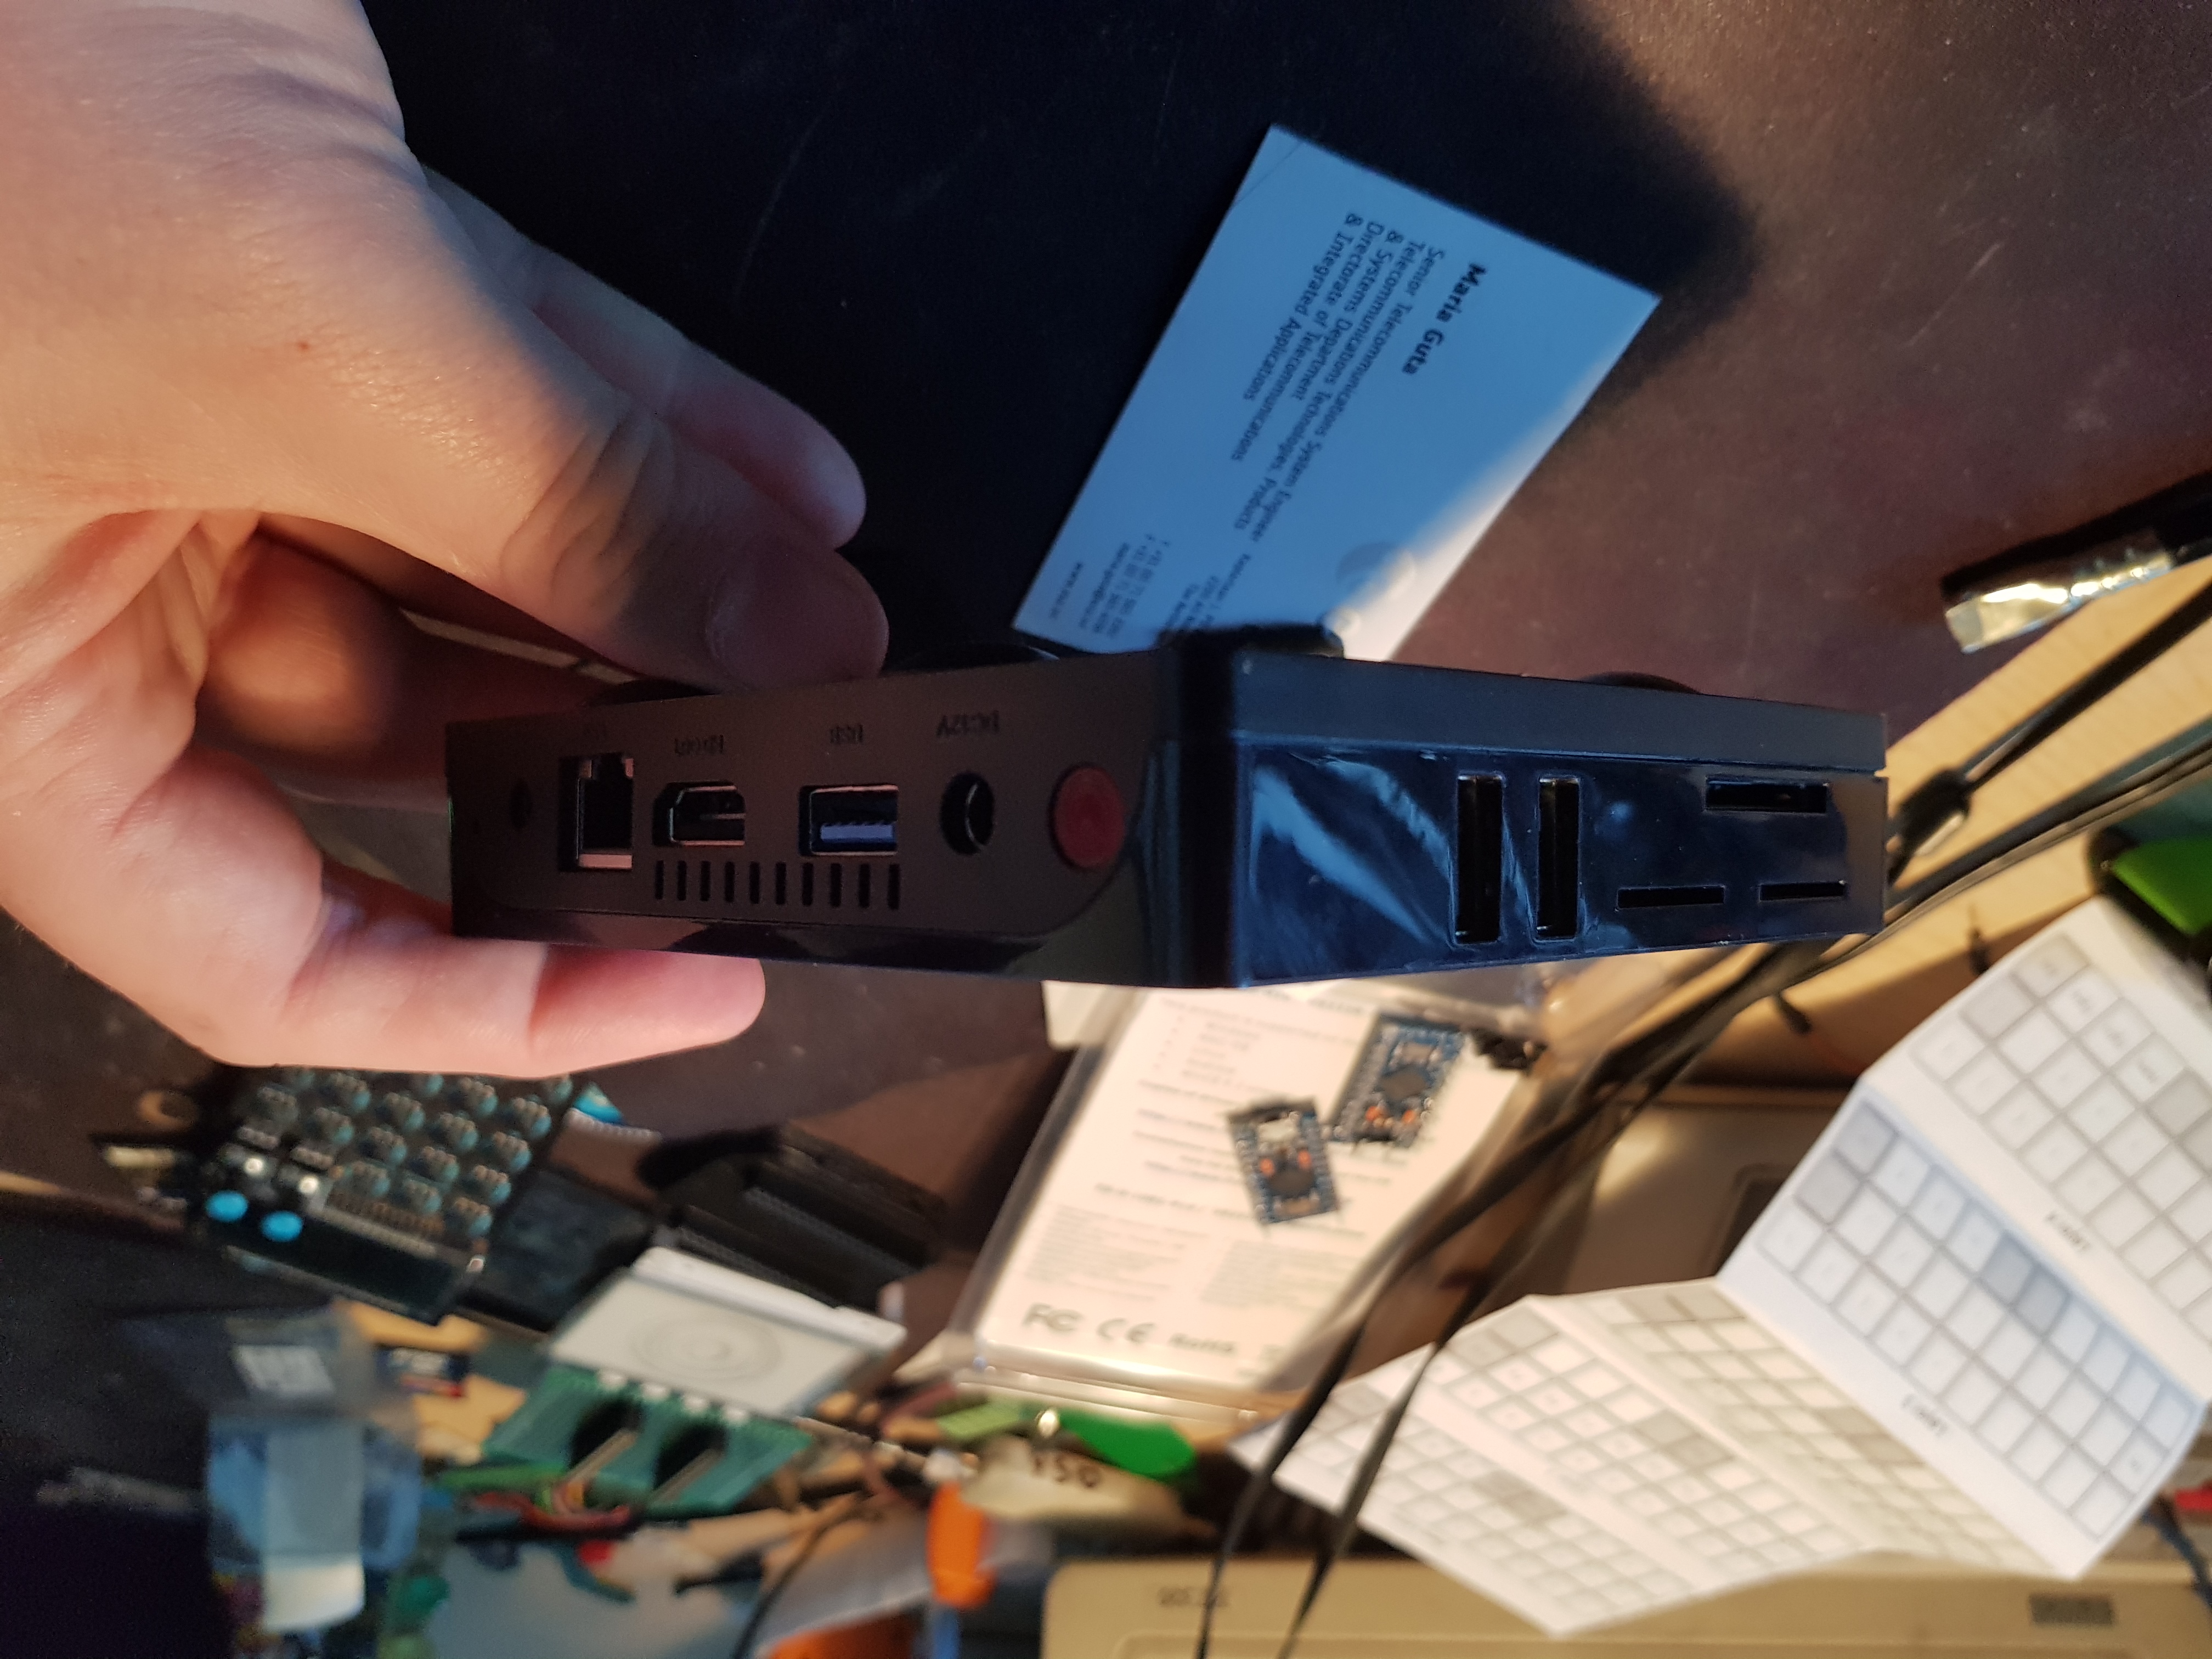
The box has:
- Blue/Red LED
- External Power button
-
External(ish) reset button
- Pressing the reset button caused an instant power cycle.
-
4 usb ports
- 1 USB 3
- 2 external USB 2
- 1 internal USB 2
-
sd card reader
- but it doesn't seem to be hotpluggable
- ethernet
- hdmi
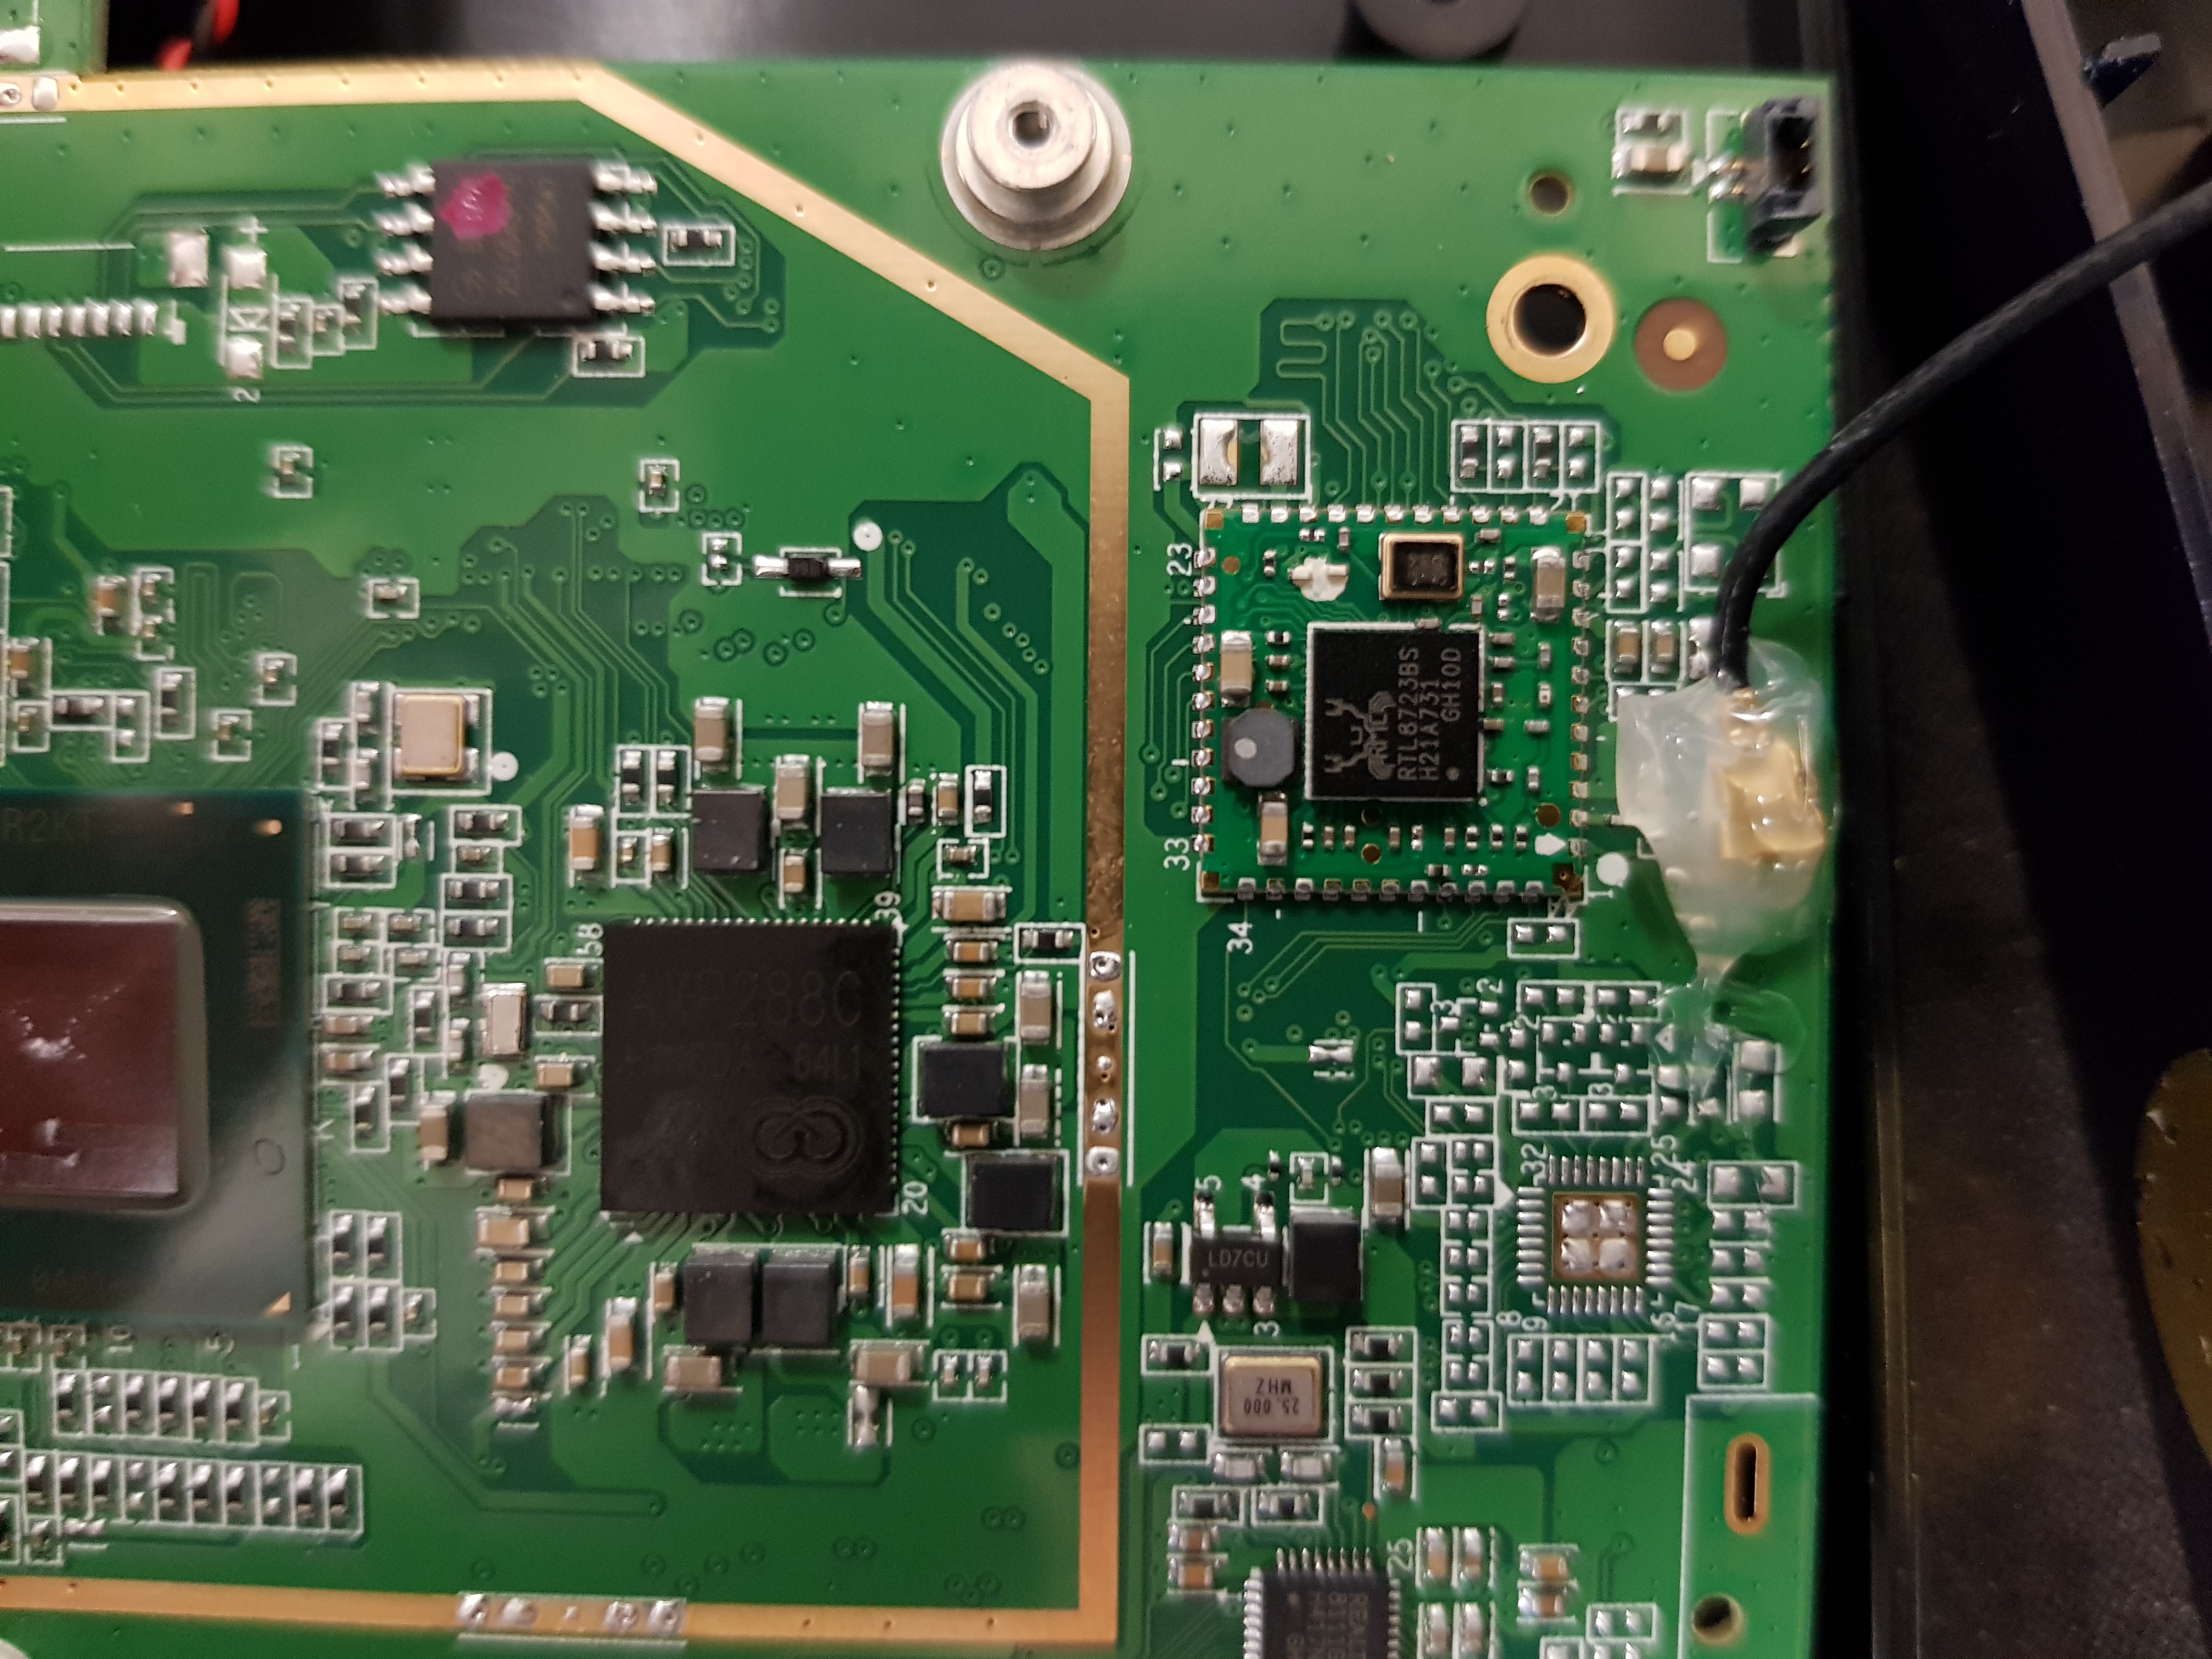
The x5 box also has bluetooth and wifi, but neither currently have FreeBSD drivers.
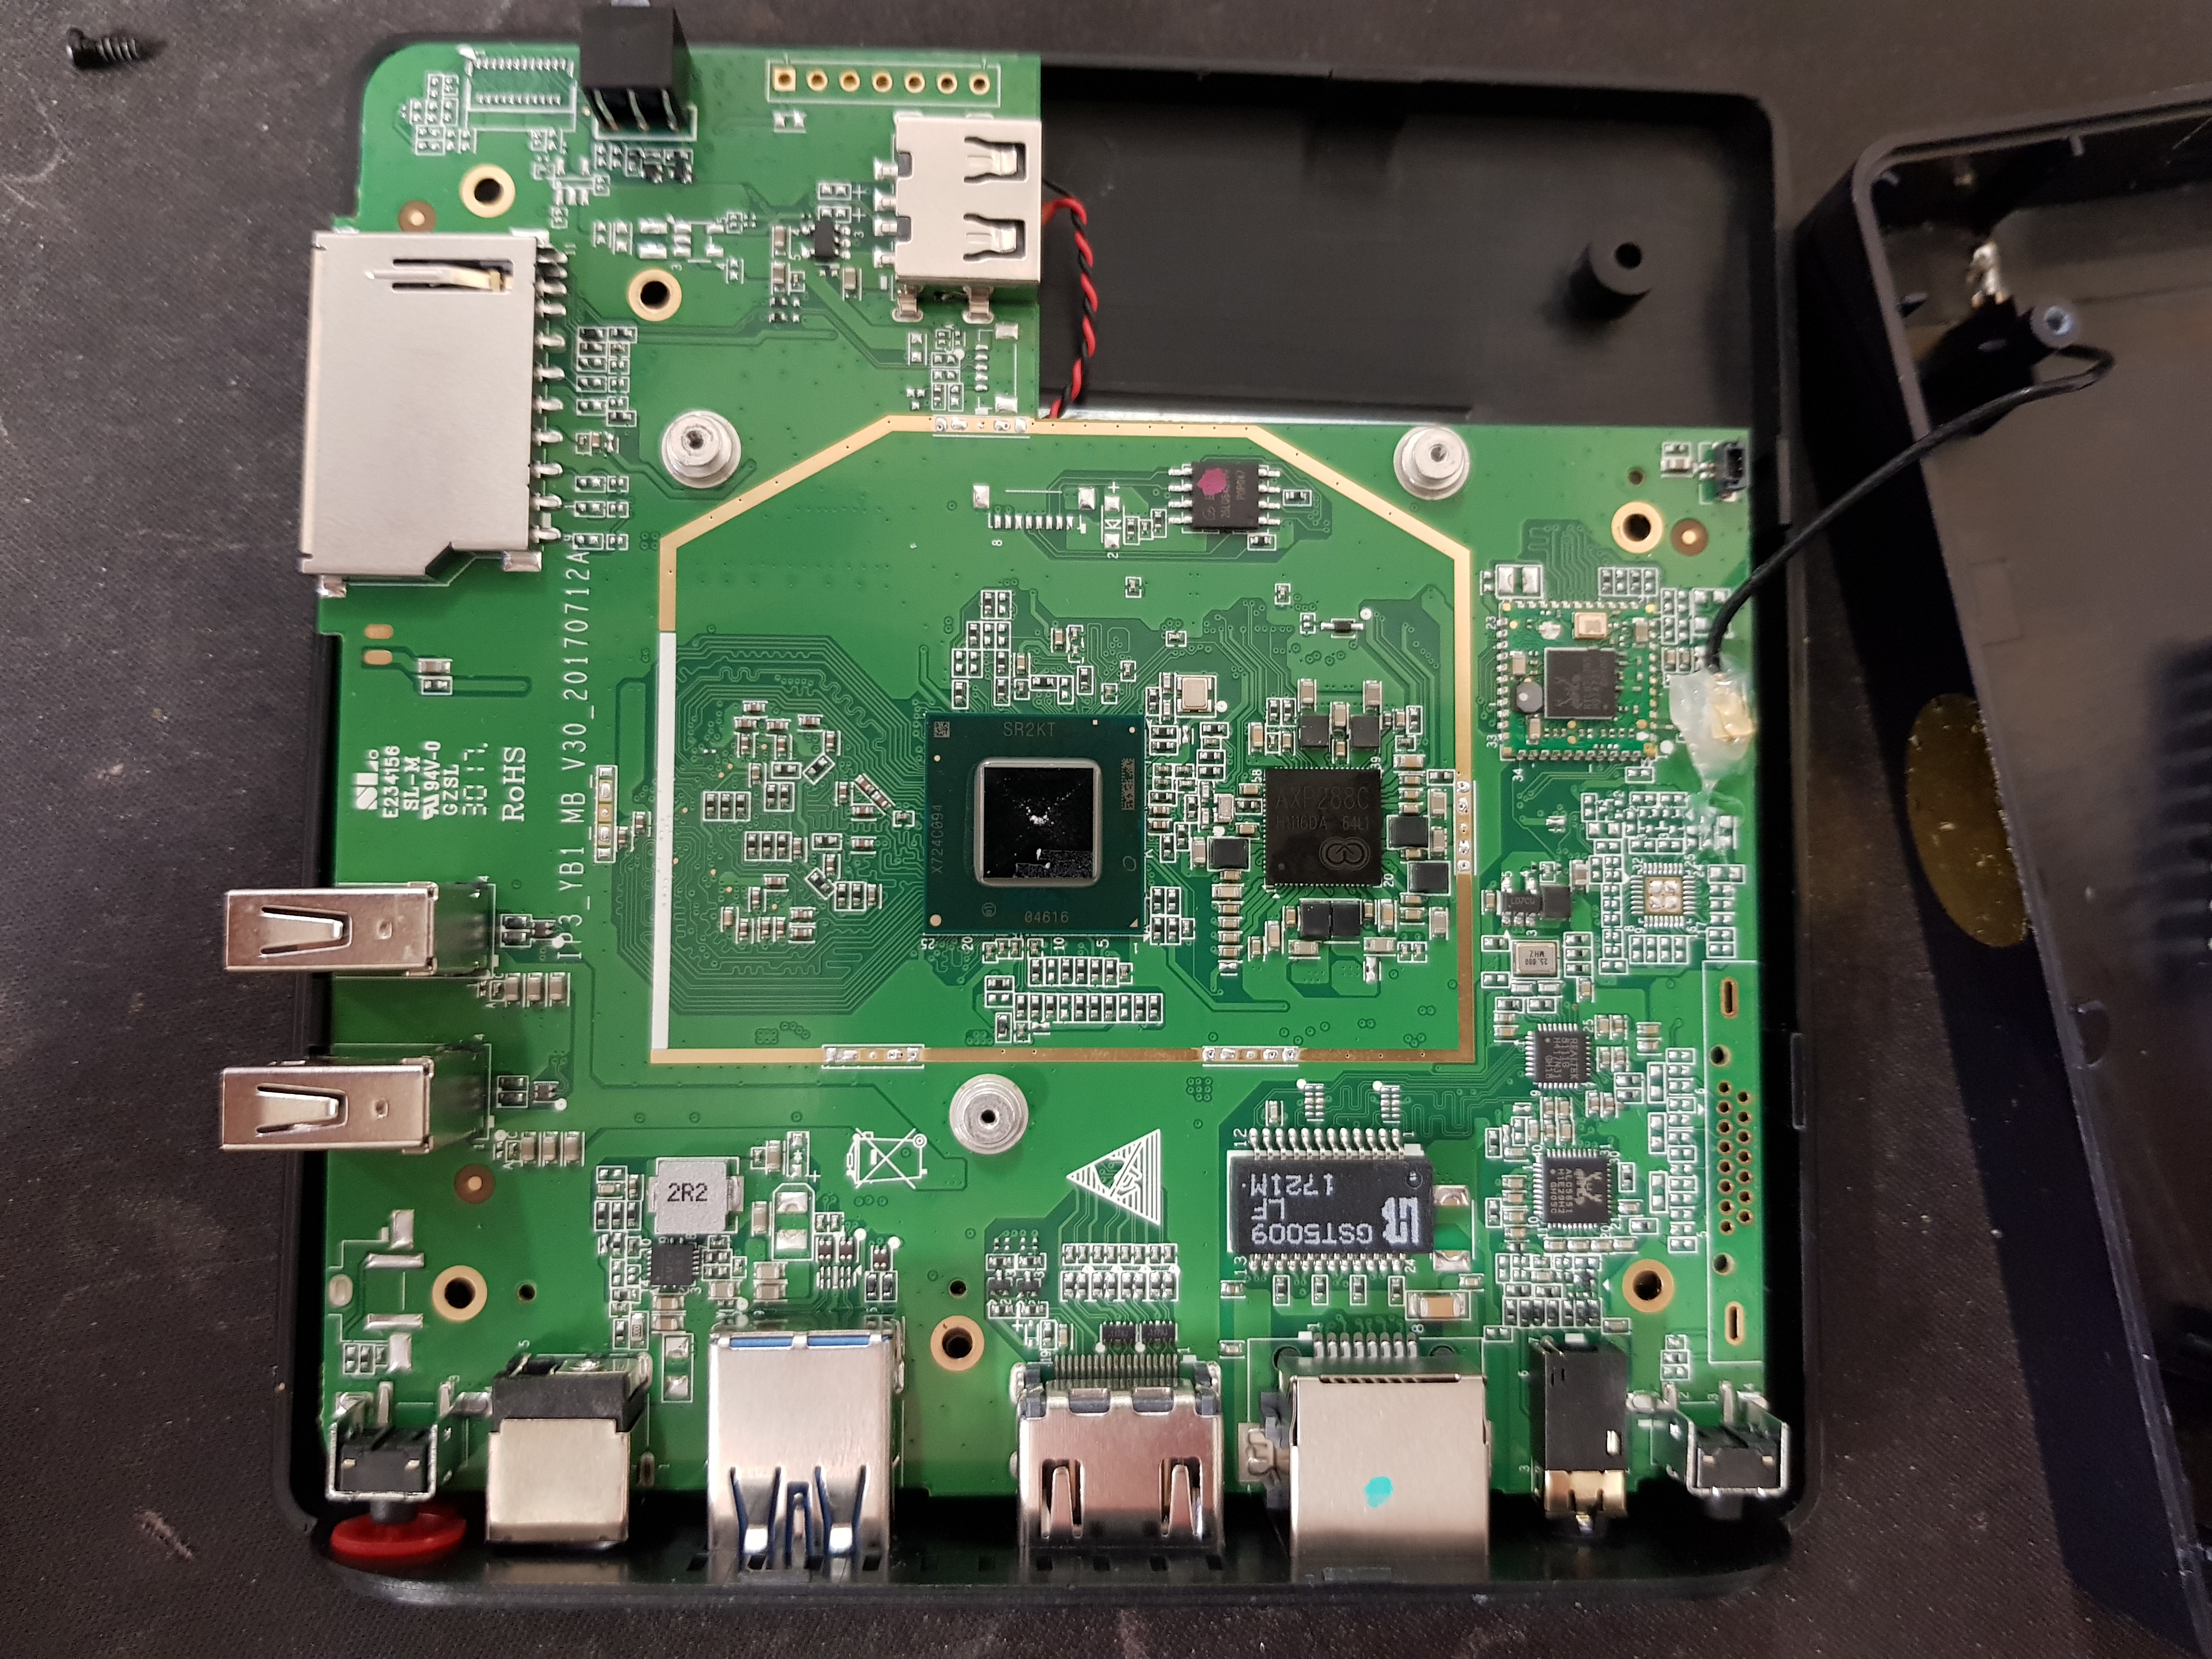
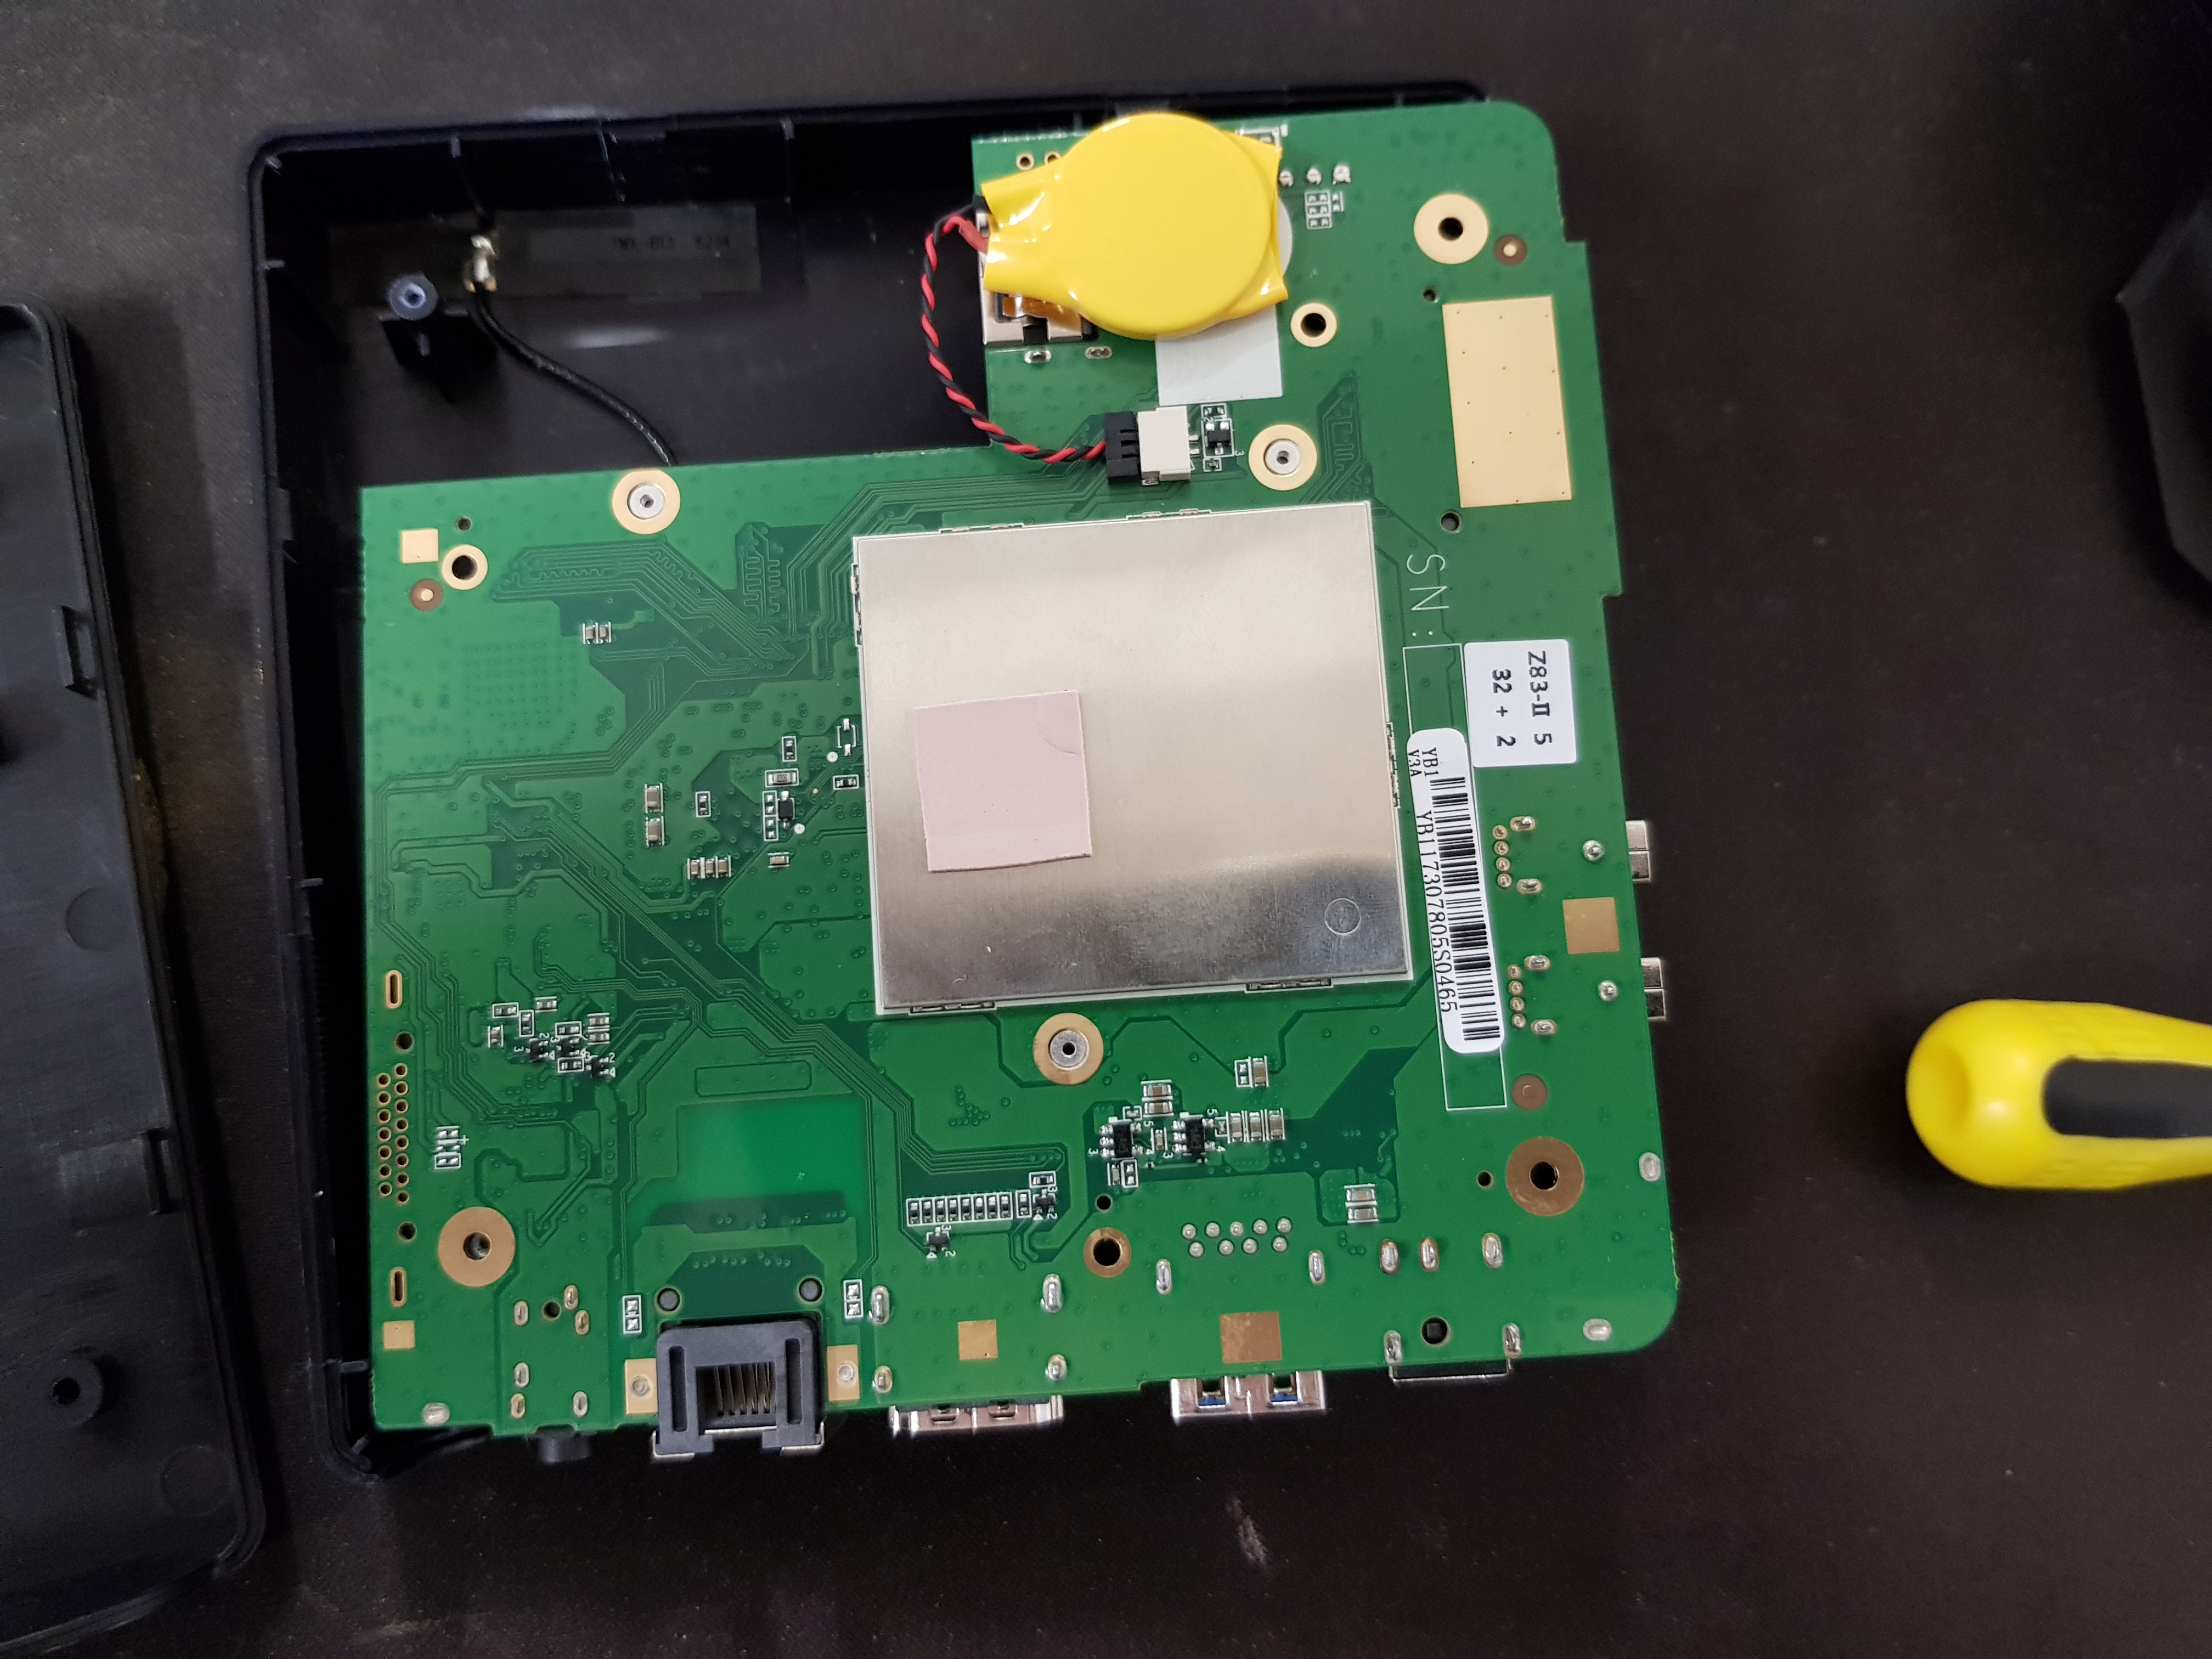
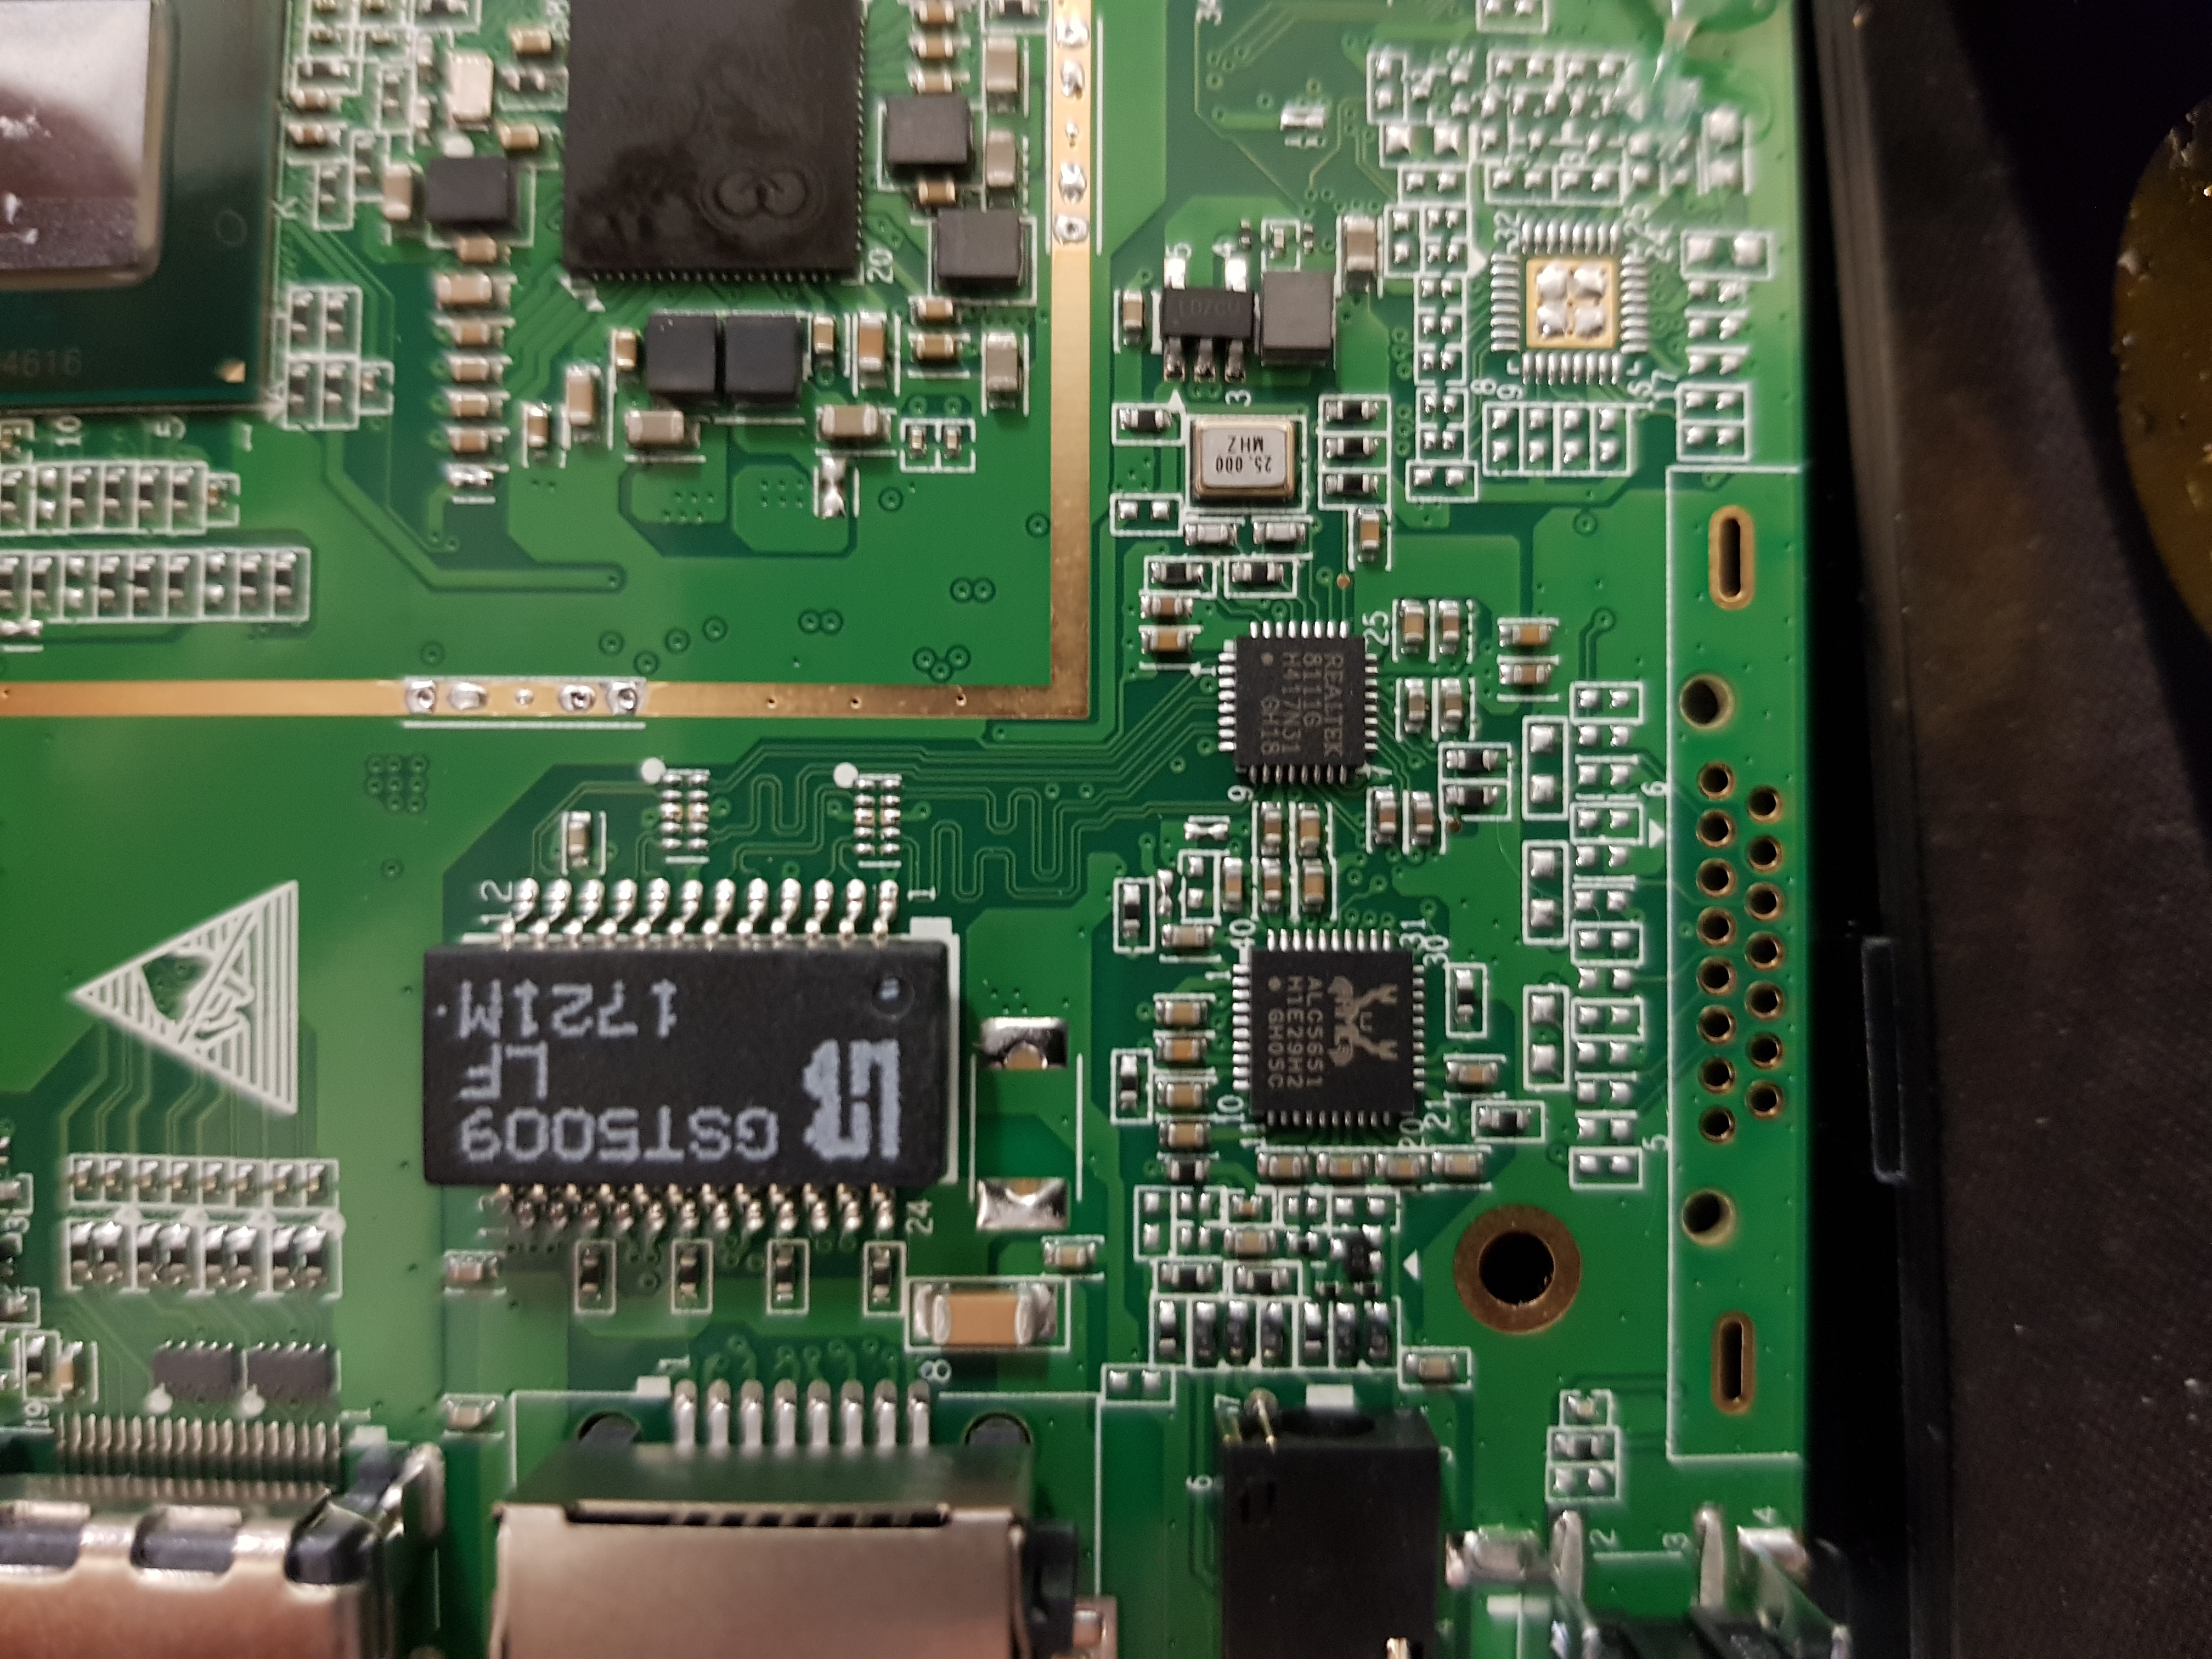
Internally there are a whole bunch of unpopulated things that might be interesting.
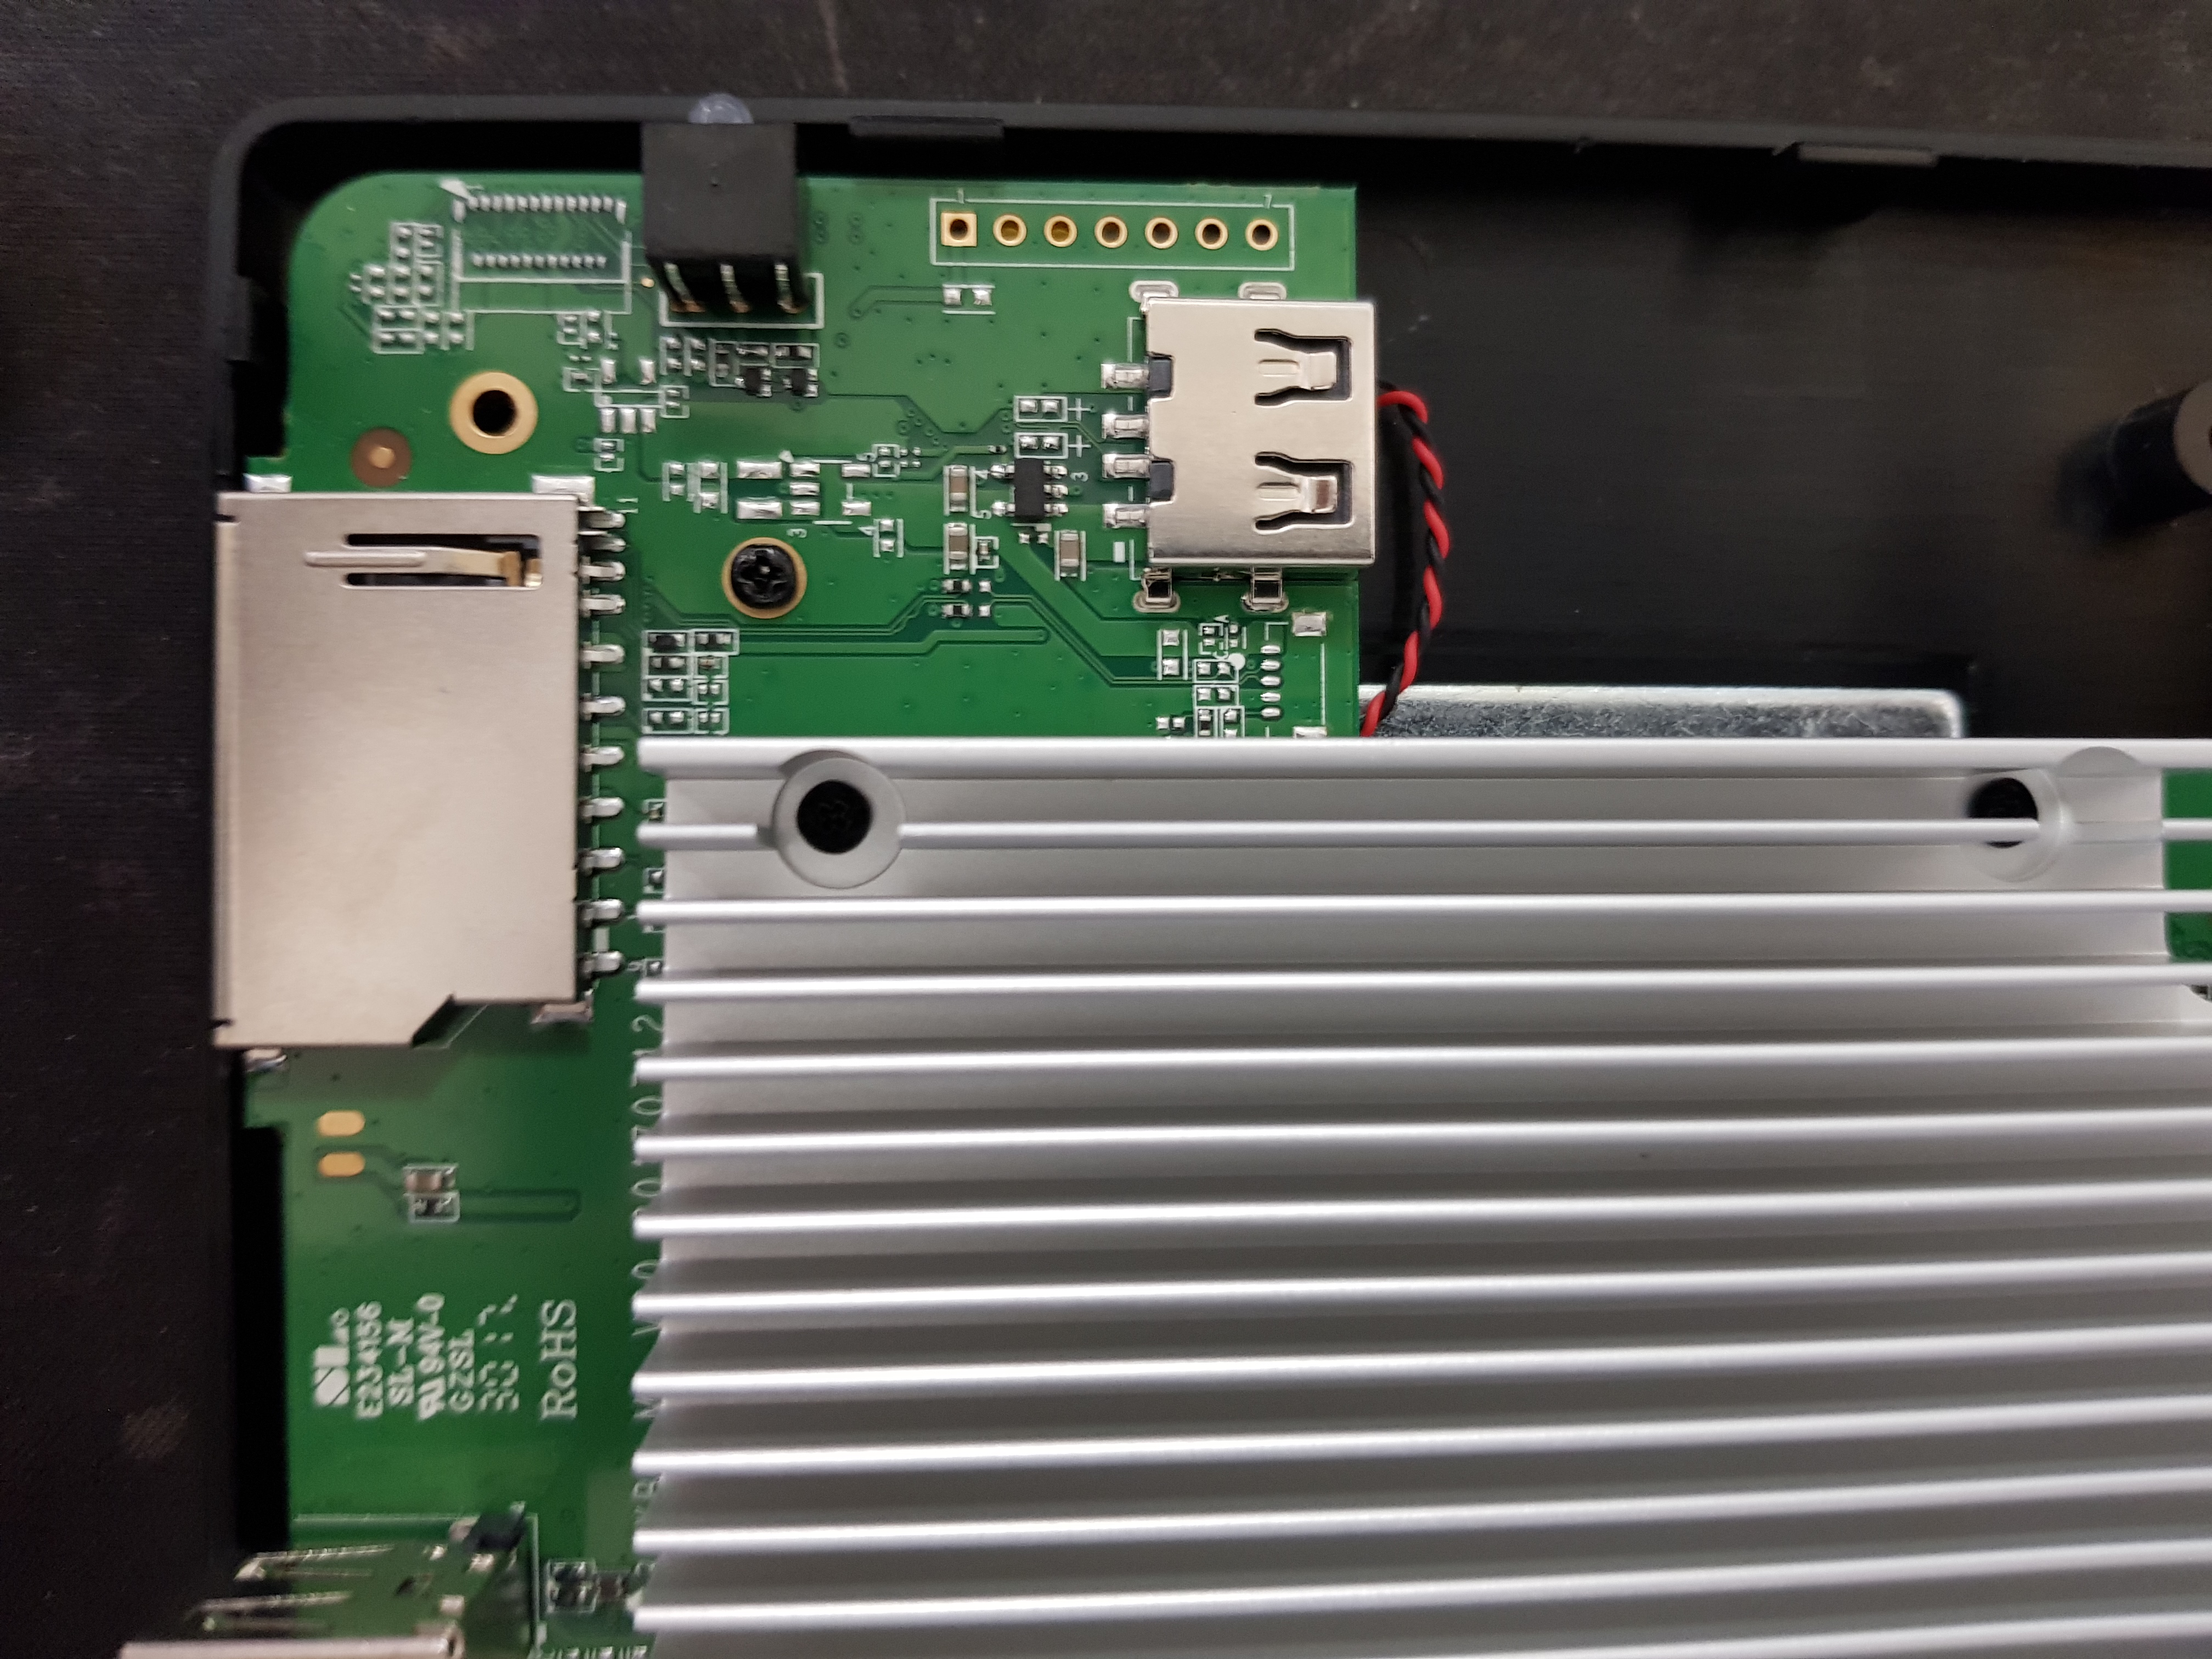
On the top left there is an unpopulated 2.54mm pin header slot next to the led, silkscreen on the board has 1 and a 7 on either end. Probing around with a multimeter suggested that P7 was ground.
I spent quite a while poking the board with a multimeter and osclloscope to see if any gpio or buses were exposed on the headers or the board. I did find that if you connect pin 1 to gnd (or pin 7) the red led comes on and the board goes off.
I did not find any useful or even really interesting signals.
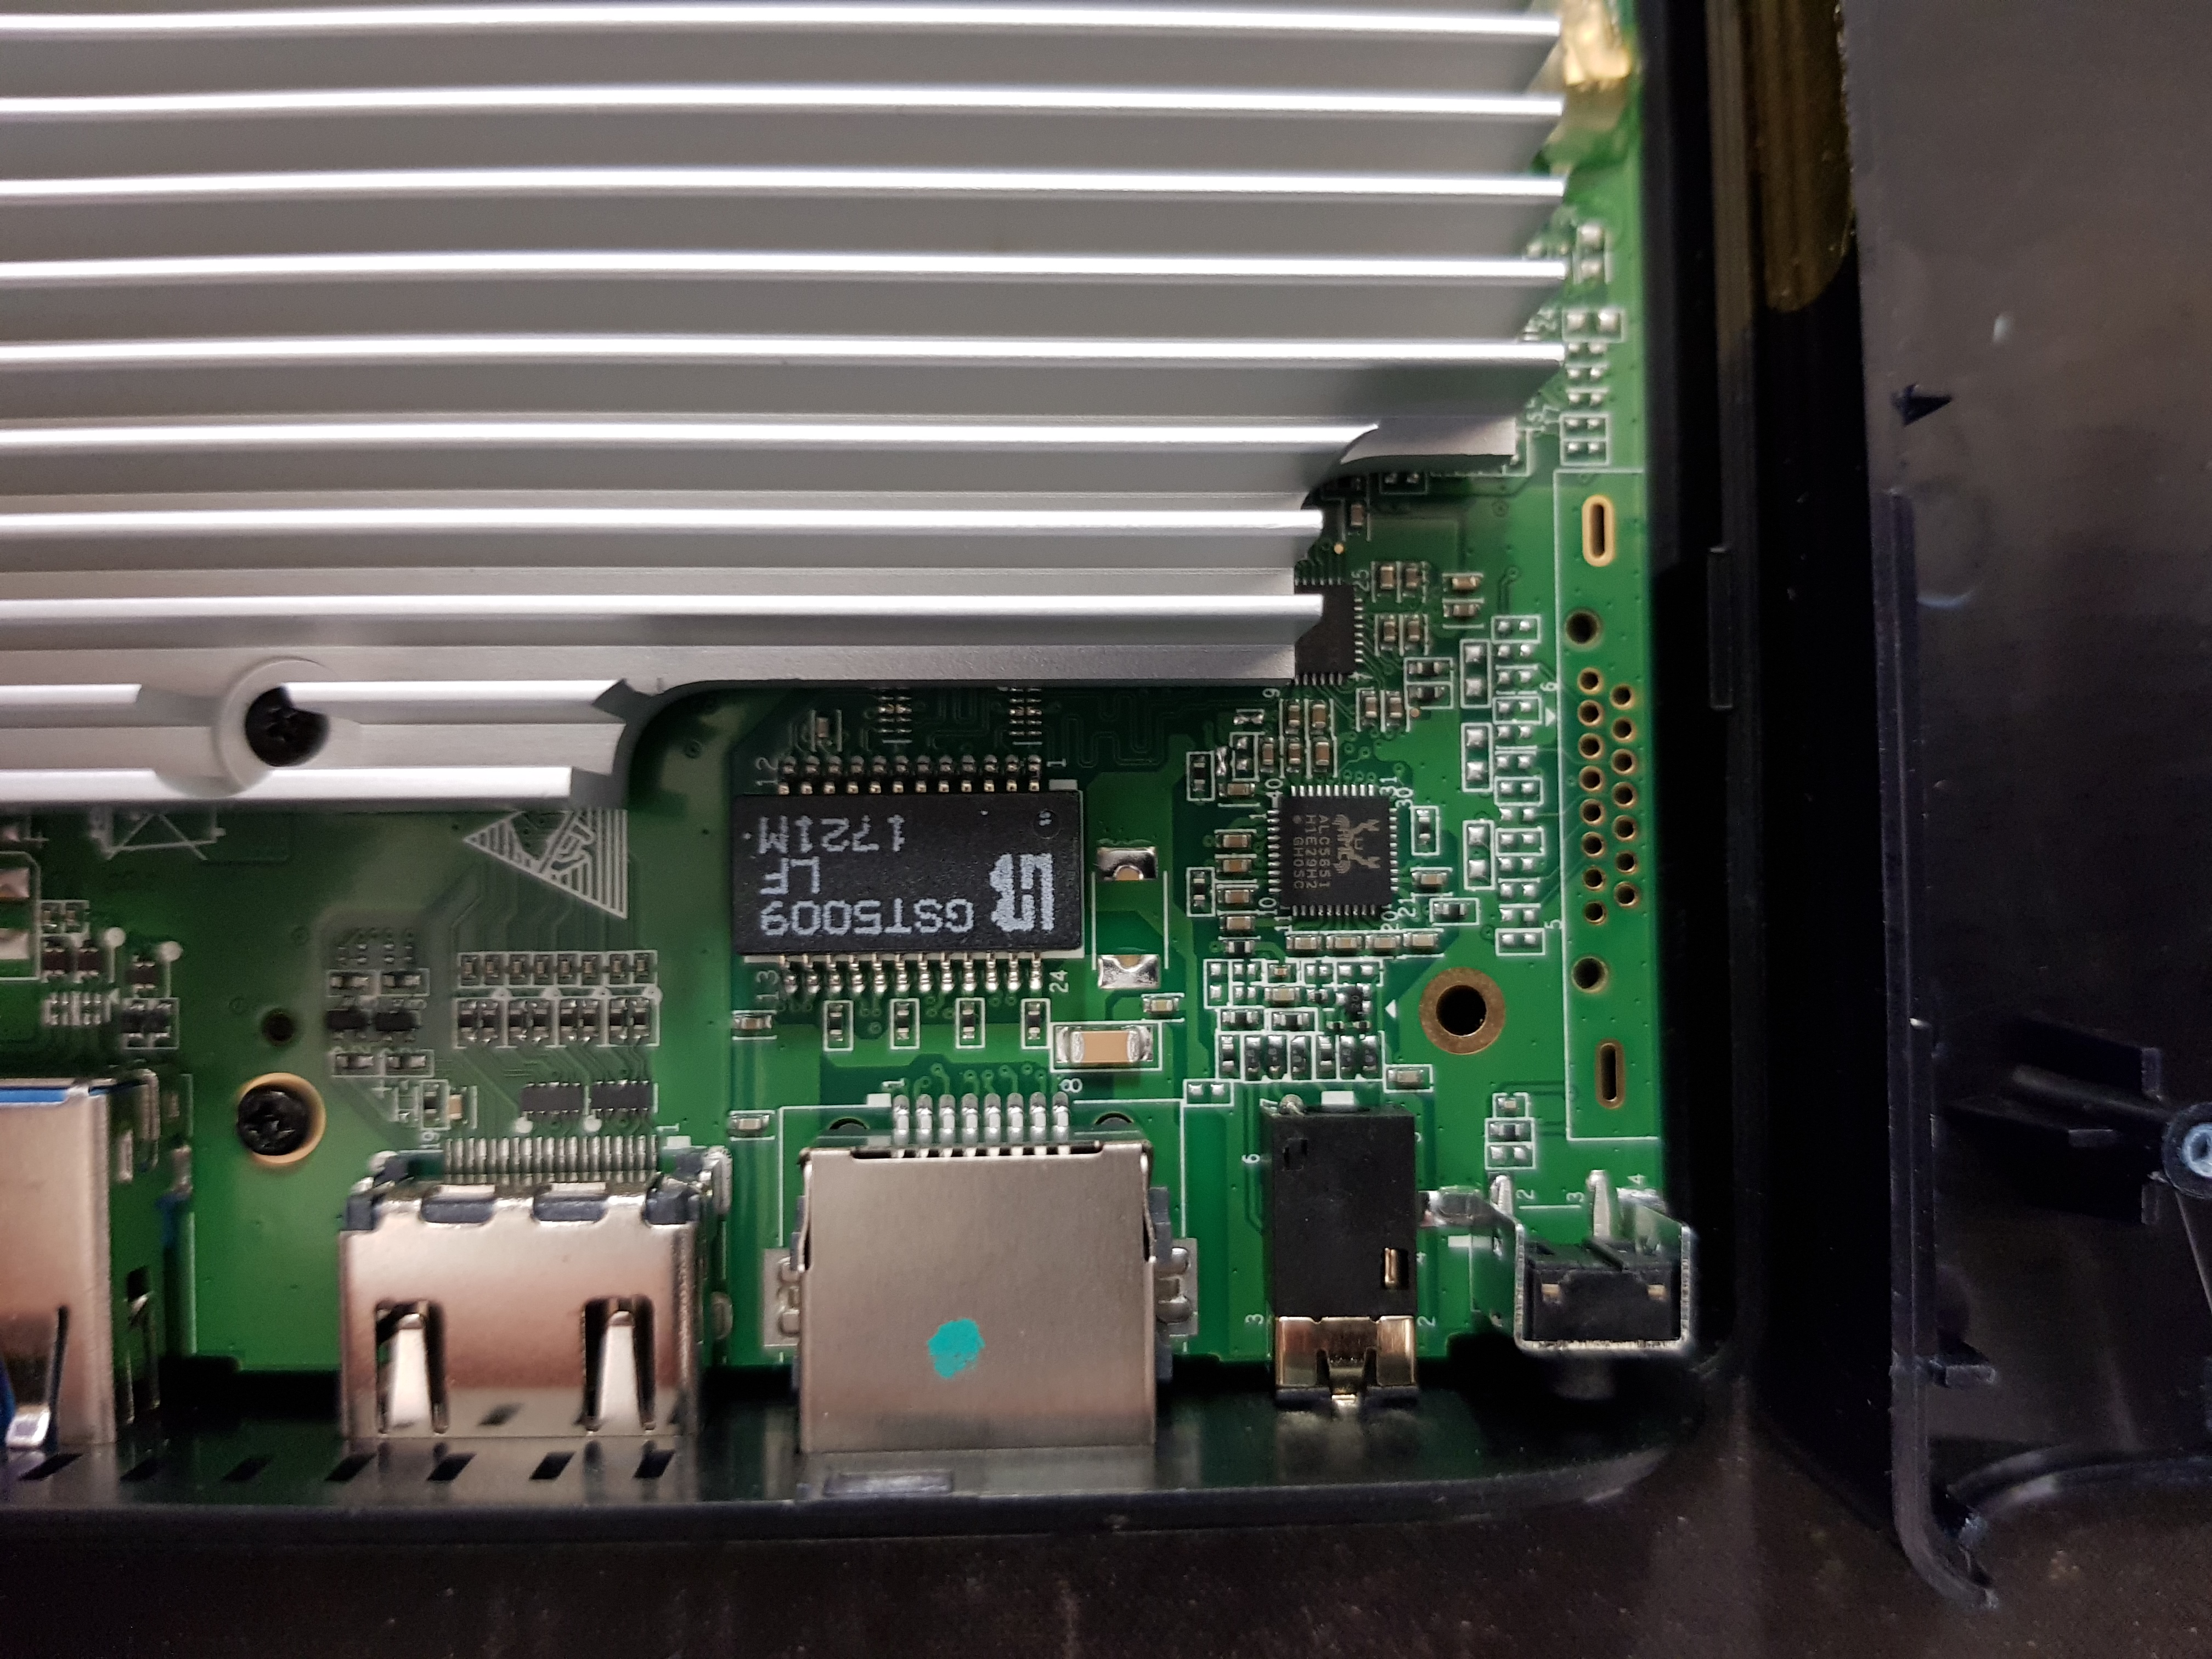
On the bottom right there is an unpopulate 15 pin header, all but two of these were connect to ground.
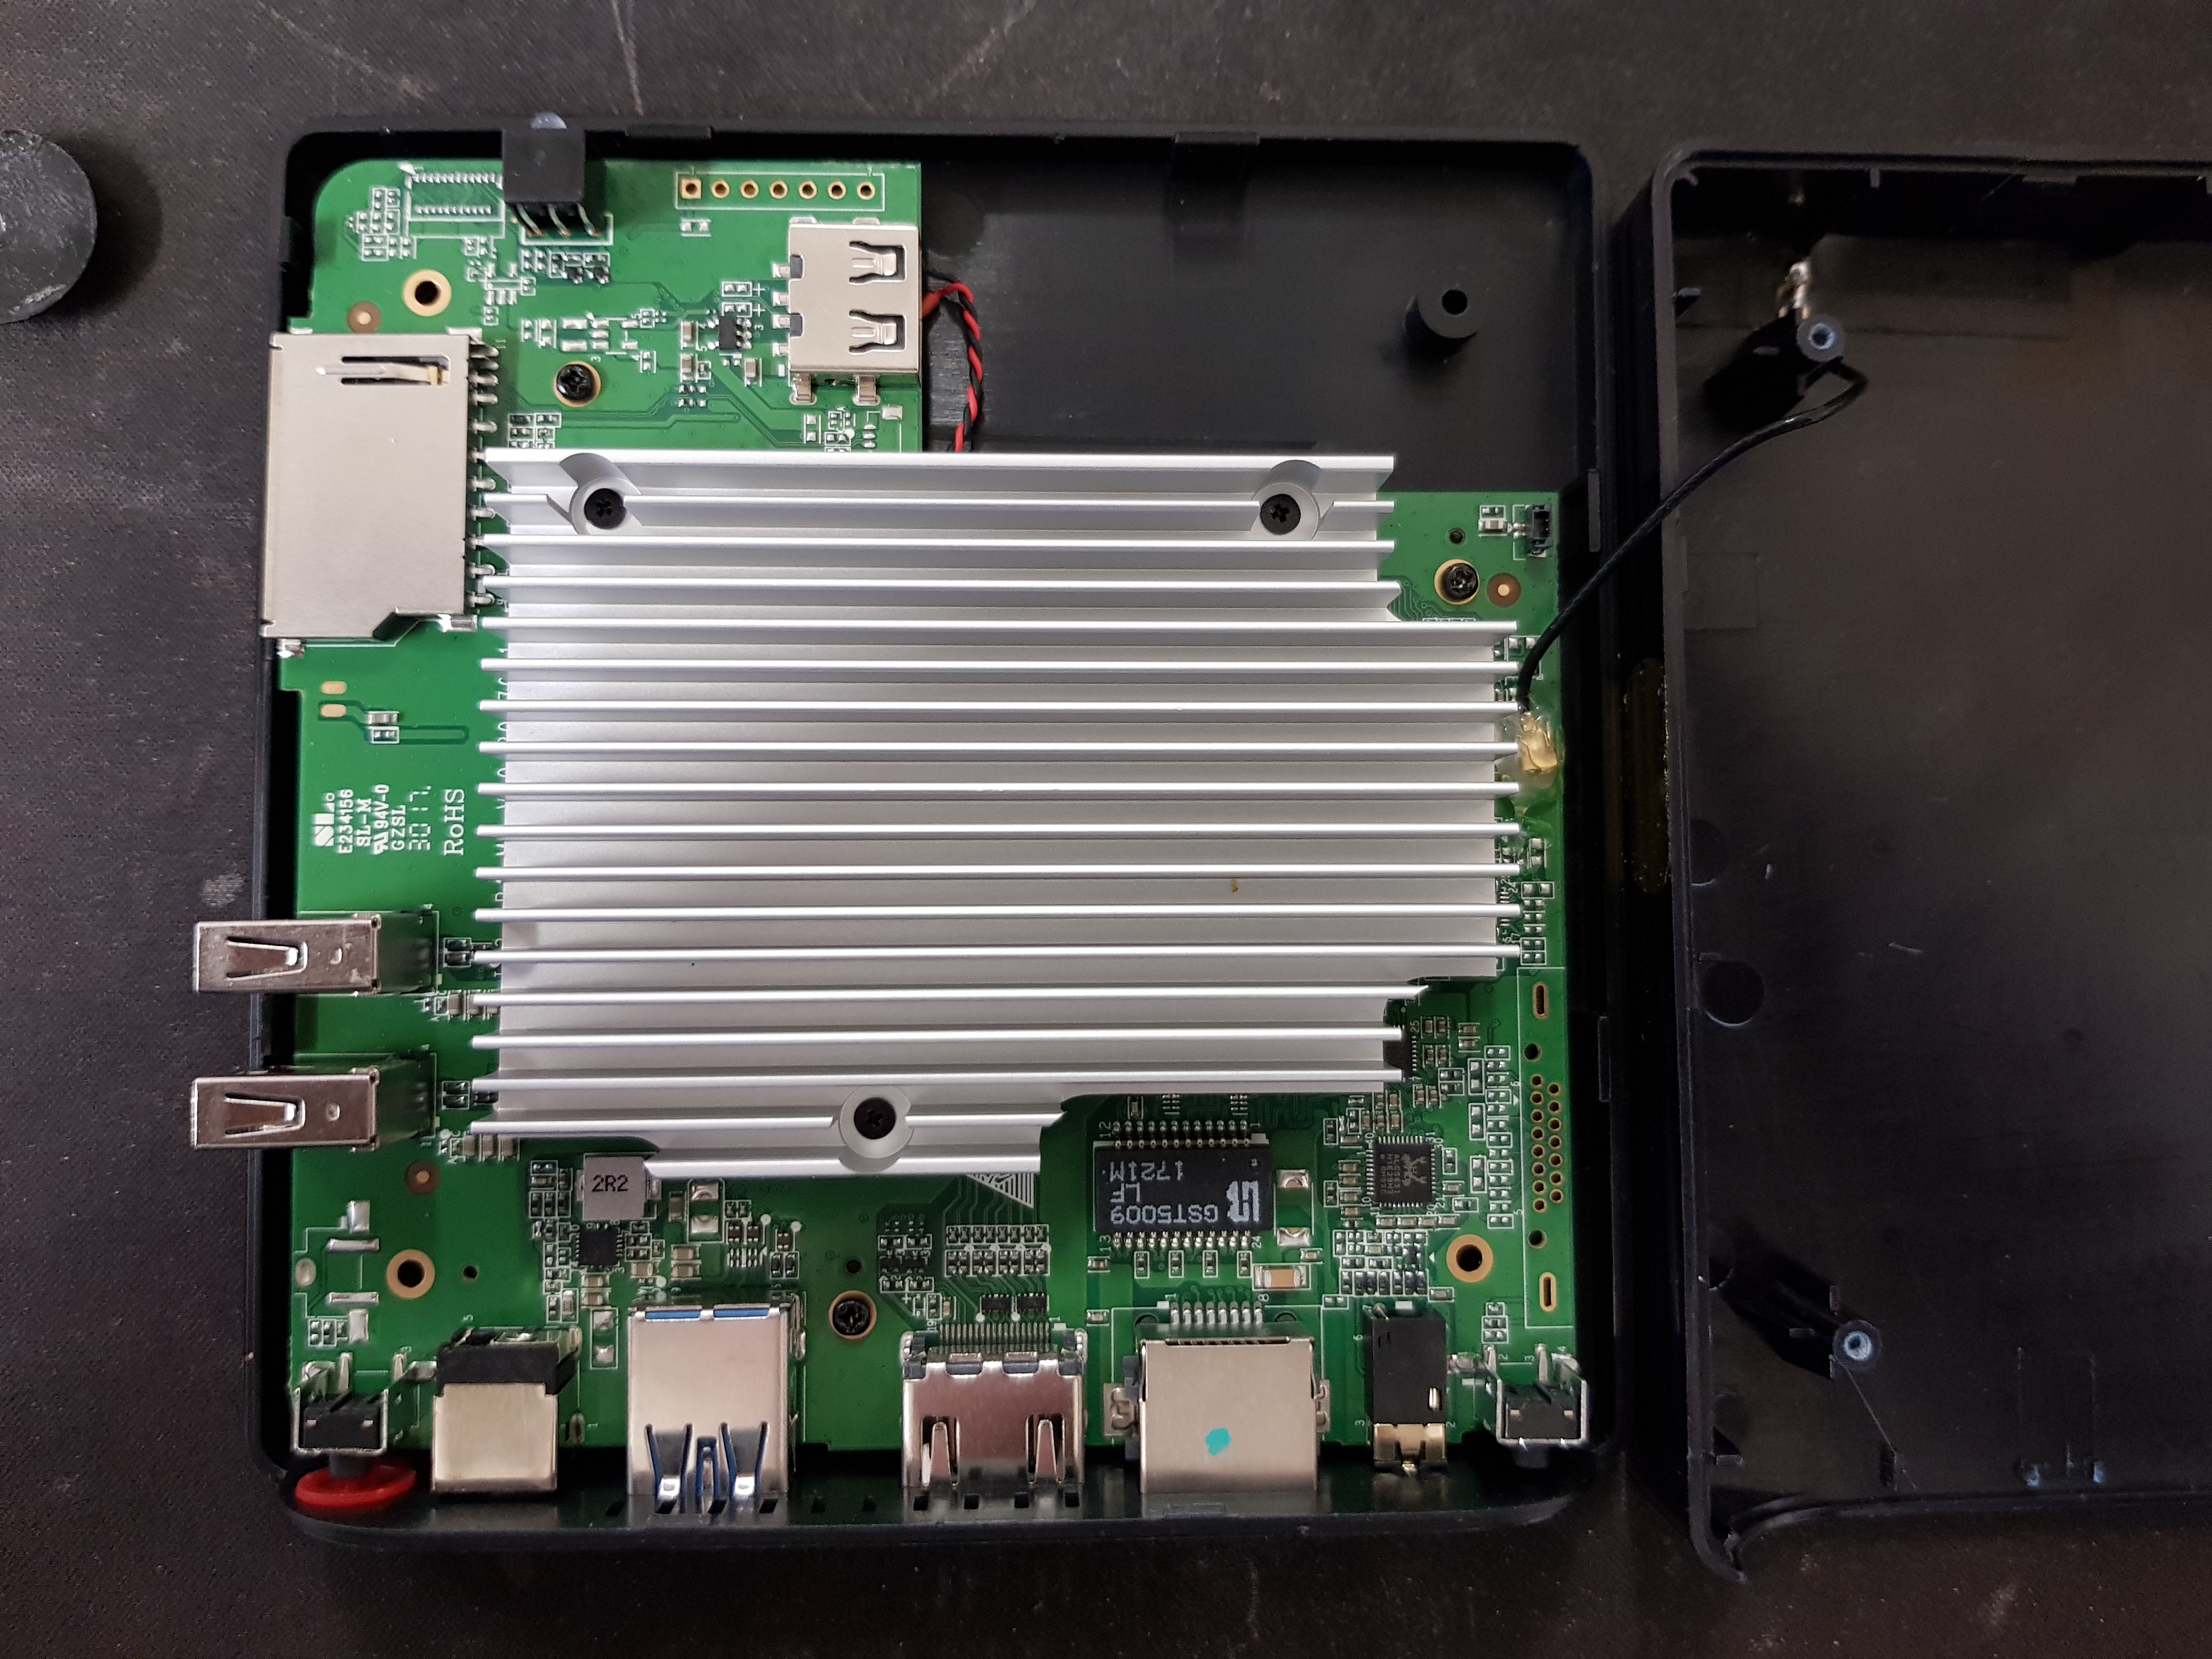
MEAT
Some more gory insides:


Copyright (c) 1992-2018 The FreeBSD Project.
Copyright (c) 1979, 1980, 1983, 1986, 1988, 1989, 1991, 1992, 1993, 1994
    The Regents of the University of California. All rights reserved.
FreeBSD is a registered trademark of The FreeBSD Foundation.
FreeBSD 12.0-CURRENT #0 r328126: Thu Jan 18 15:25:44 UTC 2018
    root@releng3.nyi.freebsd.org:/usr/obj/usr/src/amd64.amd64/sys/GENERIC amd64
FreeBSD clang version 6.0.0 (branches/release_60 321788) (based on LLVM 6.0.0)
WARNING: WITNESS option enabled, expect reduced performance.
VT(efifb): resolution 1920x1080
CPU: Intel(R) Atom(TM) x5-Z8350  CPU @ 1.44GHz (1440.00-MHz K8-class CPU)
  Origin="GenuineIntel"  Id=0x406c4  Family=0x6  Model=0x4c  Stepping=4
  Features=0xbfebfbff<FPU,VME,DE,PSE,TSC,MSR,PAE,MCE,CX8,APIC,SEP,MTRR,PGE,MCA,CMOV,PAT,PSE36,CLFLUSH,DTS,ACPI,MMX,FXSR,SSE,SSE2,SS,HTT,TM,PBE>
  Features2=0x43d8e3bf<SSE3,PCLMULQDQ,DTES64,MON,DS_CPL,VMX,EST,TM2,SSSE3,CX16,xTPR,PDCM,SSE4.1,SSE4.2,MOVBE,POPCNT,TSCDLT,AESNI,RDRAND>
  AMD Features=0x28100800<SYSCALL,NX,RDTSCP,LM>
  AMD Features2=0x101<LAHF,Prefetch>
  Structured Extended Features=0x2282<TSCADJ,SMEP,ERMS,NFPUSG>
  VT-x: PAT,HLT,MTF,PAUSE,EPT,UG,VPID
  TSC: P-state invariant, performance statistics
real memory  = 2147483648 (2048 MB)
avail memory = 1946144768 (1855 MB)
Event timer "LAPIC" quality 600
ACPI APIC Table: <ALASKA A M I >
WARNING: L1 data cache covers fewer APIC IDs than a core (0 < 1)
FreeBSD/SMP: Multiprocessor System Detected: 4 CPUs
FreeBSD/SMP: 1 package(s) x 4 core(s)
random: unblocking device.
ioapic0 <Version 2.0> irqs 0-114 on motherboard
SMP: AP CPU #2 Launched!
SMP: AP CPU #1 Launched!
SMP: AP CPU #3 Launched!
Timecounter "TSC" frequency 1440001458 Hz quality 1000
random: entropy device external interface
netmap: loaded module
[ath_hal] loaded
module_register_init: MOD_LOAD (vesa, 0xffffffff80ff8620, 0) error 19
random: registering fast source Intel Secure Key RNG
random: fast provider: "Intel Secure Key RNG"
kbd1 at kbdmux0
nexus0
cryptosoft0: <software crypto> on motherboard
acpi0: <ALASKA A M I > on motherboard
Firmware Error (ACPI): Failure creating [BDLI], AE_ALREADY_EXISTS (20180105/dswload-498)
ACPI Error: AE_ALREADY_EXISTS, During name lookup/catalog (20180105/psobject-371)
ACPI Error: AE_ALREADY_EXISTS, (SSDT: DptfTab) while loading table (20180105/tbxfload-355)
ACPI Error: 1 table load failures, 8 successful (20180105/tbxfload-378)
acpi0: Power Button (fixed)
unknown: I/O range not supported
cpu0: <ACPI CPU> on acpi0
cpu1: <ACPI CPU> on acpi0
cpu2: <ACPI CPU> on acpi0
cpu3: <ACPI CPU> on acpi0
attimer0: <AT timer> port 0x40-0x43,0x50-0x53 irq 0 on acpi0
Timecounter "i8254" frequency 1193182 Hz quality 0
Event timer "i8254" frequency 1193182 Hz quality 100
atrtc0: <AT realtime clock> port 0x70-0x77 on acpi0
atrtc0: Warning: Couldn't map I/O.
atrtc0: registered as a time-of-day clock, resolution 1.000000s
Event timer "RTC" frequency 32768 Hz quality 0
hpet0: <High Precision Event Timer> iomem 0xfed00000-0xfed003ff irq 8 on acpi0
Timecounter "HPET" frequency 14318180 Hz quality 950
Event timer "HPET" frequency 14318180 Hz quality 450
Event timer "HPET1" frequency 14318180 Hz quality 440
Event timer "HPET2" frequency 14318180 Hz quality 440
Timecounter "ACPI-safe" frequency 3579545 Hz quality 850
acpi_timer0: <24-bit timer at 3.579545MHz> port 0x408-0x40b on acpi0
pcib0: <ACPI Host-PCI bridge> port 0xcf8-0xcff on acpi0
pci0: <ACPI PCI bus> on pcib0
vgapci0: <VGA-compatible display> port 0xf000-0xf03f mem 0x90000000-0x90ffffff,0x80000000-0x8fffffff at device 2.0 on pci0
vgapci0: Boot video device
xhci0: <Intel Braswell USB 3.0 controller> mem 0x91700000-0x9170ffff at device 20.0 on pci0
xhci0: 32 bytes context size, 64-bit DMA
usbus0 on xhci0
usbus0: 5.0Gbps Super Speed USB v3.0
pci0: <serial bus, USB> at device 22.0 (no driver attached)
pci0: <encrypt/decrypt> at device 26.0 (no driver attached)
pcib1: <ACPI PCI-PCI bridge> at device 28.0 on pci0
pci1: <ACPI PCI bus> on pcib1
re0: <RealTek 8168/8111 B/C/CP/D/DP/E/F/G PCIe Gigabit Ethernet> port 0xe000-0xe0ff mem 0x91604000-0x91604fff,0x91600000-0x91603fff at device 0.0 on pci1
re0: Using 1 MSI-X message
re0: turning off MSI enable bit.
re0: Chip rev. 0x4c000000
re0: MAC rev. 0x00000000
miibus0: <MII bus> on re0
rgephy0: <RTL8251/8153 1000BASE-T media interface> PHY 1 on miibus0
rgephy0:  none, 10baseT, 10baseT-FDX, 10baseT-FDX-flow, 100baseTX, 100baseTX-FDX, 100baseTX-FDX-flow, 1000baseT-FDX, 1000baseT-FDX-master, 1000baseT-FDX-flow, 1000baseT-FDX-flow-master, auto, auto-flow
re0: Using defaults for TSO: 65518/35/2048
re0: Ethernet address: 84:39:be:65:0d:60
re0: netmap queues/slots: TX 1/256, RX 1/256
isab0: <PCI-ISA bridge> at device 31.0 on pci0
isa0: <ISA bus> on isab0
acpi_button0: <Power Button> on acpi0
acpi_tz0: <Thermal Zone> on acpi0
sdhci_acpi0: <Intel Bay Trail/Braswell eMMC 4.5/4.5.1 Controller> iomem 0x9173c000-0x9173cfff irq 45 on acpi0
mmc0: <MMC/SD bus> on sdhci_acpi0
sdhci_acpi1: <Intel Bay Trail/Braswell SDXC Controller> iomem 0x91738000-0x91738fff irq 47 on acpi0
mmc1: <MMC/SD bus> on sdhci_acpi1
uart0: <16550 or compatible> port 0x3f8-0x3ff irq 4 flags 0x10 on acpi0
atkbdc0: <Keyboard controller (i8042)> at port 0x60,0x64 on isa0
atkbd0: <AT Keyboard> irq 1 on atkbdc0
kbd0 at atkbd0
atkbd0: [GIANT-LOCKED]
atkbdc0: non-PNP ISA device will be removed from GENERIC in FreeBSD 12.
est0: <Enhanced SpeedStep Frequency Control> on cpu0
est1: <Enhanced SpeedStep Frequency Control> on cpu1
est2: <Enhanced SpeedStep Frequency Control> on cpu2
est3: <Enhanced SpeedStep Frequency Control> on cpu3
Timecounters tick every 1.000 msec
ugen0.1: <0x8086 XHCI root HUB> at usbus0
uhub0: <0x8086 XHCI root HUB, class 9/0, rev 3.00/1.00, addr 1> on usbus0
mmcsd0: 31GB <MMCHC NCard  4.5 SN 6E7E9160 MFG 06/2017 by 136 0x0003> at mmc0 200.0MHz/8bit/8192-block
mmcsd0boot0: 4MB partion 1 at mmcsd0
mmcsd0boot1: 4MB partion 2 at mmcsd0
mmcsd0rpmb: 4MB partion 3 at mmcsd0
mmc1: No compatible cards found on bus
WARNING: WITNESS option enabled, expect reduced performance.
Trying to mount root from ufs:/dev/mmcsd0p2 [rw]...
uhub0: 13 ports with 13 removable, self powered
lock order reversal:
 1st 0xfffff8000417e240 ufs (ufs) @ /usr/src/sys/kern/vfs_subr.c:2607
 2nd 0xfffffe0000e46500 bufwait (bufwait) @ /usr/src/sys/ufs/ffs/ffs_vnops.c:282
 3rd 0xfffff800042a09a0 ufs (ufs) @ /usr/src/sys/kern/vfs_subr.c:2607
stack backtrace:
#0 0xffffffff80b2bba3 at witness_debugger+0x73
#1 0xffffffff80b2ba24 at witness_checkorder+0xe34
#2 0xffffffff80a9cbeb at __lockmgr_args+0x88b
#3 0xffffffff80dc2565 at ffs_lock+0xa5
#4 0xffffffff810f7af9 at VOP_LOCK1_APV+0xd9
#5 0xffffffff80ba7006 at _vn_lock+0x66
#6 0xffffffff80b9599f at vget+0x7f
#7 0xffffffff80b87891 at vfs_hash_get+0xd1
#8 0xffffffff80dbe25f at ffs_vgetf+0x3f
#9 0xffffffff80db4886 at softdep_sync_buf+0xd16
#10 0xffffffff80dc3354 at ffs_syncvnode+0x294
#11 0xffffffff80d999ff at ffs_truncate+0x6df
#12 0xffffffff80dca7f1 at ufs_direnter+0x641
#13 0xffffffff80dd393c at ufs_makeinode+0x61c
#14 0xffffffff80dcf5b4 at ufs_create+0x34
#15 0xffffffff810f51d3 at VOP_CREATE_APV+0xd3
#16 0xffffffff80ba6908 at vn_open_cred+0x2a8
#17 0xffffffff80b9f14c at kern_openat+0x20c
ugen0.2: <Dell Dell USB Entry Keyboard> at usbus0
ukbd0 on uhub0
ukbd0: <Dell Dell USB Entry Keyboard, class 0/0, rev 1.10/1.15, addr 1> on usbus0
kbd2 at ukbd0
ugen0.3: <SanDisk Cruzer Fit> at usbus0
umass0 on uhub0
umass0: <SanDisk Cruzer Fit, class 0/0, rev 2.00/2.01, addr 2> on usbus0
umass0:  SCSI over Bulk-Only; quirks = 0x8100
umass0:0:0: Attached to scbus0
da0 at umass-sim0 bus 0 scbus0 target 0 lun 0
da0: <SanDisk Cruzer Fit 2.01> Fixed Direct Access SPC-4 SCSI device
da0: Serial Number 4C530302741216116074
da0: 40.000MB/s transfers
da0: 3819MB (7821312 512 byte sectors)
da0: quirks=0x2<NO_6_BYTE>
re0: link state changed to DOWN
GEOM_PART: integrity check failed (da0s4, BSD)
GEOM_PART: integrity check failed (ufsid/5a1180062a826673, BSD)
GEOM_PART: integrity check failed (diskid/DISK-4C530302741216116074s4, BSD)