Badger Badge
Years ago for for EMF 2022 I got some badger badged for me and Phine as a surprise and promptly forgot to take them with me. After 38c3 (for which much writing is waiting to leave my head) it was really obvious to me that things are easier for strangers if they get a clue about who you are.
As I will be at FOSDEM this year I thought I'd try and set up the badger with a contact card to make things easier while I run the project/foundation table.
The badger has a 296x128 eink panel and an Micropython "OS" that hosts some
examples. The badger has an onboard RP2040 microcontroller which can control
the display, read buttons and do stuff. It has an ebook reader and an image
view. If I want my own content for the badge I just need to upload an image to
/images
on the badge and open it.
Uploading an Image
As I use FreeBSD and have an allergy to installing software I didn't want to install a python IDE to copy a file.
I thought this would be easy to do, it wasn't.
The badge has documentation for beginners, but I found it really difficult to actually find facts. I've done a fair amount of stuff with micropython on various microcontrollers so I was able to skip using their recommended GUI tools and use sensible things.
The RP2040 is flashed by powering it up with RST held, it then appears as a FAT mass storage device. Micropython firmwares either host their own mass storage and don't require the RST hold or can offer a file system via serial. The badger is one of the second.
The easiest way I have found to upload files to micropython devices is to use
ampy
from Adafruit. This season it is packaged as
py311-adafruit-ampy
# pkg install py311-adafruit-ampy
If you plug the badge in and look at dmesg you should (but might not) see it connect as a serial device.
ugen1.12: <MicroPython Board in FS mode> at usbus1
umodem0 on uhub0
umodem0: <MicroPython Board in FS mode, class 239/2, rev 2.00/1.00, addr 14> on usbus1
umodem0: data interface 1, has no CM over data, has no break
umodem0 is ttyU0 and cuaU0 depending on what you are doing. I uploaded my image with the put command:
$ sudo ampy --port /dev/cuaU0 put badge.jpg /images/badge.jpg
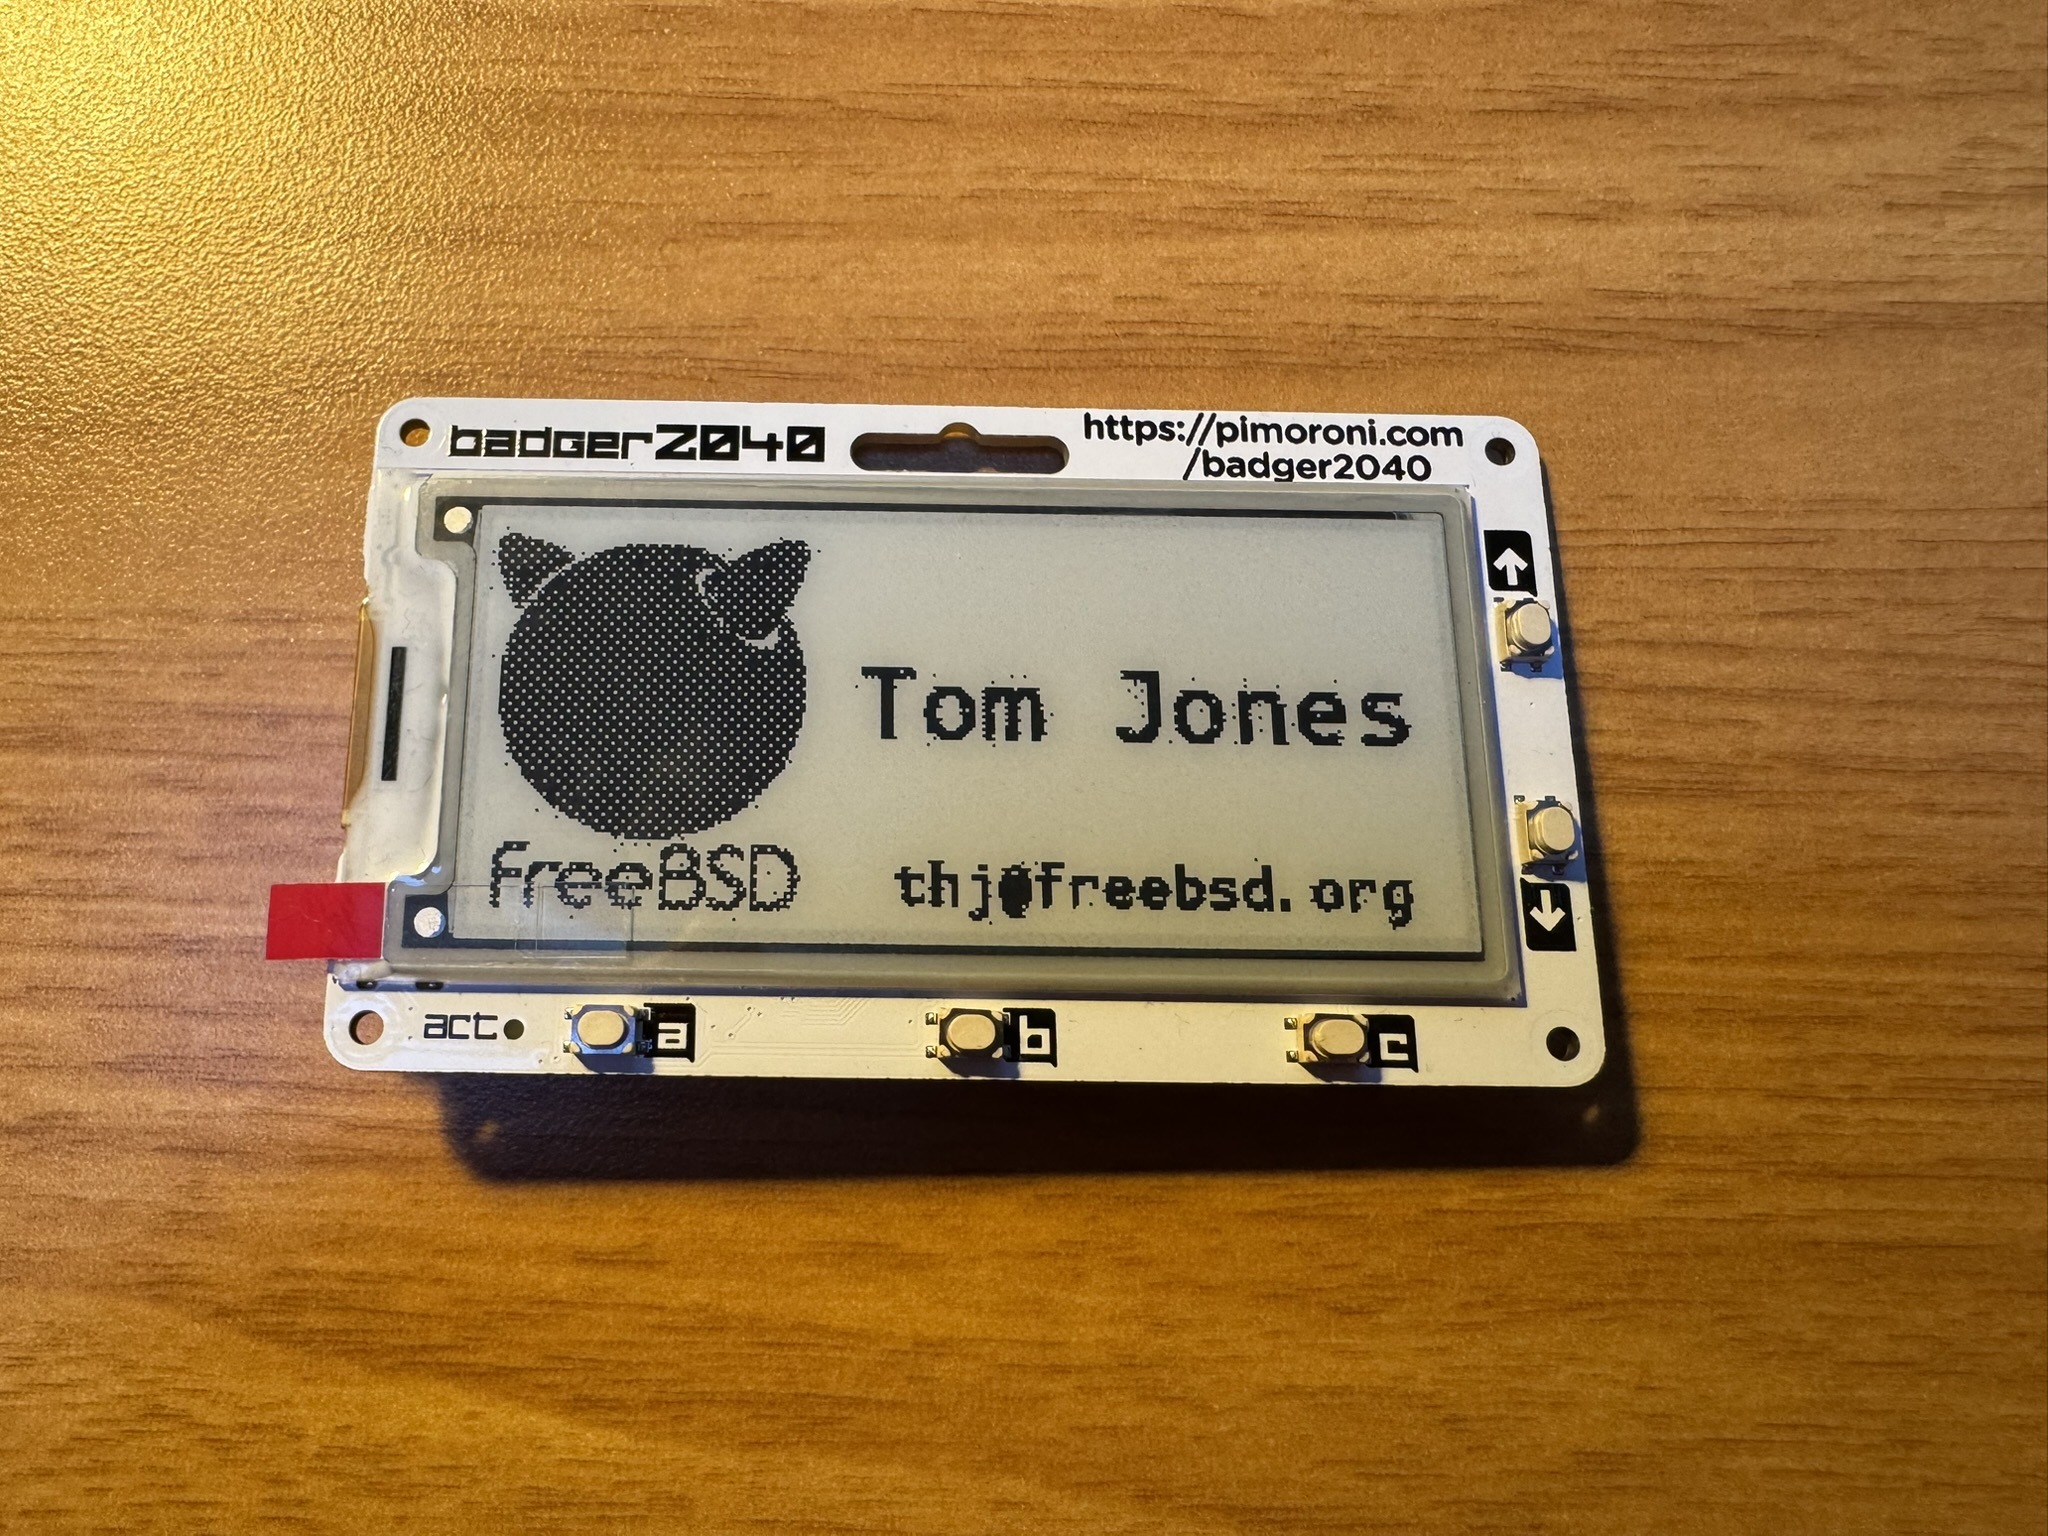
and got this awful thing:
time to look at making the image better
Creating an Image
To make my FreeBSD badge I grabbed the Official FreeBSD Project assests from the Foundations website, dropped them into Inkscape and added some text using Roboto Sans the projects body text font. I then exported this to a non-progressive jpeg.
The output from Inkscape has some stray pixels, but badger has also applied dithering to the first image. This was a great opportunity to try the grafx2 bitmap editor so I pulled the exported JPEG into that. For what ever reason Inkscape had exported the black for the logo as very dark grey (12, 21, 23) and so the badger had done its best.
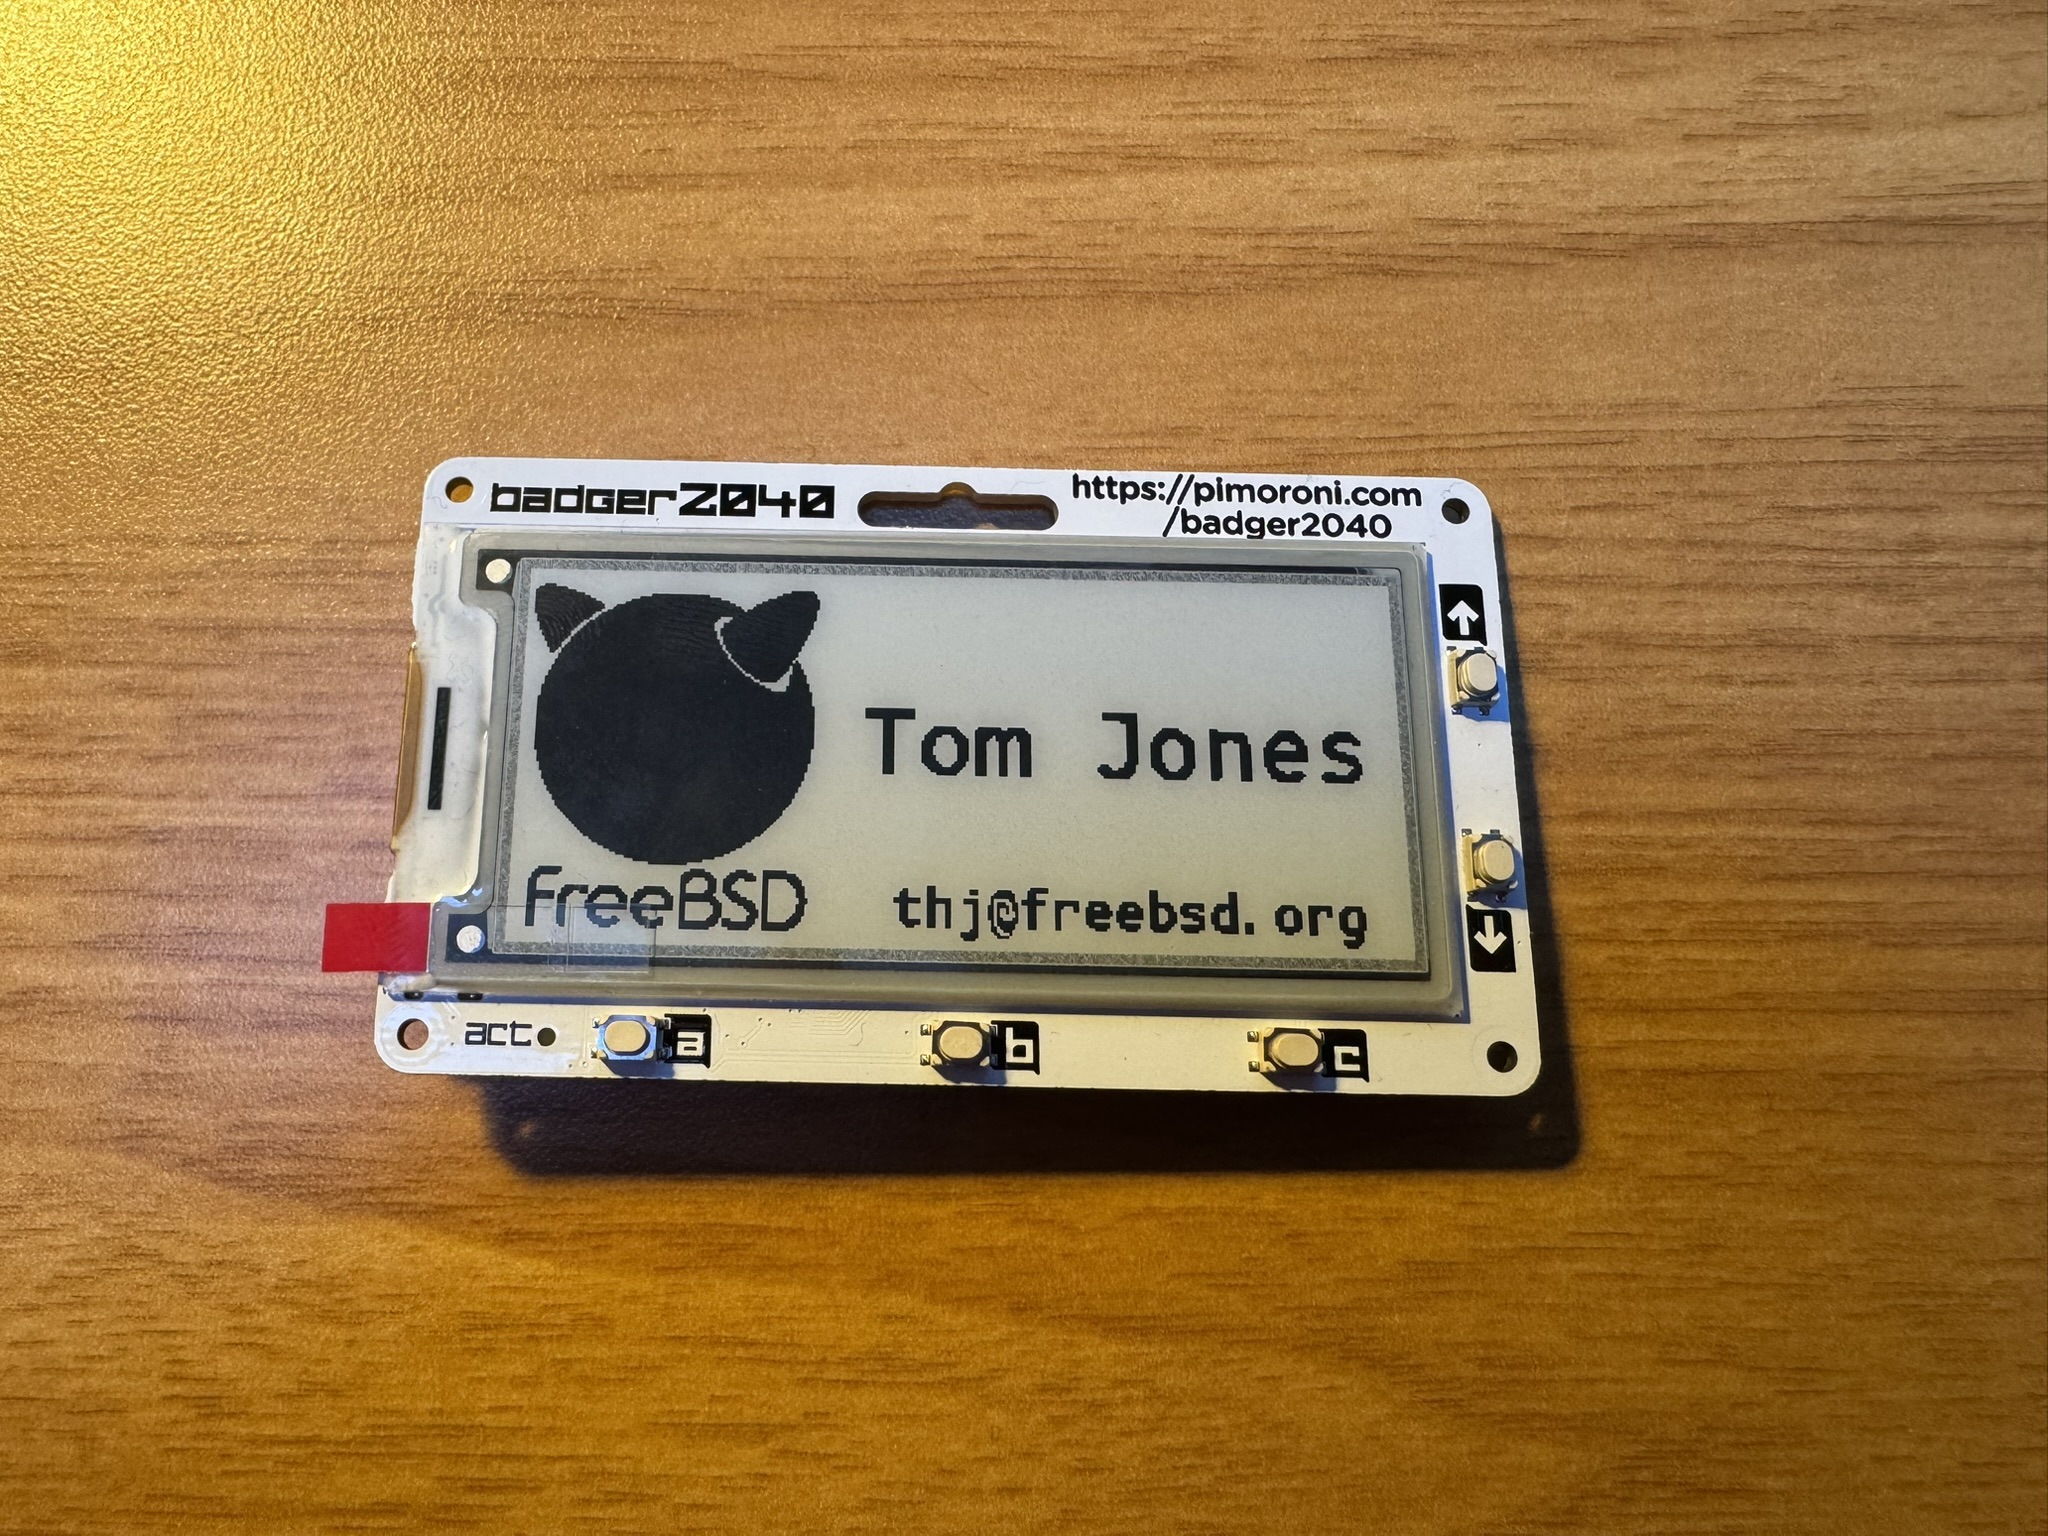
I edited the image to just be black and white saved it to BMP and then used convert to turn it into a 1 bit per pixel jpg.
$ convert badger-badge.bmp -depth 1 badger-badge.jpg
$ identify badger-badge.jpg
badger-badge.jpg JPEG 296x128 296x128+0+0 8-bit Grayscale Gray 256c 10553B 0.000u 0:00.000
After a firmware reset (below) I then through the image onto the badger and I'm happy enough for now.
Firmware Reset
The BadgerOS doesn't want to run after I have loaded my image, but that is easy
enough to fix. Hold
boot/usr
on the back of the badge then press
RST
and it
will come up as a USB mass storage device then copy the
.uf2
from Pimoroni's
Github and unmount and you will have updated the badge and recovered it to a
running state to try a second image.
$ sudo mount_msdosfs /dev/da3s1 ~/mnt
$ cp ~/Downloads/pimoroni-badger2040-v0.0.5-micropython-with-badger-os.uf2 ~/mnt/
$ sudo umount ~/mnt

