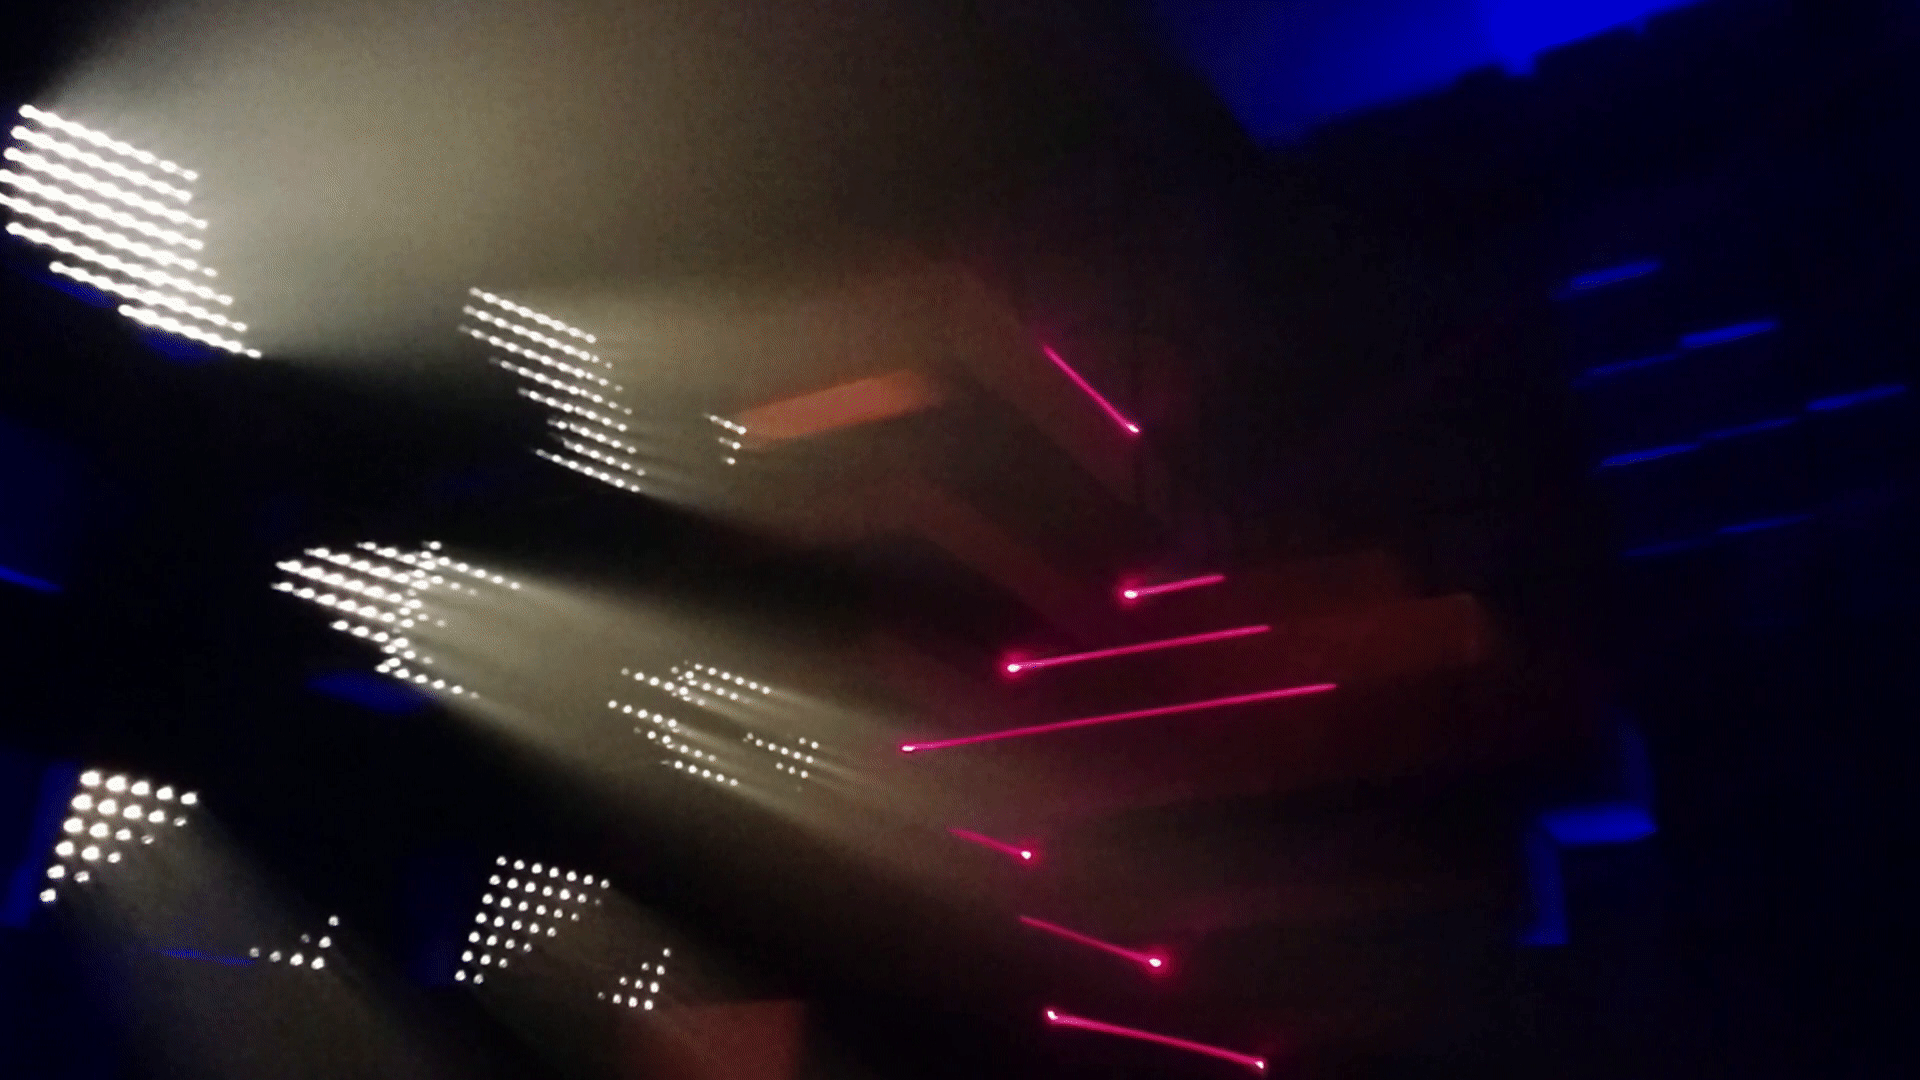
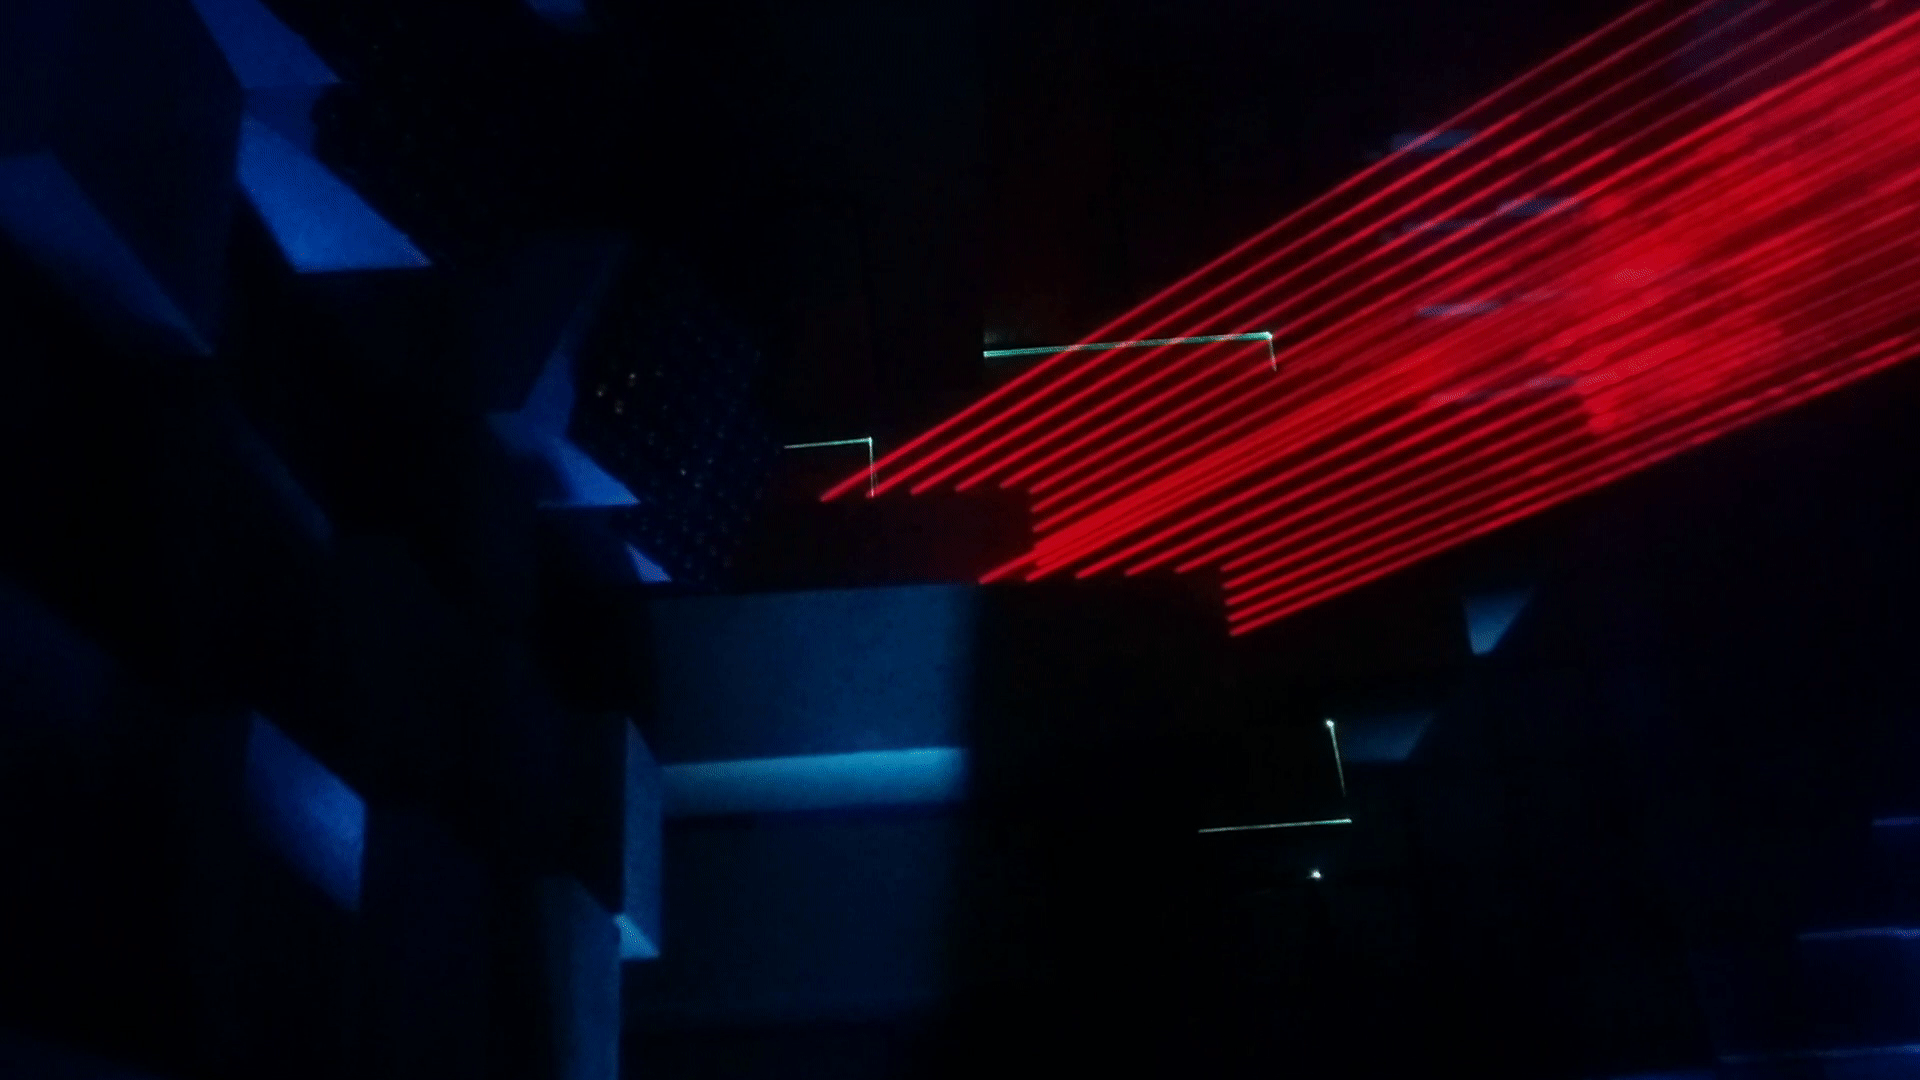
ffmpeg can now make gifs in a single step, no longer do you have to generate
frames then pass them into ImageMagick. For most of the videos I have tried the
initial gif from ffmpeg hasn't been very good.
I found a
stackoverflow post
that describes a two step process for
generating gifs with ffmpeg that has great results. The first step generates a
palette from the source video, then this palette is used as a filter when
converting the video into a gif.
ffmpeg -i input.mov -vf fps=10,scale=320:-1:flags=lanczos,palettegen palette.png
Output the GIF using the palette:
ffmpeg -i input.mov -i palette.png -filter_complex "fps=10,scale=320:-1:flags=lanczos[x];[x][1:v]paletteuse" output.gif
The improvement is more evident if you click and watch the full size gifs side
by side. The stackoverflow post links a blog post with even more information on
generating high quality gifs from video
.
#!/bin/sh

if [ "$#" -ne 1 ]; then
    echo "usage: makegif filename.mp4"
    exit 1
fi

input=$1
filename="${input%.*}"

ffmpeg -y -i $input -vf fps=10,scale=320:-1:flags=lanczos,palettegen palette.png
ffmpeg -y -i $input -i palette.png -filter_complex "fps=10,scale=0:-1:flags=lanczos[x];[x][1:v]paletteuse" $filename.gif
I still can't describe CCC, you have to go.

I wrote a post about how to survive congress, but didn't publish it. It
contained a list a little like this:
-
All of the talks are recorded, streamed and put online at media.ccc.de.
-
The self organised sessions are not recorded.
-
The most interesting things are happening at the assemblies.
These points hold true, my original suggestion because the talks are available
after the fact there isn't much point sitting in the lectures. At 32c3 I didn't
attend any of the talks, this was a mistake. I really regret not going to any
talks.
Going to the talks gives you something to talk about with the people at CCC.
The self organised sessions I went to were great and hanging out with people at
their assemblies and at the Scottish Consulate was great. If I had been in a
lecture instead of at our table I definitely would have missed
#toiletparty
. But I think if I had gone to some of the talks early each
day I would have gotten much more out of the event.
Next CCC I will head to the event with more of a plan. I don't think there is a
right way to do congress, it is just too insane, but I will try to go to each
one in a different way.
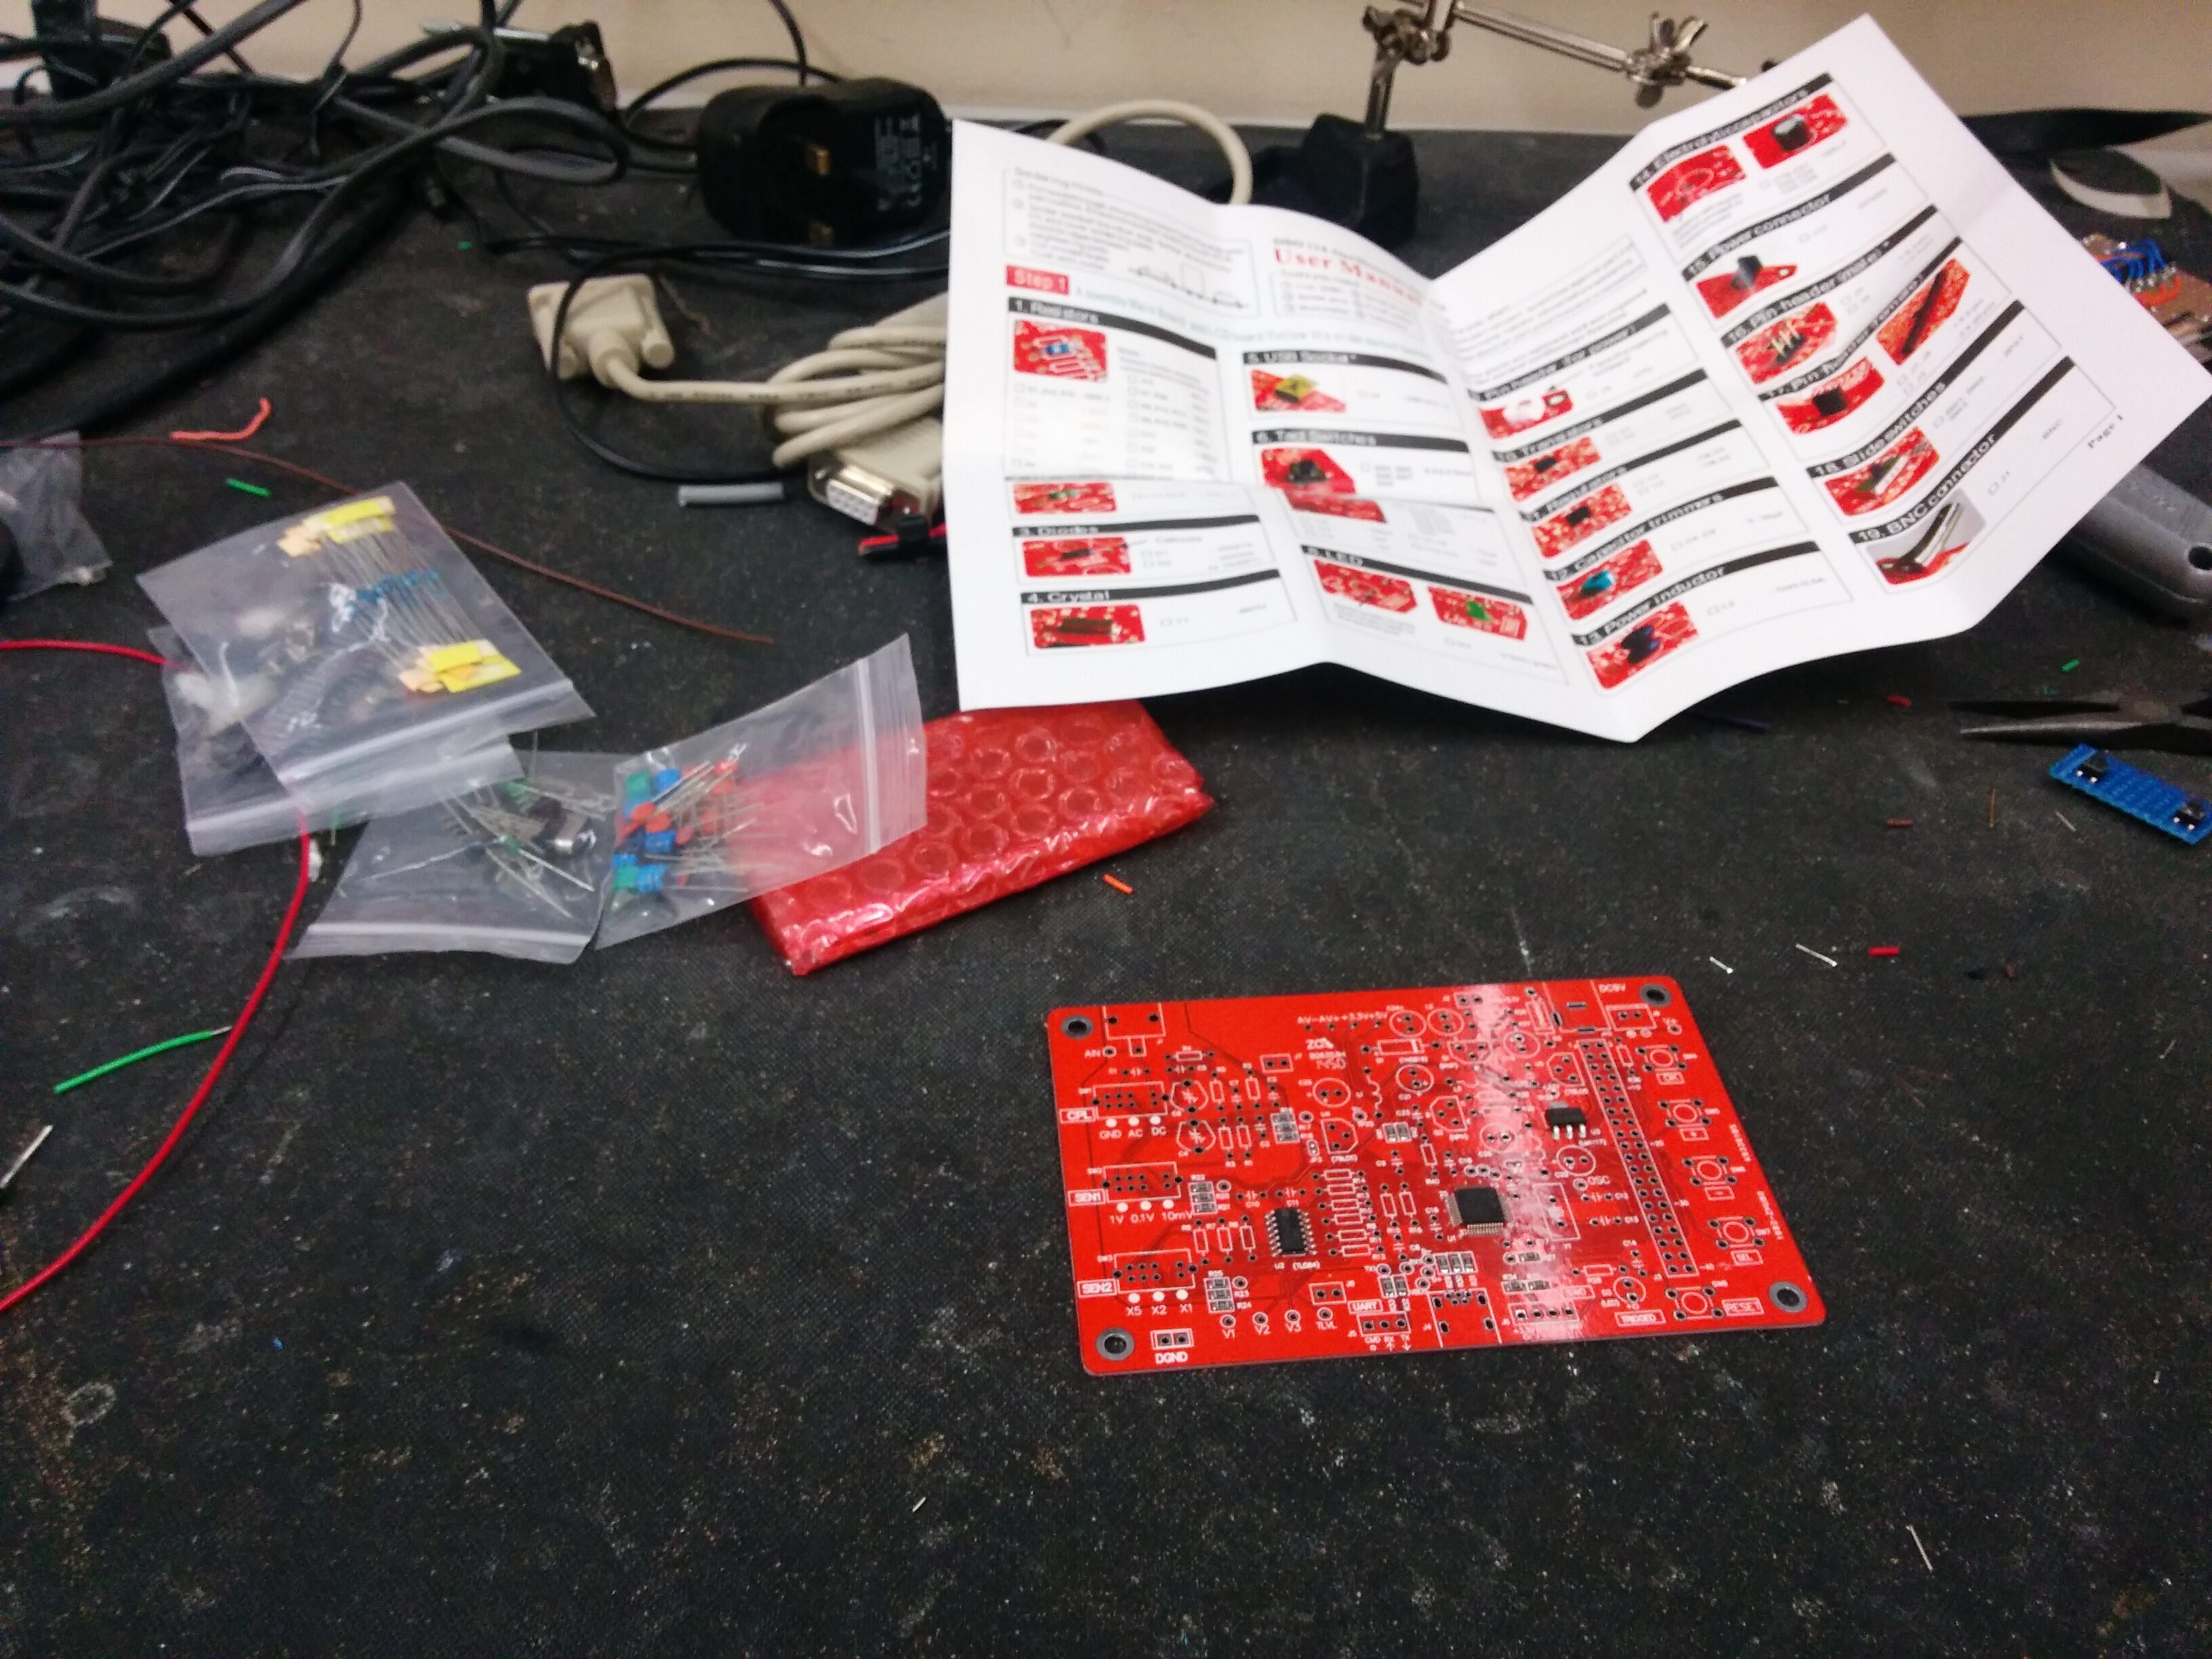
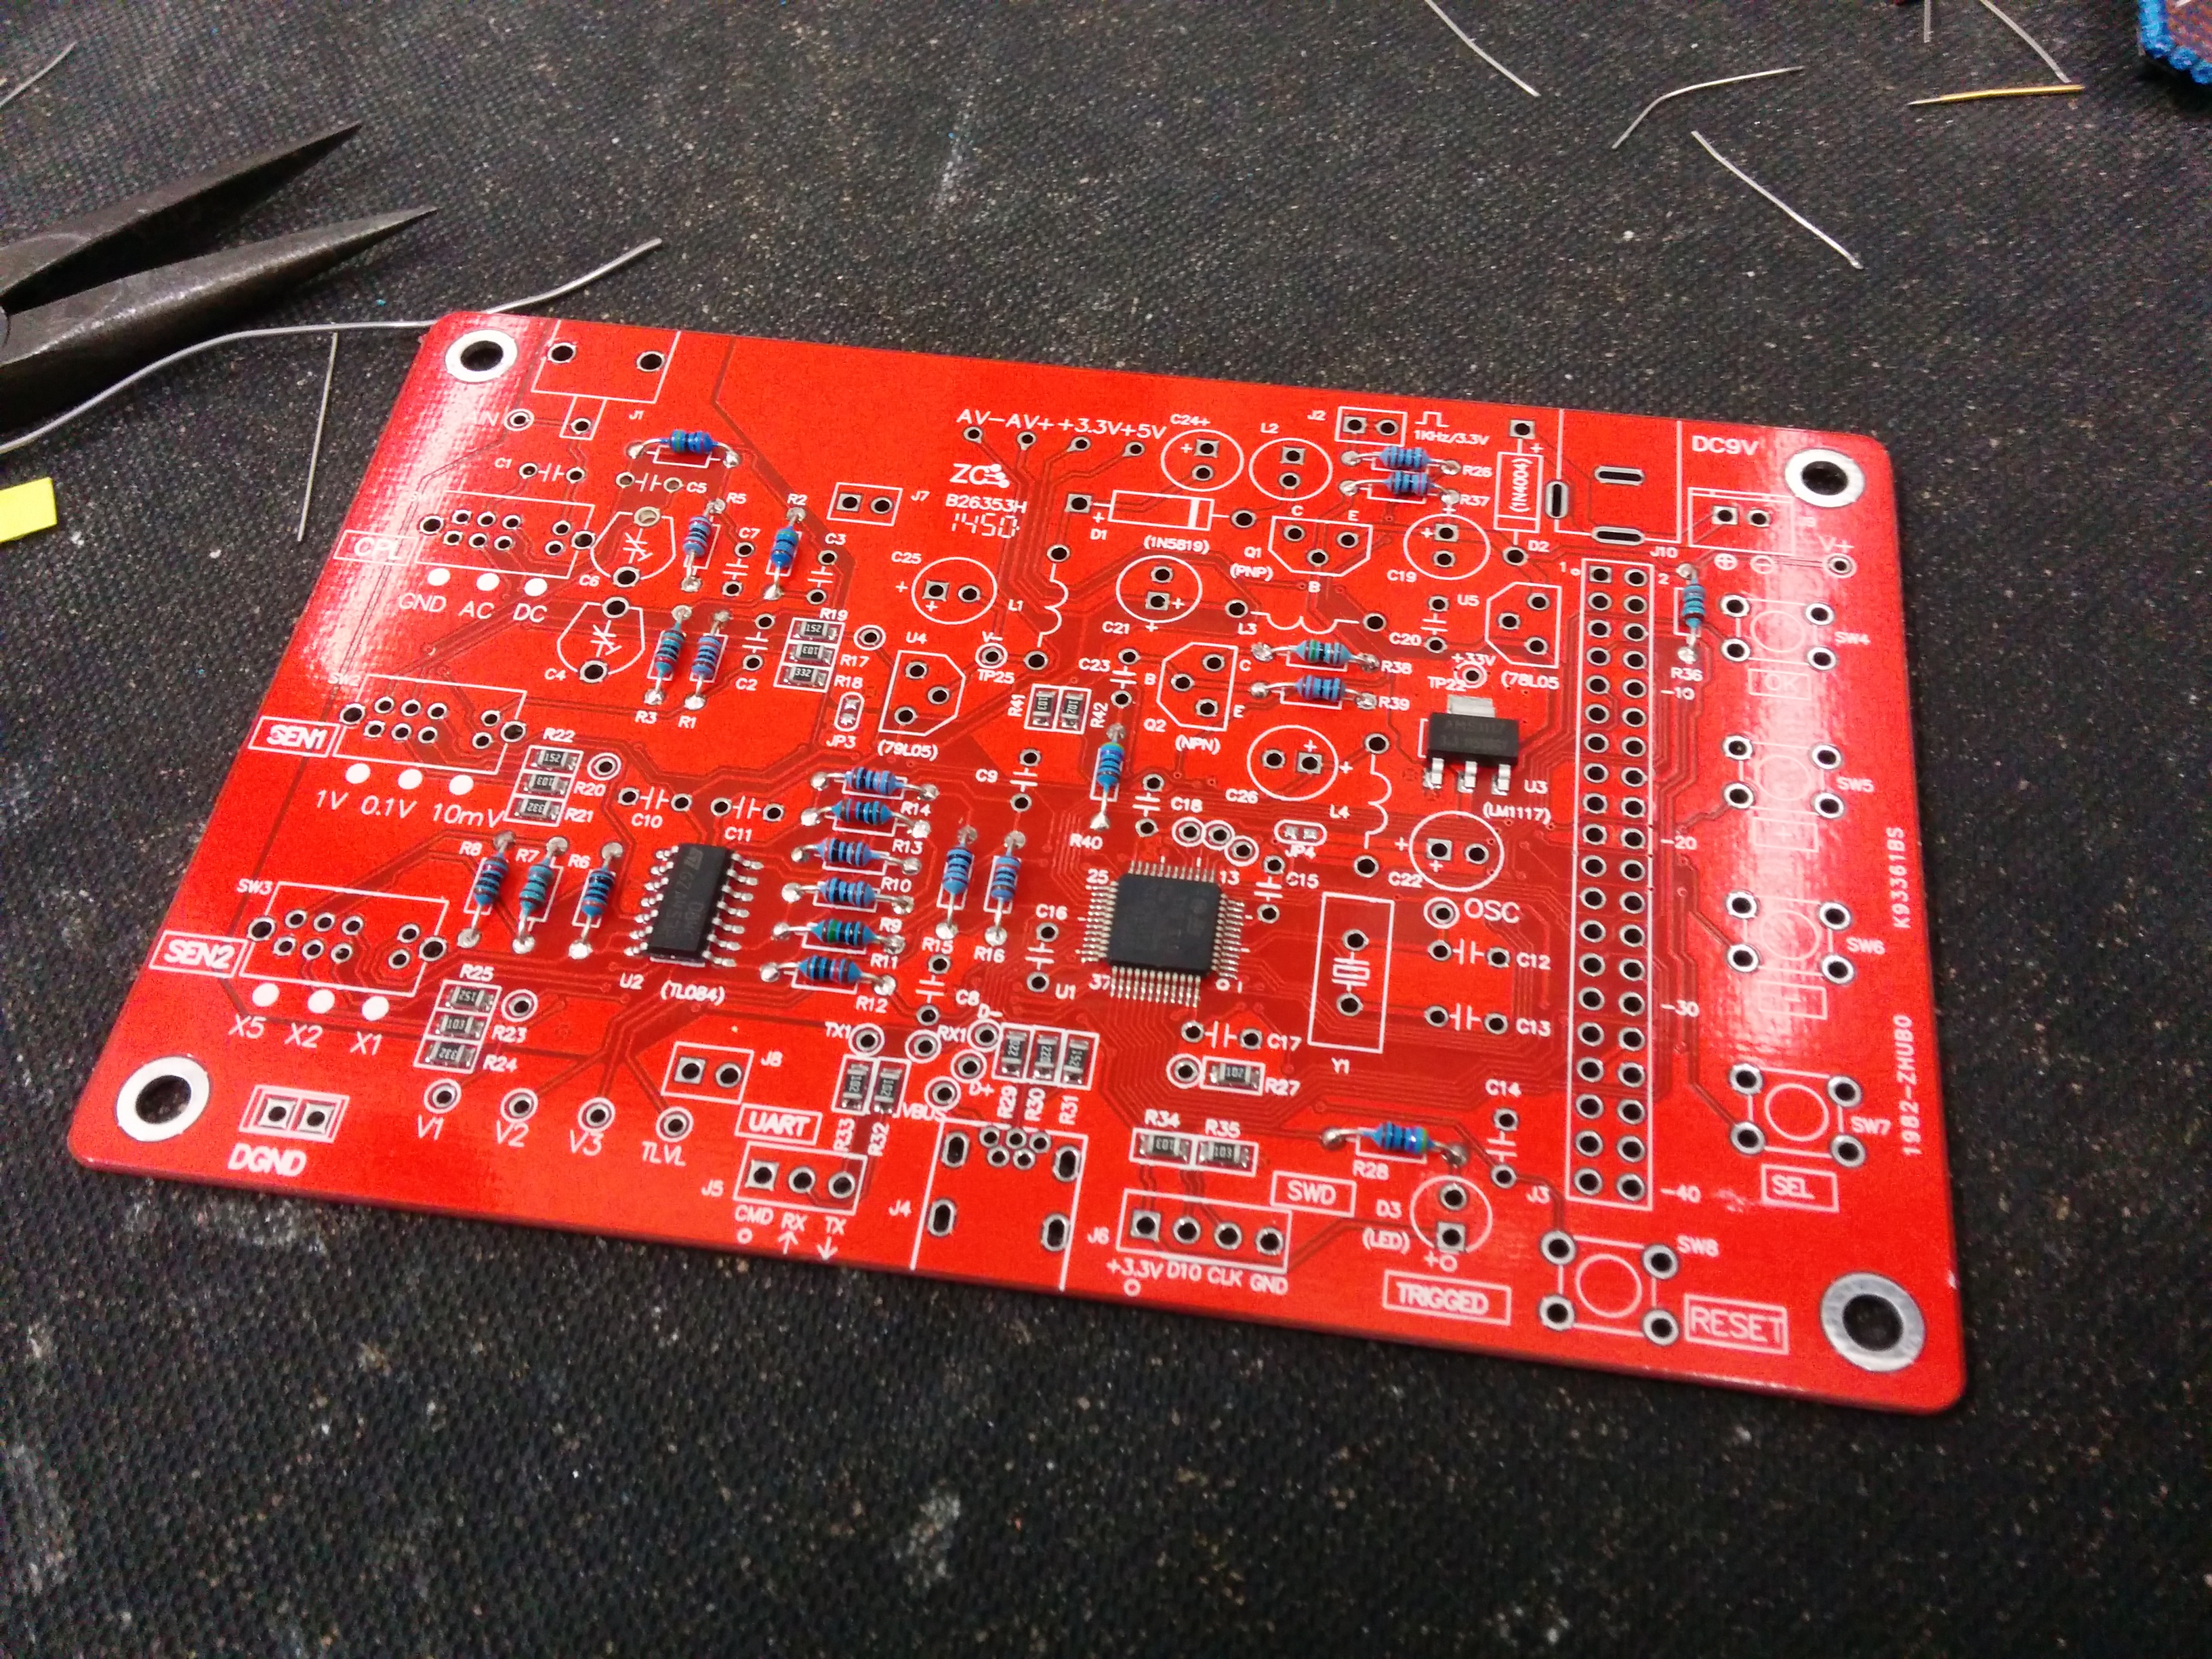
Around the December holidays I received three sets of the
jyetech lcd
scope
kit. This cheap kit (~£10) builds a small low frequency (1Msps)
oscilloscope.
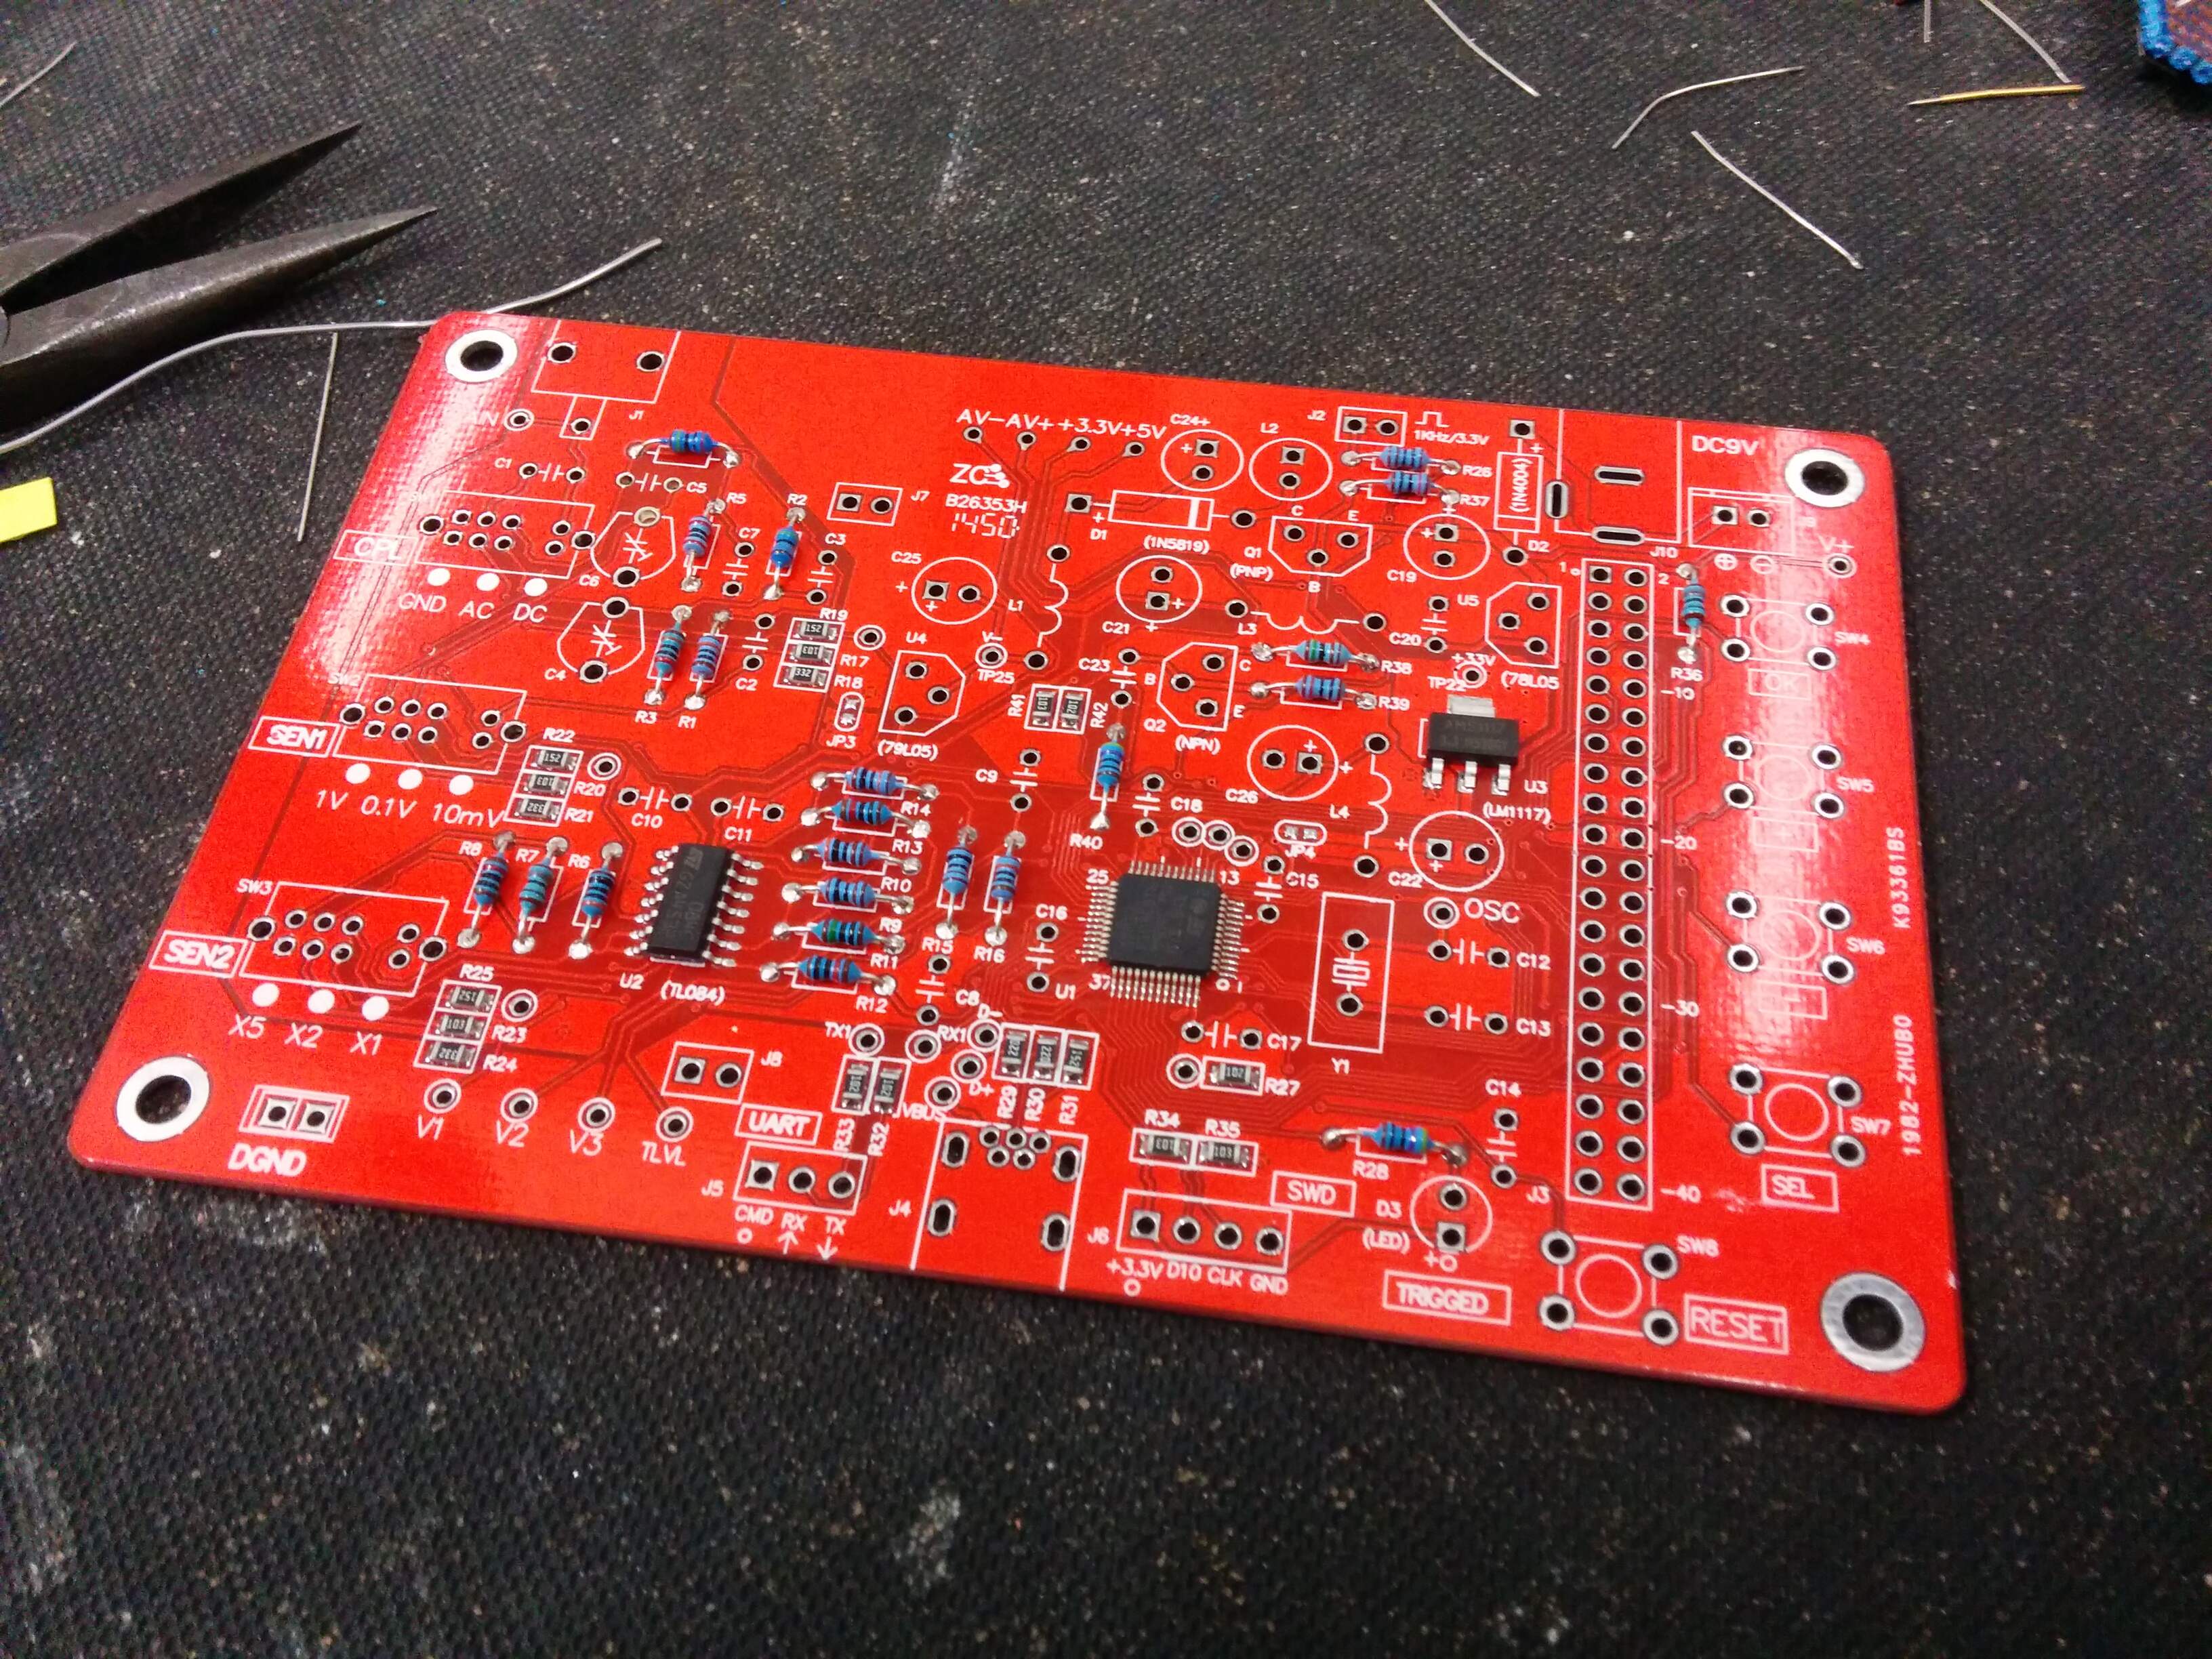
In all it took me about 2 hours to solder everything together, that includes me
misplacing a resistor and a capacitor. I wish I had sorted the resistors with a
multimeter that scales automatically before starting.

I am planning to build these kits into some audio projects later in the year,
getting three of them was great luck. The kit was really straightforward to
build and didn't take too long, there are serial logging features on the board
as well. This kit could be built into a portable work bench without much
thought.
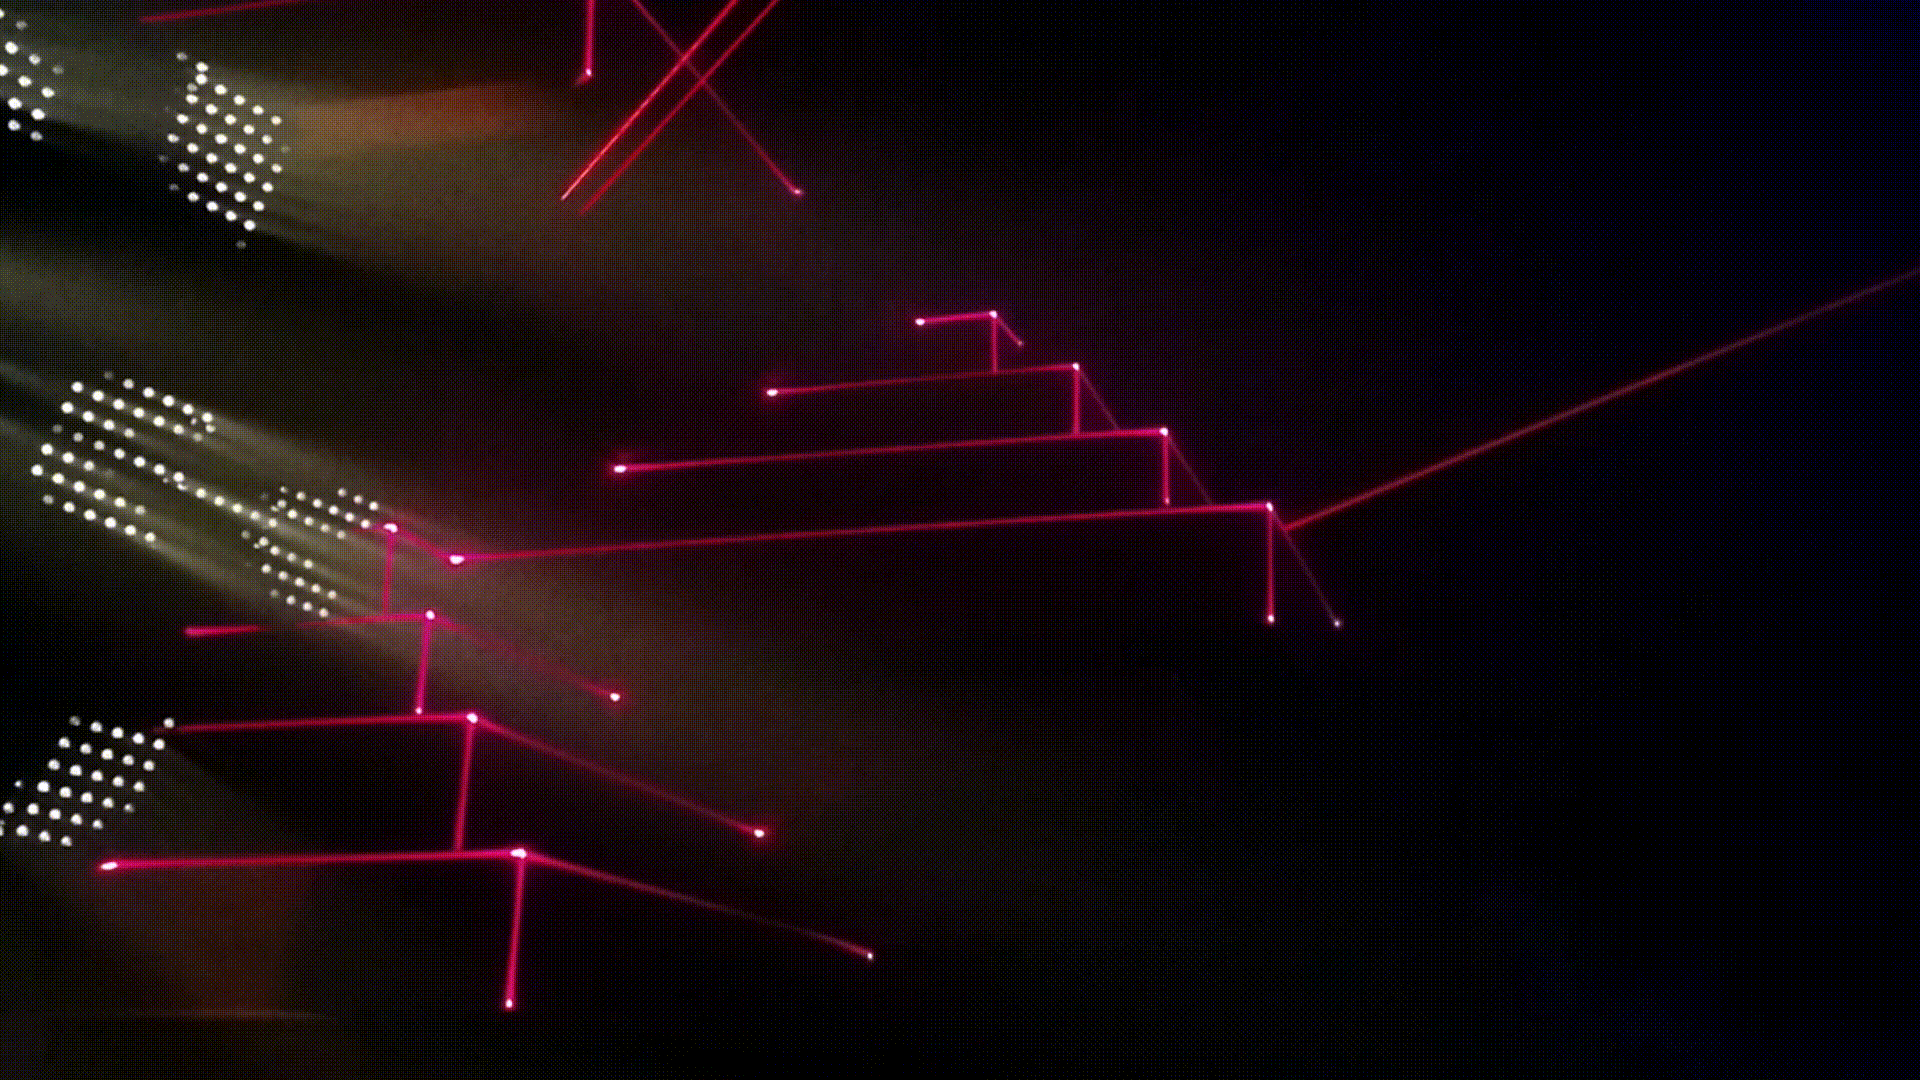
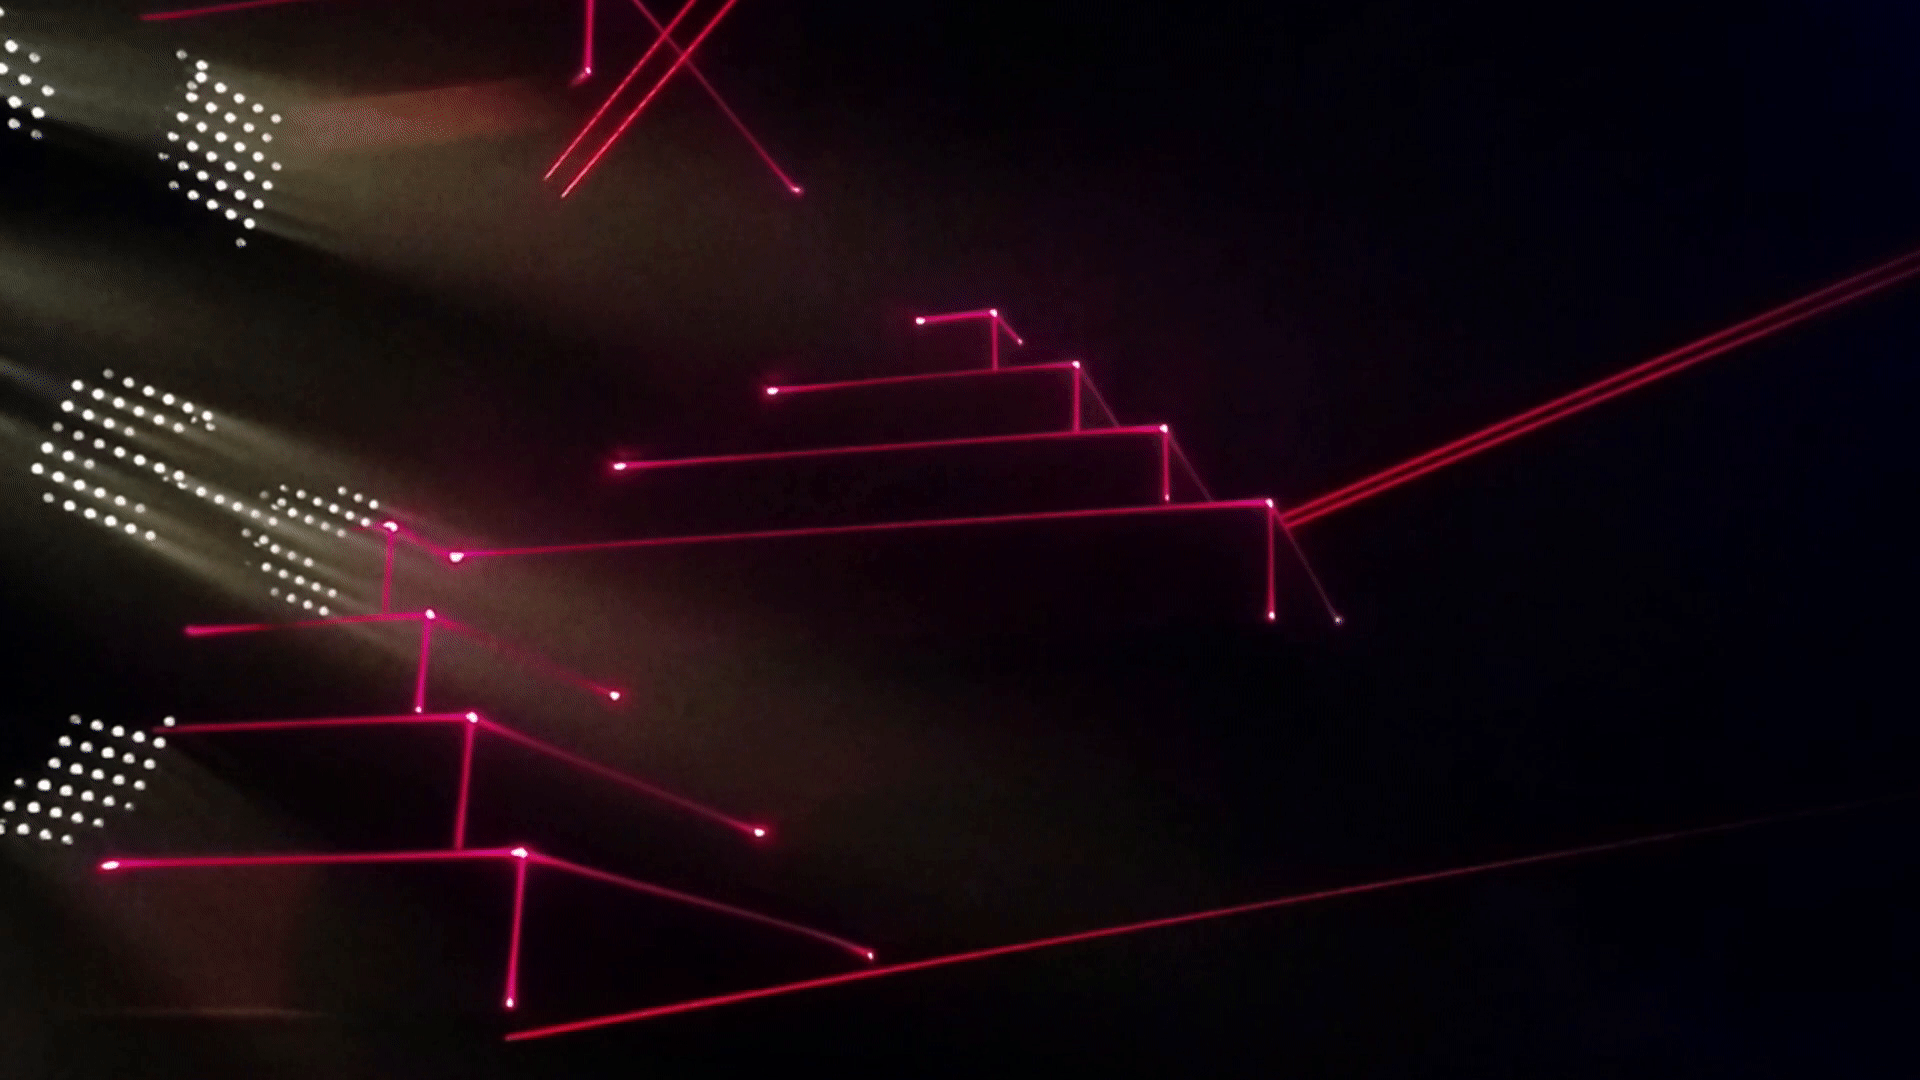
We have two old Black and White CRT monitors in the hackerspace, they look
really cool. I put together a Card and gif for the holidays:
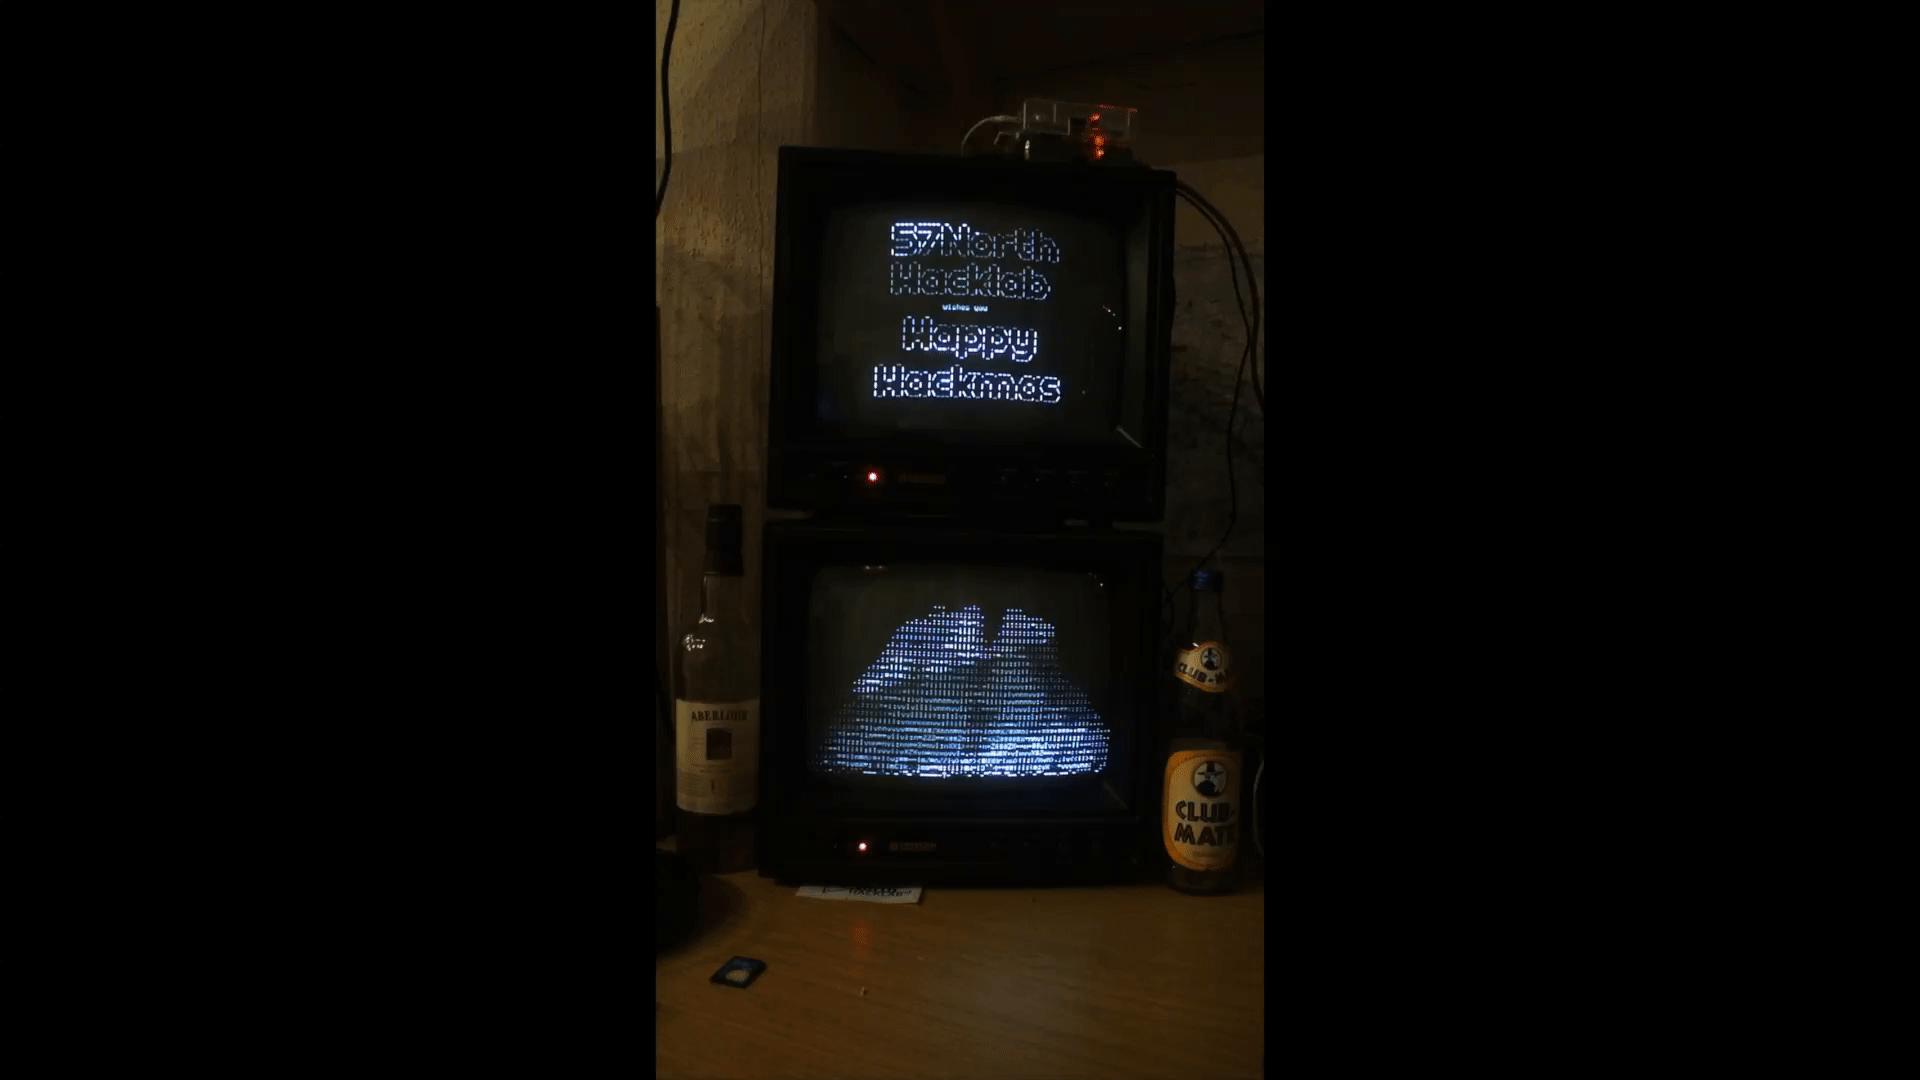
I used a raspberry pi running FreeBSD for each monitor. The bottom monitor is
running aafire which gives a nice fireplace effect. I did some big text in
figlet for the message.
I also put together a paper card by using the gcard package in latex to put
together some cards. This relies on double sided printing to get the message
inside the cards. It was a bit of trouble(I had to trim the cards down), but
the cards came out quite well for an hours work.
Card Outside
\documentclass[]{article}
\usepackage{gcard}
\usepackage{fontspec}

\setmainfont{Ubuntu Light}

\begin{document}

    \begin{frontcover}
        \centering
        \makebox[0pt]{\includegraphics[width = .5\paperwidth, height=13.9cm]{card.jpg}}
    \end{frontcover}

    \begin{insideright}
        \centering
        \makebox[0pt]{\includegraphics[width = .5\paperwidth, height=13.9cm]{card.jpg}}
    \end{insideright}

    \begin{insideleft}
    \end{insideleft}

    \begin{backcover}
    \end{backcover}

\end{document}
Card Inside
\documentclass[]{article}
\usepackage{gcard}
\usepackage{fontspec}

\setmainfont{Ubuntu Light}

\begin{document}
    \begin{frontcover}
        \centering{
            {\large{Happy Hacking}}

            {\large{From Everyone at 57North Hacklab}}
        }
    \end{frontcover}

    \begin{insideright}
        \centering{
            {\large{Happy Hacking}}

            {\large{From Everyone at 57North Hacklab}}
        }
    \end{insideright}

    \begin{insideleft}
    \end{insideleft}

    \begin{backcover}
    \end{backcover}

\end{document}
This generates two pdf files, I used pdfjoin to join them together into one file:
pdfjoin inside.pdf outside.pdf -o hackmascard.pdf
pdf is here